This is part 2 of my DIY Ikea Kitchen installation adventure. You can check out the whole series if you want to see the sausage get made!
We made a quick trip down this afternoon so we could help Chris unload the truck he rented to bring the furniture down from the condo (which is now officially SOLD!!!). It was a long day for both of us. I had to get the kid to school and get some work in before heading down, and Chris had to take 3 trains to northern New Jersey, pick up the truck, load it, drive it to the shore, and then drive it back to Philly.
I loaded up the car with the microwave (purchased during a memorial day super sale), vacuum cleaner, linens, and the kitchen sink.

When last we left our kitchen was mid-installation of the rails which the cabinets hang on.
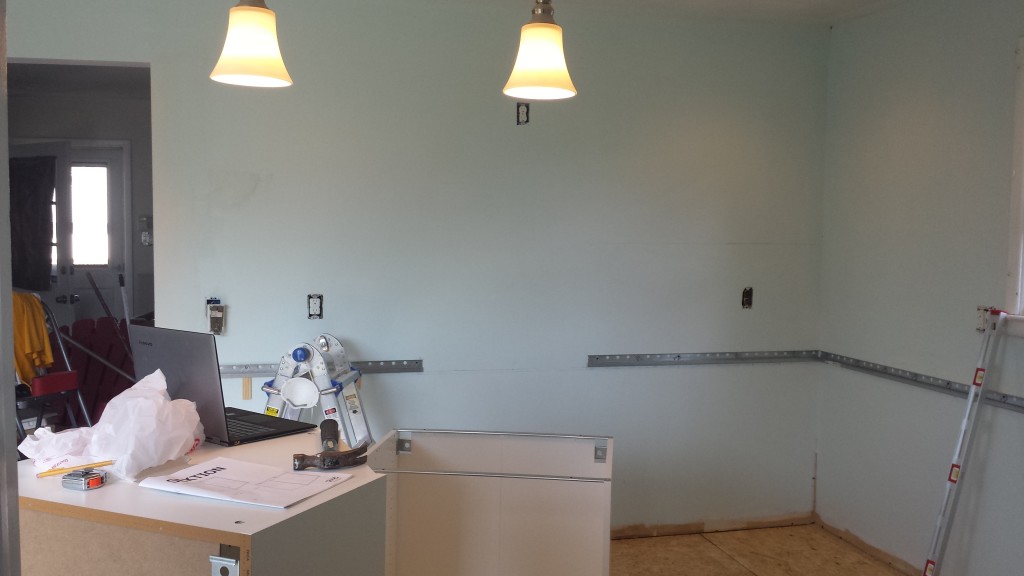
Today my dad and I hung the upper rails. This was much easier due to the fact that there are a couple of 2x4s running along the top of the wall, and our cabinets come pretty much all the way to the ceiling. Or rather, the plan was to have them about an inch and a half from the ceiling, but the ceiling is SO BADLY WARPED that it’s gonna be close in a few spots.
After we got the top rails up I got some VERY EXCITING NEWS: The plumbing permit is in! The timing is perfect since we’ll be ready to install the sink soon. It took a little over two weeks to get, which is pretty fast as far as permit stuff goes (we were told to expect up to a month).
Next we assembled a couple upper cabinets and hung them. It’s starting to feel like something that could one day be a kitchen! Amazing!
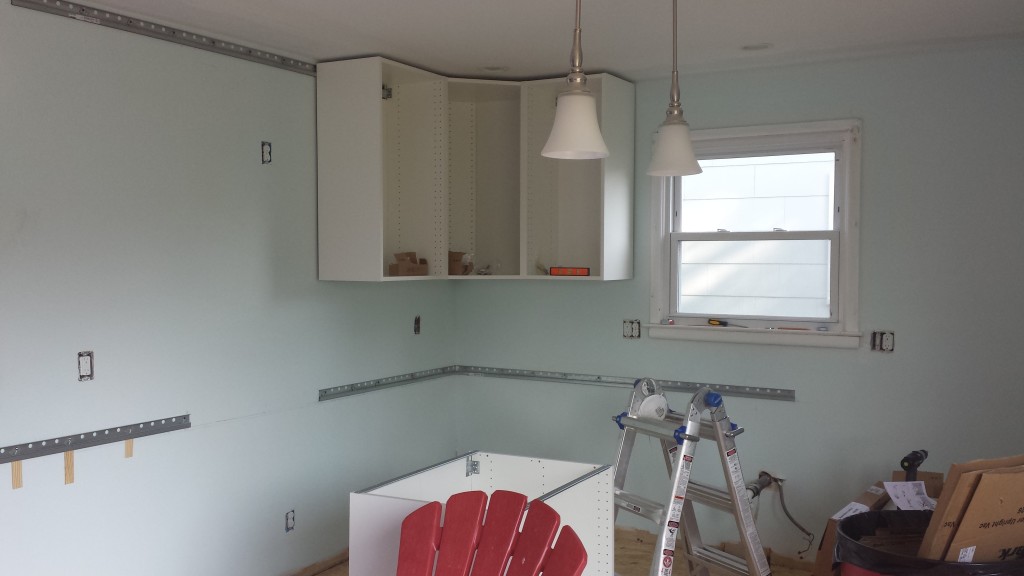
By the way I totally understand now why the painter wanted to wait until the cabinets were in to do the final coat of paint. I may have gouged the walls a couple times trying to lift the cabinets up. Thankfully it was in a spot that will be covered by the cabinets.
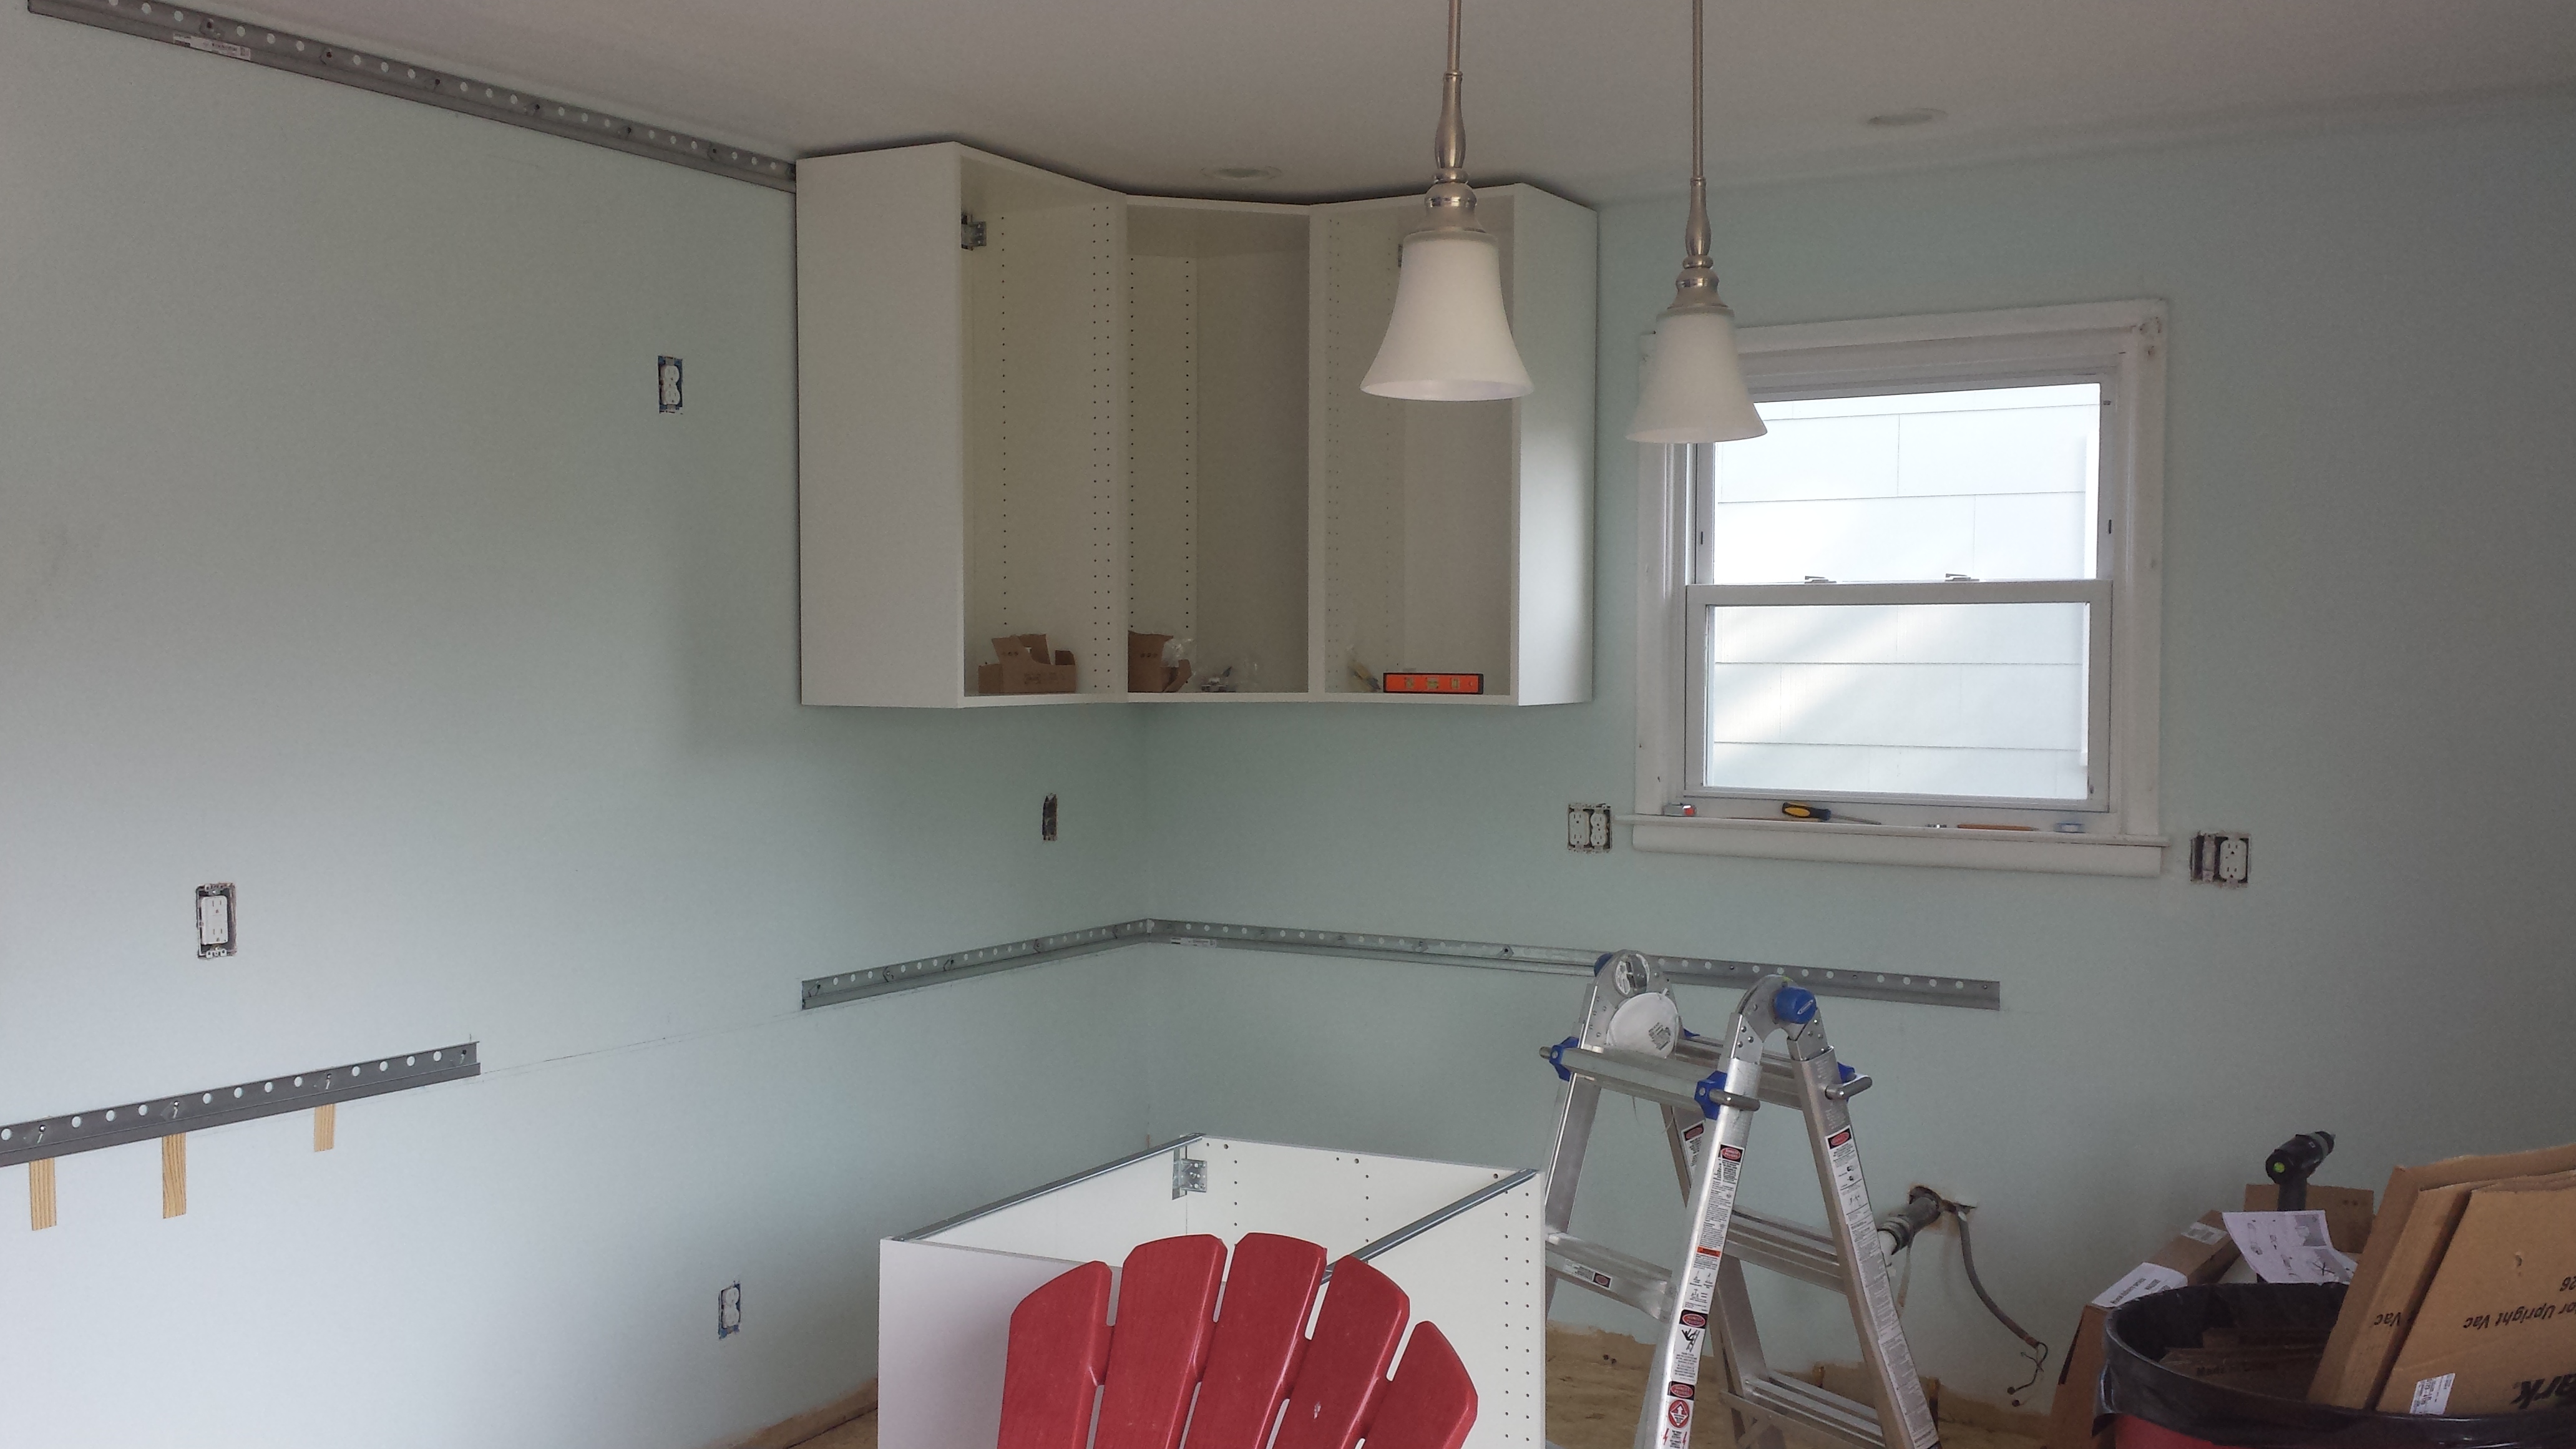
I was really proud when the corner unit was installed and hung level. Lining up the rails so everything was even was a little fiddly, especially because it’s hard for my dad and I to fit in the corner. Working on the larger sections of wall was much easier. I was really glad my dad is tall, it would have been a lot tougher if we bot had to be on ladders at the same time.
Now that the rails are up I expect hanging the rest of the cabinets to go pretty quickly. We can do one in under 20 minutes. Most people suggest assembling all the cabinets at once beforehand, but these people must have a lot of extra space in their houses. There is no way we could assemble all the cabinets and still have enough room to move around the kitchen. Our living room is full of appliances that are waiting to go into the kitchen.
I learned that Ikea hardware isn’t actually Phillips head screws, it’s a similar-but-different type called Pozidriv. Then my dad explained to me the history of phillips, pozidriv, and roberts screw heads. What my dad lacks in corny jokes he makes up for in WAY MORE THAN YOU NEEDED TO KNOW ABOUT SCREWDRIVER HEADS AND HENRY FORD. Although you can get by with a phillips it is MUCH easier if you have the correct driver for it. It turns out our drill bit set came with one, but if you’re installing an Ikea kitchen it is ABSOLUTELY worth it to spend the couple bucks on a Posidriv driver. You can get them on Amazon if you don’t feel like going to your local hardware store.
After 3 months of work and a few moments of “I’ve made a huge mistake” I finally feel like the end is in sight for the work we’re doing. There’s still a lot to do, like painting and hanging the cabinet doors. And the plumbing. And finishing painting upstairs. And starting painting the downstairs bedrooms. And installing the vinyl flooring. Not so much the home stretch yet, but at least I feel like it’s possible we might actually someday finish this project.
what do you mean, more than you could ever care about Henry Ford? — dad
I found this through a Google search–really helpful! One question: I have a corner wall cabinet configuration similar to yours, and I’m having a problem with door panels–the door of corner cabinet is blocked by cabinets on other side, and I can’t get it to open all way. Should I have special hinges for that corner cabinet? Many thanks.
Yes, you need the “45 degree” hinges for that cabinet (no extra spacing needed contrary to what Patricia suggested). These guys: http://www.ikea.com/us/en/catalog/products/20261992/
“45 degree” is sort of an odd way to label them, but it’s because the “starting” position of those hinges is at a funny angle for the corner cabinet. They’re only very subtly different than the normal hinge, they are slightly longer and when they are closed they are at an angle. Good luck!
First, Thank You to Kellbot for this informative and entertaining blog. To Mark: not special hinges, but I’m pretty sure you need to space your cabinets and add filler pieces to cover the spaces in order to accommodate the extra space needed to open cabinet doors against adjacent cabinets.
I’m usually installing cabs in the apartment units. One thing I miss from akurum series is the ability to adjust cabinet vertically (up or down once cab is on the rail). Since I’m putting wall cabinets against vent bulkhead above them, figuring out optimal pos of top rail is always tricky. The min distance ikea recommends leaves bit of a unsightly gap, especially if bulkhead is no levelled.
I am installing two wall cabinets, both with 2 glass doors. They hang side by side and I am trying desperately to figure out if there needs to be space between the two cabinets for door clearance or if they can hang next to each other?! How much space if space is needed? It’s almost as if I need to install the doors, measure for clearance, take the doors back off and re-hang everything! any help would be appreciated!
Assuming you’re using the Ikea doors and handles you can install them side by side with no spacing. The hinges pull “in” a bit as they open, so the doors are surprisingly close while still being able to swing open.
What was the distance between the ceiling and the top of the wall cabinet rail? I’m running my cabinets flush with the ceiling, and I didn’t see anything in the instructions about this…
Hubby and i are just now (the 24th) hanging cabs and going to ceiling. We left 3/8″ from the very top of rail to ceiling. We are slidding the cabs onto the rail from the side. We started with 1/4″ but it was too tight to slide them on with any ease. Hope this helps…..kristi
Our ceiling is ridiculously warped, so we measured up from the base cabinets instead of down from the ceiling, but at the end where it’s closest to the ceiling the rail is about half an inch away. So Kristi’s distance of 3/8″ makes sense to me.
Hi…We are experiencing everything the same as the rails and hanging the cabinets of the Sektion cabinets. We are trying to hang the upper corner cabinet. The rails are set exactly and perfectly as instructed. There is a corner metal clip on each end of the upper cabinet that hangs on the rail. The instructions then say to screw through the hole…well…..it is metal rail to metal clip and does not line up as it should. The hole in the clip seems to have to go either up or down to line hole to hold and screw in the hole. Then take the cabinet down, put the plastic hole piece in and put it up and screw it in. We cannot find ANYTHING about this anywhere. The cabinet metal clip IS aligned right by the 3 predrilled holes. We have no play. What can we do? Can anyone help with this specific question?