Cooking

Better Instant Oatmeal

I tried overnight oats. Honestly I think they’re kinda gross. I don’t want cold gloppy oatmeal in the morning and I definitely don’t want 16oz of it.

So instead I put together some “instant oatmeal” jars. All I have to do in the morning is add hot water. They’re cheap, brain dead, and very portable.

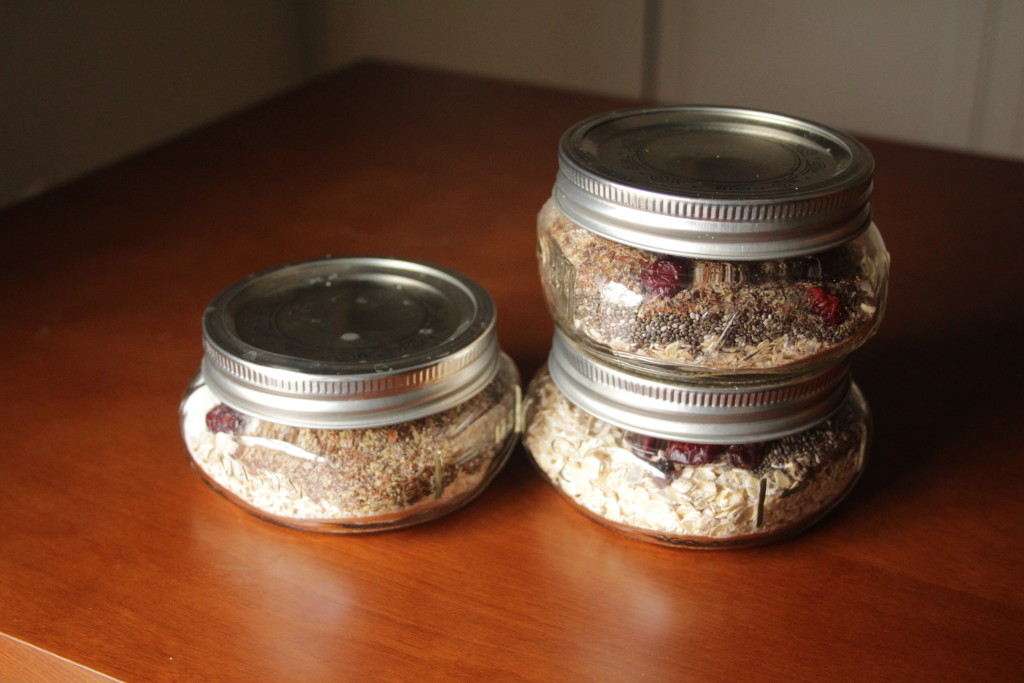
IMG_2366
Three breakfasts ready to go.

Each jar contains:

  • 1/2 cup dry quick oatmeal
  • 1 tbsp chia seeds (for antioxidants!)
  • 1 tbsp flaxseed meal (for omega 3s!)
  • 2 tsp fiber powder (for pooping!)

Then for flavor I add one of the following:

  • a tablespoon of craisins or other dried fruit
  • a tablespoon of peanut butter
  • cinnamon

I measure everything out into 8oz mason jars and leave them on top of the microwave. In the morning I use the hot water kettle to fill them to just below the lip of the glass. You could also put cold water in and nuke them in the microwave. Make sure you give it a good stir, and let it sit for a few minutes. Everything will swell into a delicious gooey oatmeal.

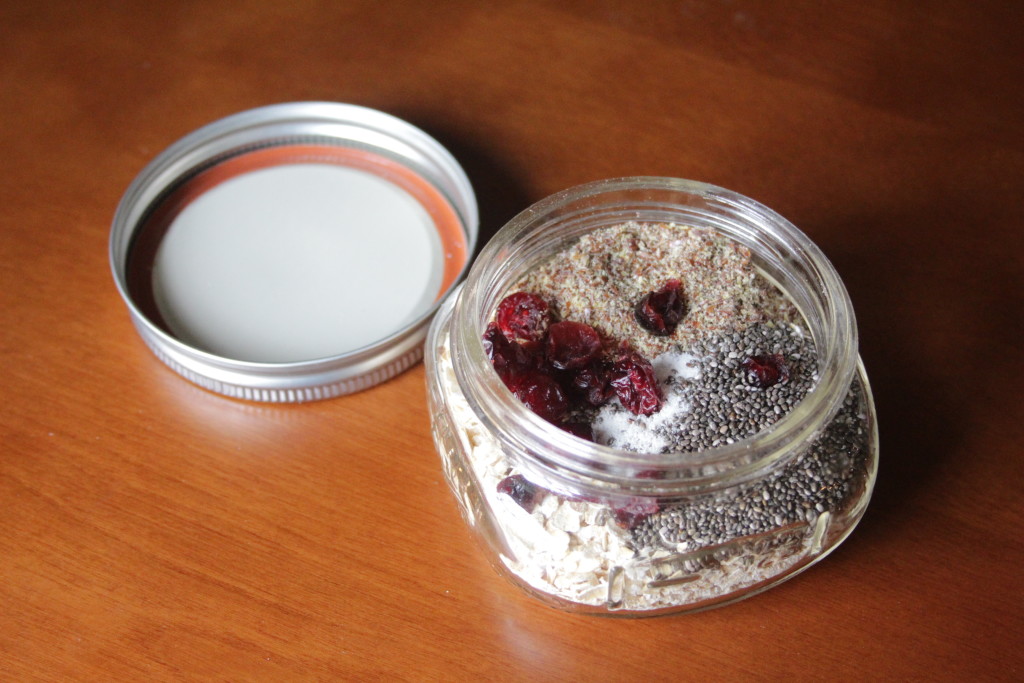
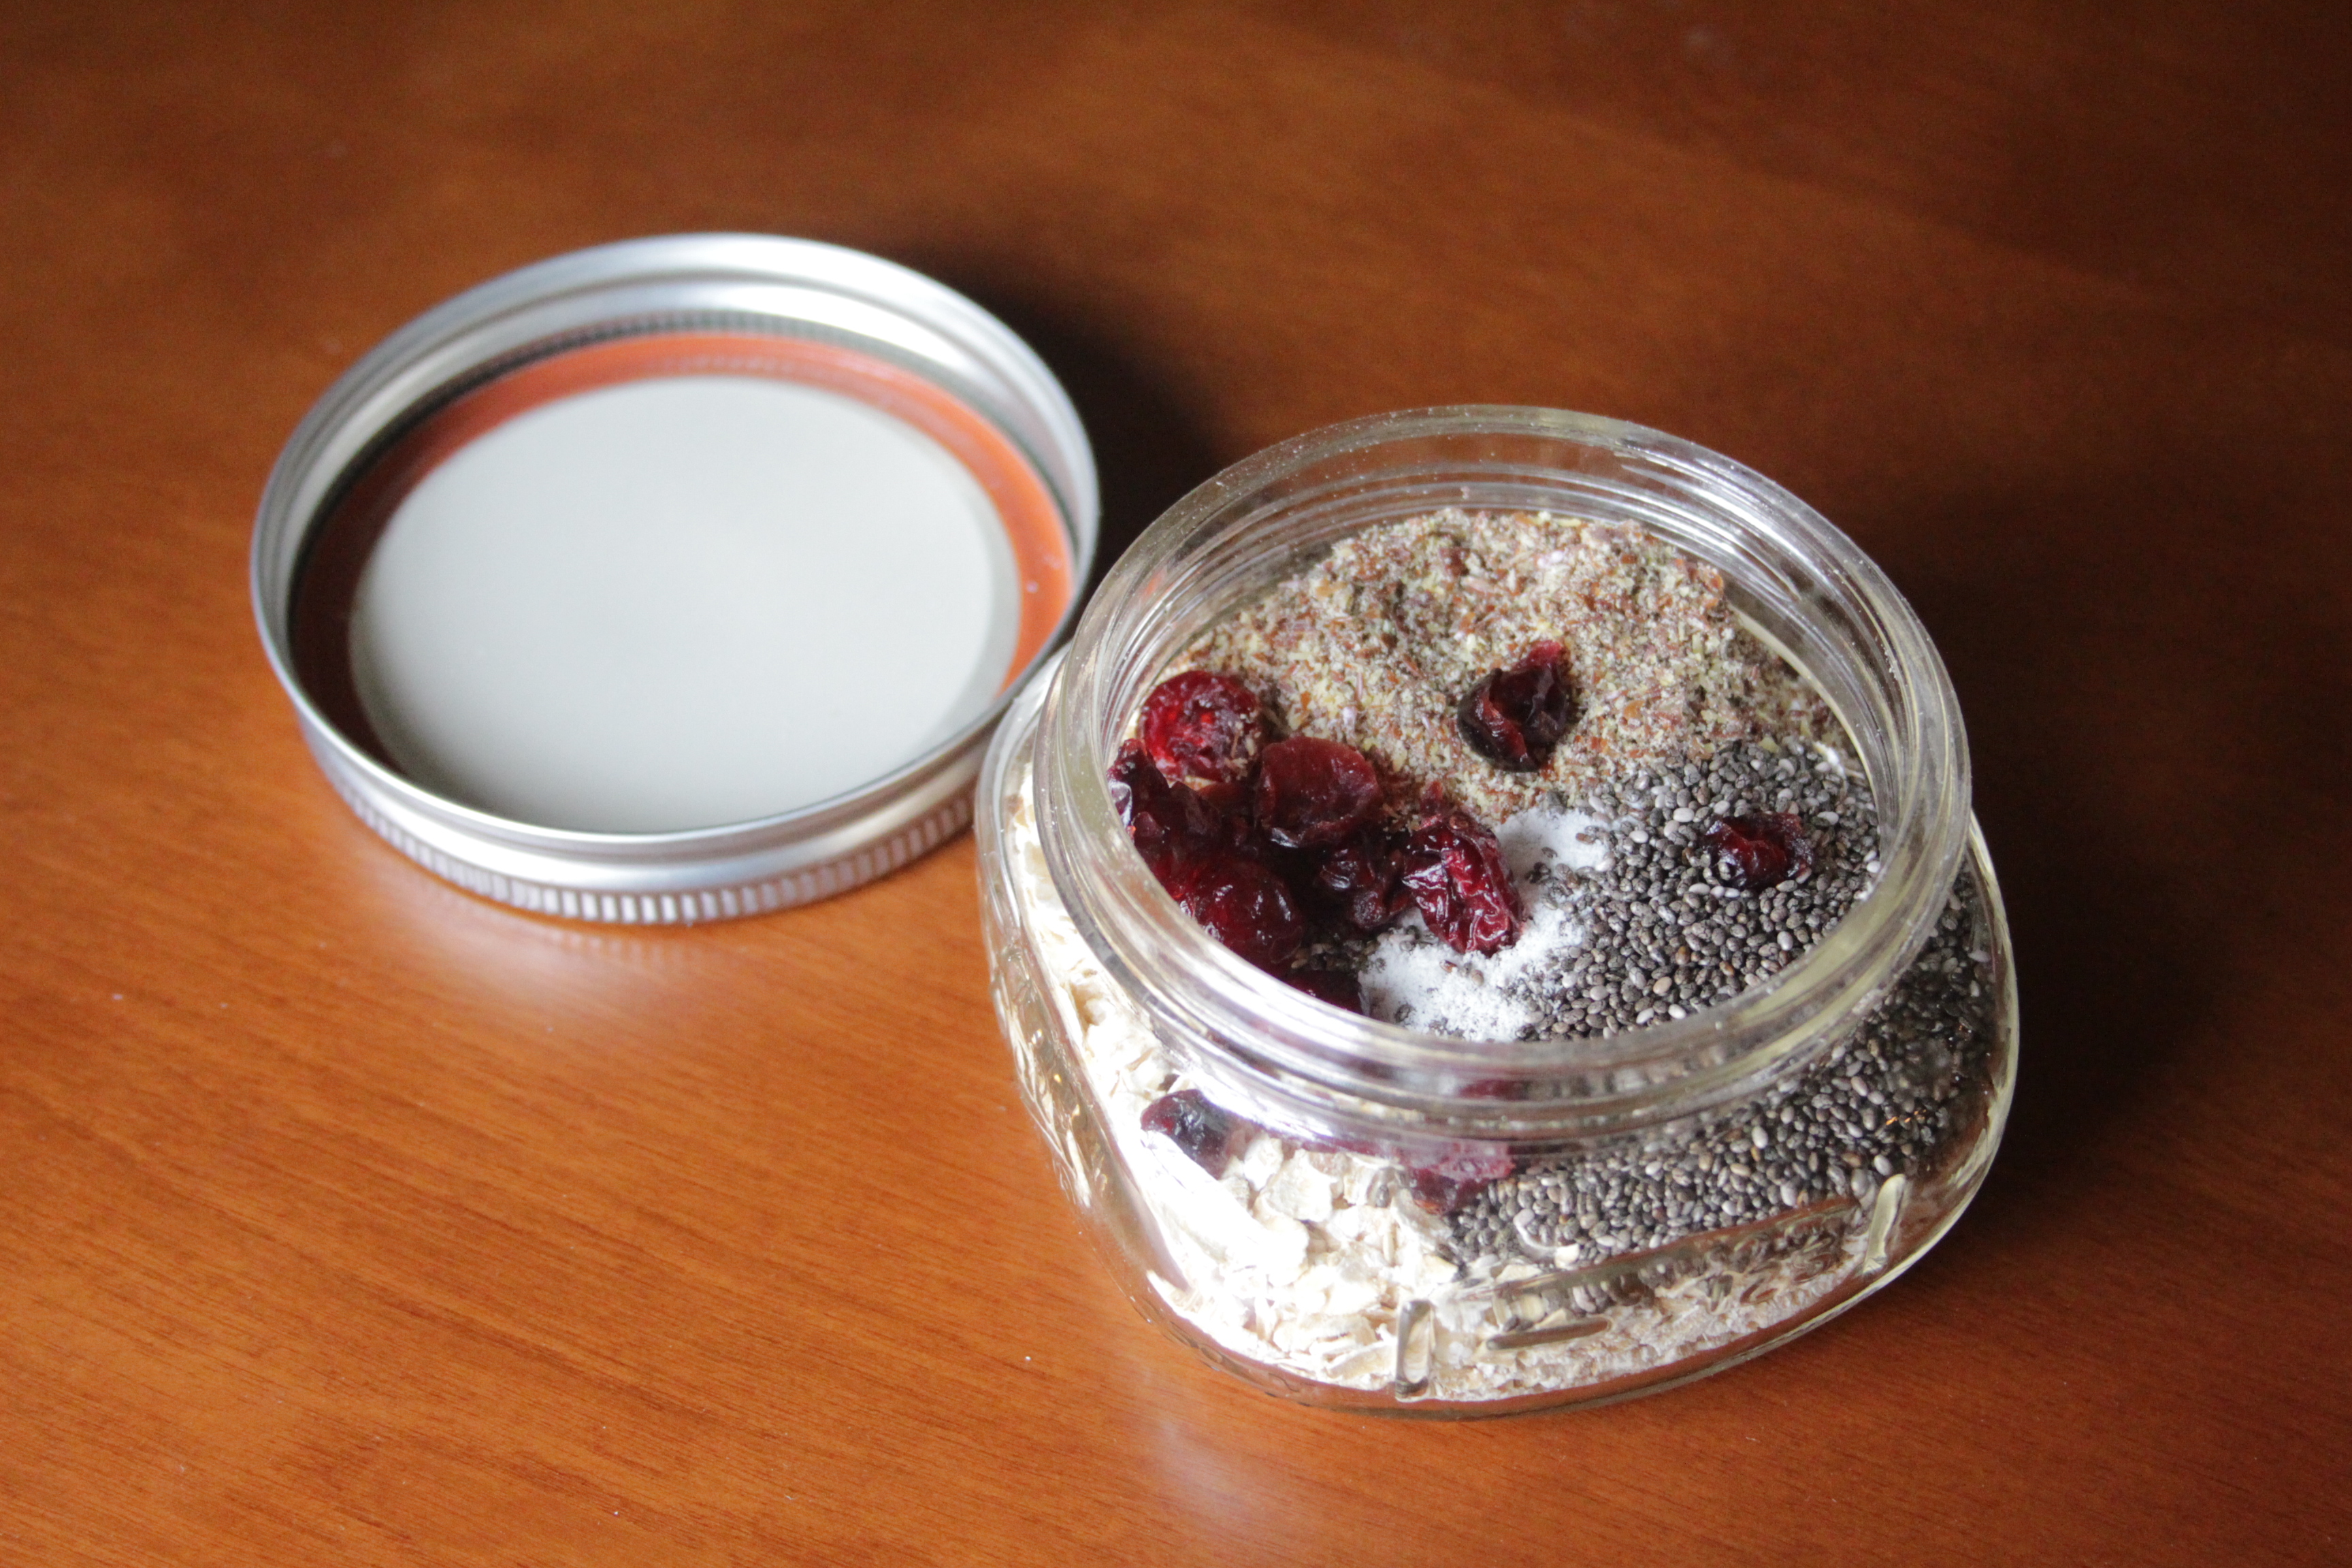
Dry oatmeal ready for hot water

Pro tip: turn the oatmeal upside down and shake it (with the lid on) before adding water. This helps some of the smaller bits get mixed and rise to the top. Otherwise you can end up with a gelatinous clump of chia seeds which is not very appetizing.

Cooking, Recipes

Egg White Breakfast Muffins

In an effort to cut down on sugar I’ve replaced my yogurt and granola breakfast with egg “muffins.” They’re really more like a crustless quiche but they’re made in a muffin tin, and make a really good brain-dead breakfast with plenty of protein. You can make them with whatever ingredients you’ve got handy, and I’ve tried a bunch of different combos, including whole eggs, but the recipe below is my favorite so far.

Egg White Breakfast Muffins

Makes 8 egg “muffins”

IMG_1627

Ingredients

  • 8 egg whites1
  • A handful of baby spinach, chopped
  • 2 mushrooms, diced
  • 1/2 cup reduced fat shredded cheddar cheese2
  • 1/4 tsp salt or to taste
  • 1/4 tsp pepper or to taste

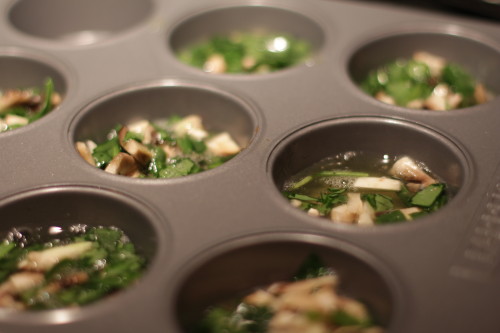
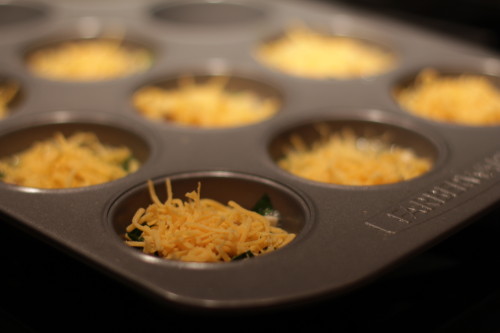
Preheat oven to 350 degrees. Whisking with a fork, combine egg whites, spinach, and mushrooms. Season with salt and pepper. Divide egg mixture evenly into eight spaces of a muffin tin (if not using a nonstick tin, spray with oil or cooking spray first). Top each cup with cheddar cheese. Bake for 20 minutes or until just beginning to brown at the edges.

IMG_1619

I find they come out best if I only fill the cups about half way. Beyond that they get very tall and puffy in the oven, and then collapse like a bounce house at the end of a carnival.

IMG_1623

The muffins keep well in the fridge. In the morning just pop one in the microwave for a minute and you’re good to go. You can also freeze them, just make sure you allow them to cool before freezing to minimize the formation of ice crystals.

IMG_1626

If you’re using whole eggs you may get more like 10 or 12 muffins out of the recipe, but here’s the nutrition breakdown using the above ingredients:

42 calories
1g carbohydrates
2g fat
6g protein
<1g sugar and fiber3

As a delightful surprise, these are toddler approved! I’m not sure how much longer we’ll go before she notices the spinach and starts to pick it out, but for now it’s a great way to sneak some veggies into my almost-two year old.

  1. If you don’t have another use for the yolks I really suggest eating them instead of wasting them, they’re good for you. []
  2. Full fat cheese works too, of course []
  3. you get a little from the veggies but not much []
Cooking

Dinner Week 2

I didn’t take my own pictures this week, but I promise everything looked delicious. We had a snow storm, an ice storm, and my parents staying with us for two nights so there was a lot going on. It was tough to get all the cooking in but I managed to eek it out.

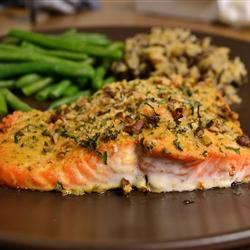
Baked Dijon Salmon

Served Tuesday,  salmon recipe and asparagus recipe from allrecipes.com

salmon

RevolvingDork notoriously does not like nuts, but I followed the recipe as written for the topping. Surprisingly he didn’t mind the mixture of chopped nuts and breadcrumbs, and claimed it was the best salmon I’ve made. The breadcrumbs could easily be left out for a gluten-free meal.

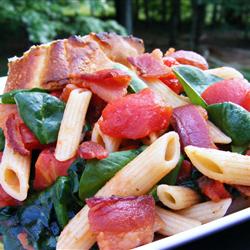
Penne Pasta with Spinach and Bacon

Served Thursday, recipe form allrecipes.com

pasta

I made this for lunch since we had dinner plans with family. It’s a nice light quick option and reheats well. The only thing I dislike about it is the number of pots/pans used: a skillet, a saucepan, and then a huge serving bowl to combine it all.

Crock Pot Chicken Marrakesh

Served Friday, recipe from allrecieps.com

marrakesh

I made this as-written, and like many of the other reviewers I thought it came out too mushy and bland. I might try it again, but I think I’ll start with just the tomatoes / chicken / spices and add the veggies halfway through.

Sad Vegetable Soup

Served Saturday, recipe below

After two weeks of cooking I had various veggies odds and ends that were still good but wouldn’t be for much longer. It turns out these are great for pureed vegetable soup. I may be the last person on earth to learn how to make vegetable soup, but just in case here’s an outline of the process:

  • Round up all the sad vegetables in your fridge. I had a bowl each of greens (spinach, cilantro, and basil), asparagus, and broccoli. I added an onion for flavor.
  • Chop said vegetables into 1″ pieces and sautee them in a big pot with a bit of oil until the greens look bright green and the onion looks translucent.
  • Add 4 cups of broth (I used beef) to the vegetables, maybe a splash of wine, and bring to a boil
  • Add some salt, pepper, and any other spices you like. Simmer for about an hour.
  • Puree the vegetables in the blender

Pro tip: blend this in batches, filling your blender no more than 3/4ths full, and make sure there is room for air to escape so your blender lid doesn’t blow off. Place a dish towel over the lid in case anything escapes. After pureeing I returned the soup to the pot and fine tuned the seasoning and served it with brown rice.

Cooking

Batch Processing

Cooking in big batches and then freezing meals has long been the strategy of folks looking to save time and money, but it wasn’t until this week I finally sat down and did it.

A lot of the cooking strategies and recipes I’m using come from Don’t Panic! Dinner’s in the Freezer. It’s a good book on batch cooking and freezing. None of it is earth shattering, but it’s a good starting place for those overwhelmed by the thought of cooking. People like me. Cheap. Fast. Good. is also a good source for inexpensive recipes, and includes tips for the culinarily incompetent like myself.

I made a double batch of Buttermilk Herb Chicken from Don’t Panic and a triple batch of Shipwreck Skillet (beef dish) from Cheap. Fast. Good.

The buttermilk herb chicken is easy to prepare. You cut boneless chicken breast into single-portion chunks and then place it in freezer bags with the buttermilk marinade. There’s no cooking on prep day. When you’re ready to eat it (any time within the next 4 months) you thaw it out, discard the marinade, and cook the chicken on the grill or stove. It’s not an instant meal, but it’s a pretty low-thought meal when paired with some veggies (fresh, frozen, or canned) and instant mashed potatoes.

The beef skillet is a simple recipe that can be adapted to whatever vegetables you have on  hand. Because I made such a large recipe I used a wok rather than a skillet. Here’s my take on the recipe:

  • 3 cups of chopped onions
  • 3 lbs of ground beef
  • 3 cups of sliced carrots
  • 3 cups of frozen corn kernels
  • 3 tablespoons worcestershire sauce
  • 3 cloves of garlic, minced
  • 1/2 tablespoon salt
  • 1 bullion cube
  • 2 cups of long grain white rice*

Cook the rice in your rice cooker along with the bullion cube, for tasty beefy rice.
Throw the onions into the wok then slowly add the ground beef, breaking it up as you go along.
When the beef is browned, drain off the excess fat. Return meat to wok.
Add the worcestershire sauce, garlic, and salt.

At this point, I set aside 1/3 the recipe for flash freezing. I wanted to freeze some without the rice so I could compare how it tastes with fresh vs frozen rice. Flash freezing is simple. Spread the meat and veggies out on a tinfoil-lined cookie sheet, cover with plastic wrap, and place in the freezer for about 30 minutes. This will freeze everything enough that when you transfer it to a freezer bag it won’t all solidify into a giant block of ice.

The rice was mixed into the remaining 2/3, and half of that was flash frozen as well. I was left with 4 servings, two of which we ate for dinner and the rest we put in the fridge for lunch later this week.

In total I prepared 14 meals for two (28 servings), with an average cost of ~$1.25 / serving. A huge part of keeping the cost down is to shop loss leaders, and shop them hard. Most people don’t need 10+ pounds of meat all at once, but freezing it into single-meal portions makes it manageable.

Cooking

Haphazard Pulled Pork of Deliciousness

Yesterday I made pulled pork in our crock pot. Since it was pouring outside, I wasn’t willing to walk to the big grocery store. As such, any ingredients I needed had to be available at our local corner store (minus the pork itself, which had been hanging out in our freezer for months).

It was delicious, and while I don’t have an exact recipe, I’ll describe the process so you can throw whatever’s in your house in and have something equally delicious. I didn’t take photos because it just looked like shredded meat.

You will need:

  • 4 – 6 pound pork butt. Which actually comes from the shoulder. It’s cheap. You should be able to get it for around $1.25 per pound. Less if it’s approaching the sell-by date.
  • Crock pot. It needs to be big enough to fit the pork butt.
  • An onion
  • A clove of garlic or two
  • A bottle of BBQ sauce
  • Various spices. Whatever you have around is probably fine.

Step 1:

Thaw the pork butt in the microwave, or overnight in the fridge if you’re better at planning than I am.

Step 1.5:

While the pork is thawing, coarsely chop up the onion and garlic. Throw them in the crock pot haphazardly.

In a medium sized bowl, mix together equal parts of the following various spices, making substitutions for anything you have / don’t have / like / don’t like.

  • Salt
  • Ground black pepper
  • Sugar
  • Brown sugar
  • Cumin
  • Tumeric
  • Chili Powder
  • Garlic Powder
  • Paprika

I used 2 tablespoons of each for an 8.5 lb chunk of meat, though I added some extra paprika because it smelled so nice. I also used curry powder instead of chilli powder/tumeric because I didn’t have either of those.

Alternately, you can used a pre-made BBQ rub, but they didn’t sell that at my corner store.

Step 2:

Take your thawed pork butt and rub the spice mix all over it. Place the pork butt in the crock pot on top of the onions/garlic, and go ahead and dump the rest of the rub in there.

Step 3:

Fill the crock pot about 2/3 with water, or stock if that’s how you roll.

Step 4:

Cook 6+ hours on high or 10+ hours on low. If you have a temperature probe, make sure the interior of the meat gets up to at least 145 degrees F. The longer it cooks, the easier the next step will be.

Step 5:

Once you’re tired of waiting, turn off the crock pot. If you’re lucky, the meat will be so tender it will slide off the bone and you can pull the bone out easily, and then use tongs to move the chunks of meat into a bowl. If you’re like me, the meat will hang onto the bone for dear life and you’ll have to figure out how the hell to lift an 8.5 pound roast out of a vat of boiling water and fat.

I ended up using a measuring cup to scoop off some of the liquid, cut some of the bigger chunks off the bone, and then move the whole thing into another bowl where I could hack at it for a little while.

Step 6: After liberating the bone and meat, get rid of all the inedible bits like the skin, bone, and fat. Discard them along with the onions and garlic, who valiantly gave up their lives for your pork. Pour off most of the water/fat broth, leaving about half an inch in the bottom of the crock pot.

Step 7: Return the meat to the crock pot and shred it using two forks. By the time you’re done, it should suck up the remaining broth and be deliciously juicy.

Step 8: Dump the bottle of BBQ sauce in there. Mix it up.

Tada! You now have pulled pork! Eat on a sandwich, or just straight up.