1970s Shore Home

All done with painting and flooring!

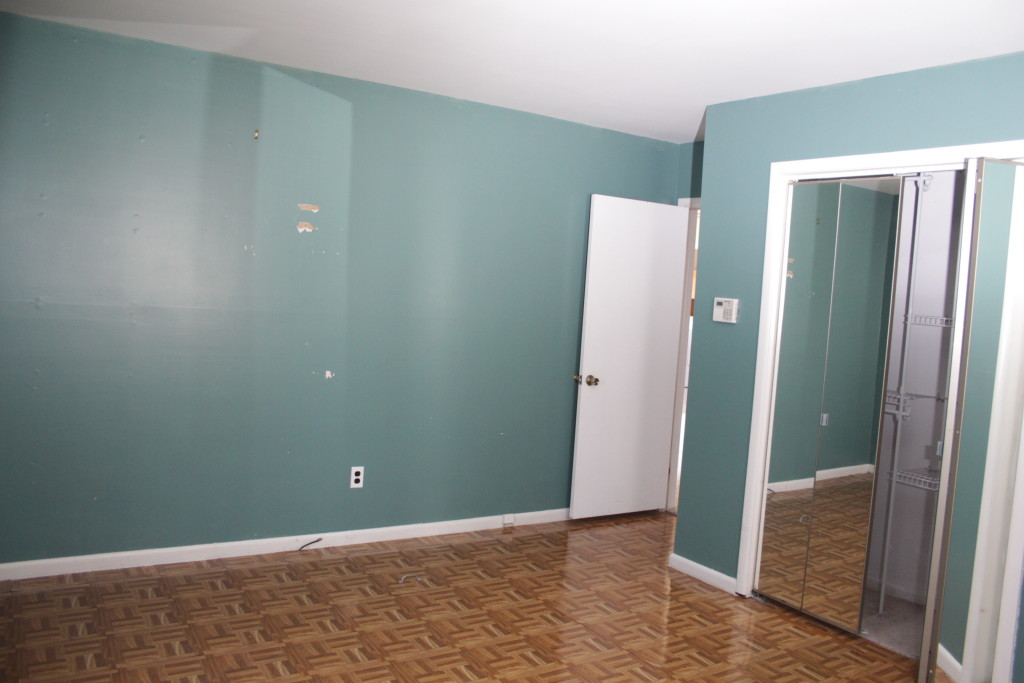
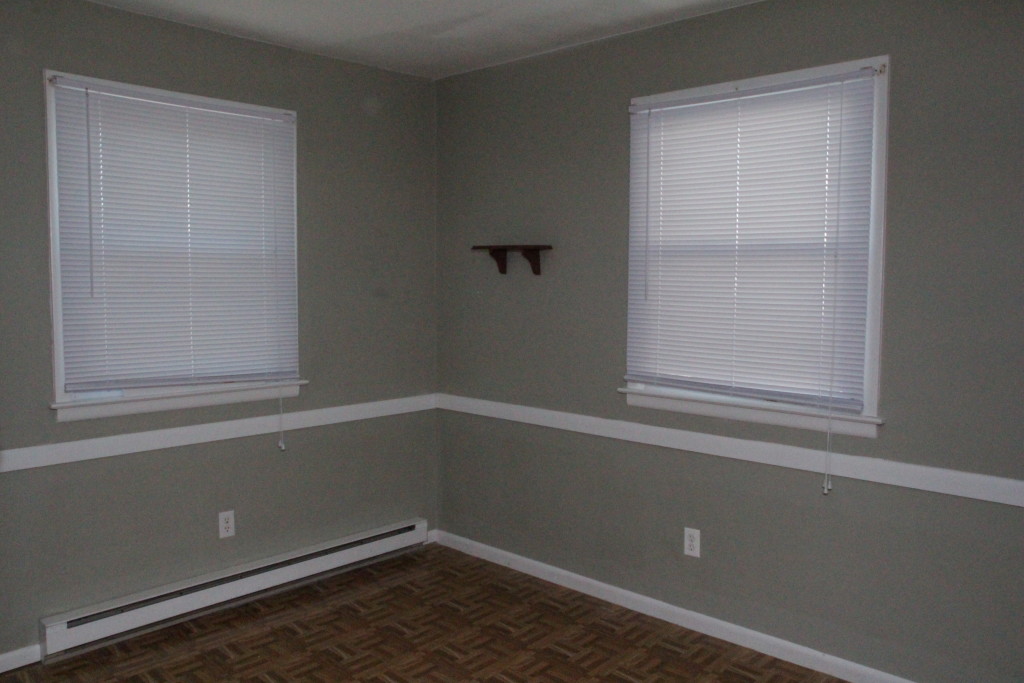
At long last, all the rooms are painted! We painted the upstairs ourselves, but after 4 months of nonstop work I am exhausted (and also 5 months pregnant) so we decided to hire a painter to do the downstairs. But before we could have the walls painted we had to get the new flooring installed in the two downstairs bedrooms.

The bedrooms came to us with some fake parquet stick-on vinyl tiles (which tested asbestos free, thankfully). We replaced it with the same click-lock waterproof vinyl we used in the kitchen and laundry room.

Old fake parquet floor
IMG_2256
The smaller bedroom with a chair rail (??)

The tiles came up easily but getting the sticky goo leftover was nearly impossible. It dissolves with mineral spirits, but I didn’t really have a mop capable of getting the slick goo up efficiently and wearing a respirator for long periods of time sucks. I ended up scraping it with a putty knife and then putting paper down to just contain the adhesive.

Flooring is half installed in the big bedroom

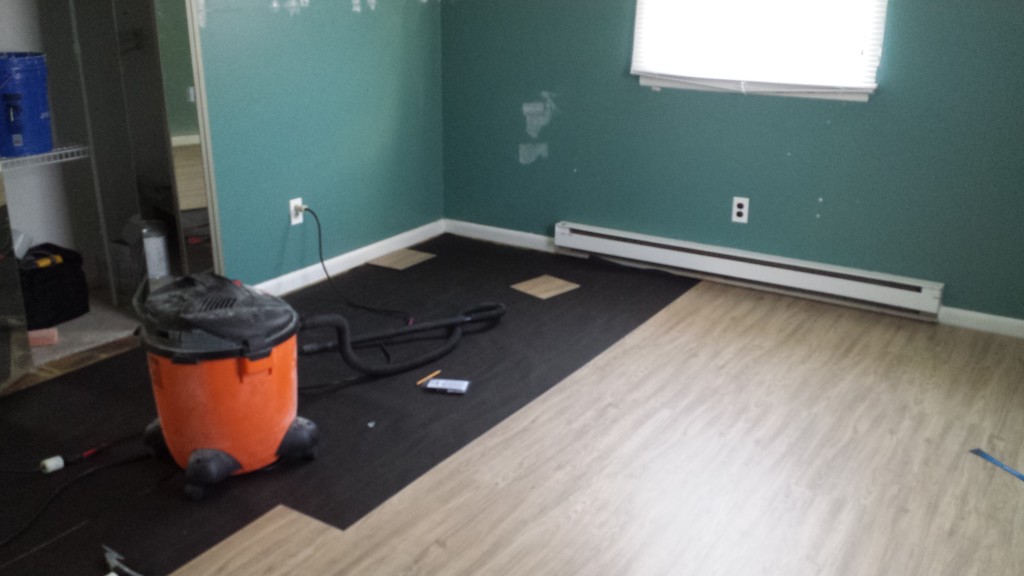
Apparently I did some math wrong when I ordered flooring because I came up short about 6 square feet. The flooring company warehouse is out in Trenton, about an hour from me. My dad saved the day by volunteering to drive to pick it up on Tuesday, my mom and I came down on Wednesday to finish installing it, and since my father-in-law had pre-cut all the quarter round molding we were able to get everything done in time for the painters on Thursday.

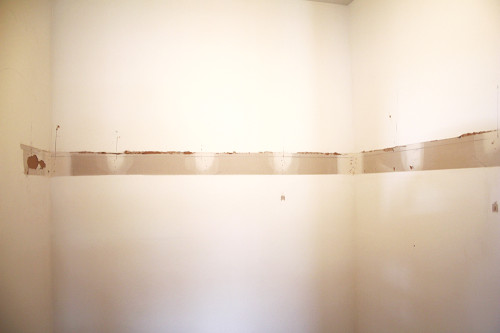
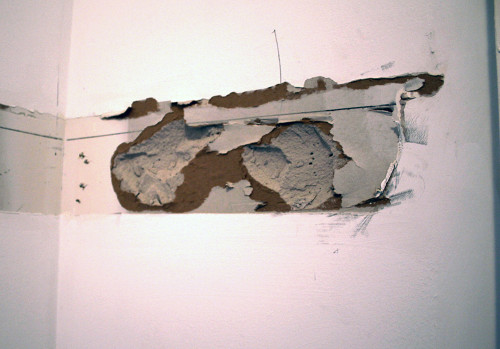
The first day the painters prepped all the walls. They were in pretty rough shape. It took two guys a solid 8 hours of working to get everything spackled and smooth.

2015-08-20 18.19.49
Bedroom chicken pox

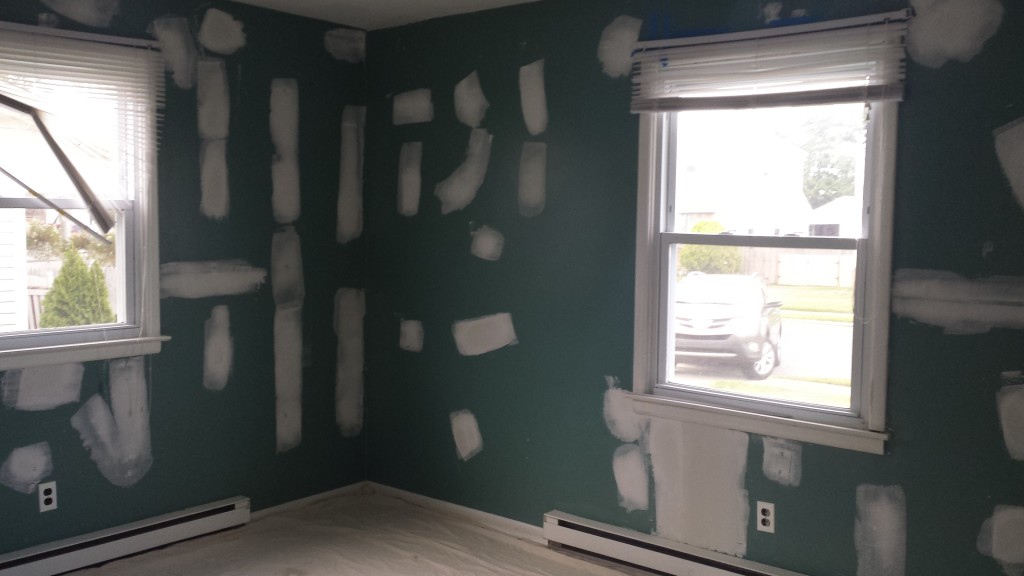
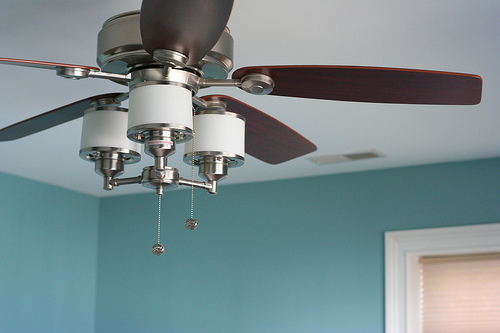
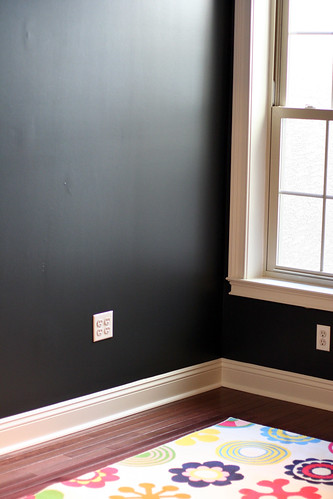
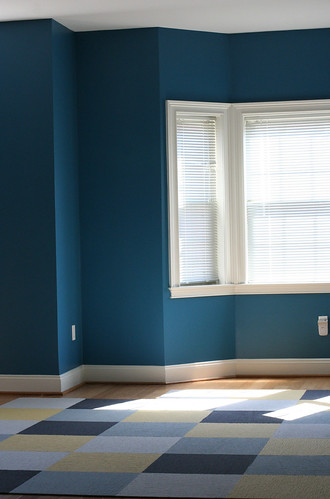
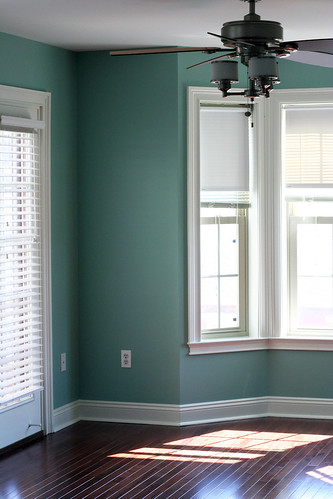
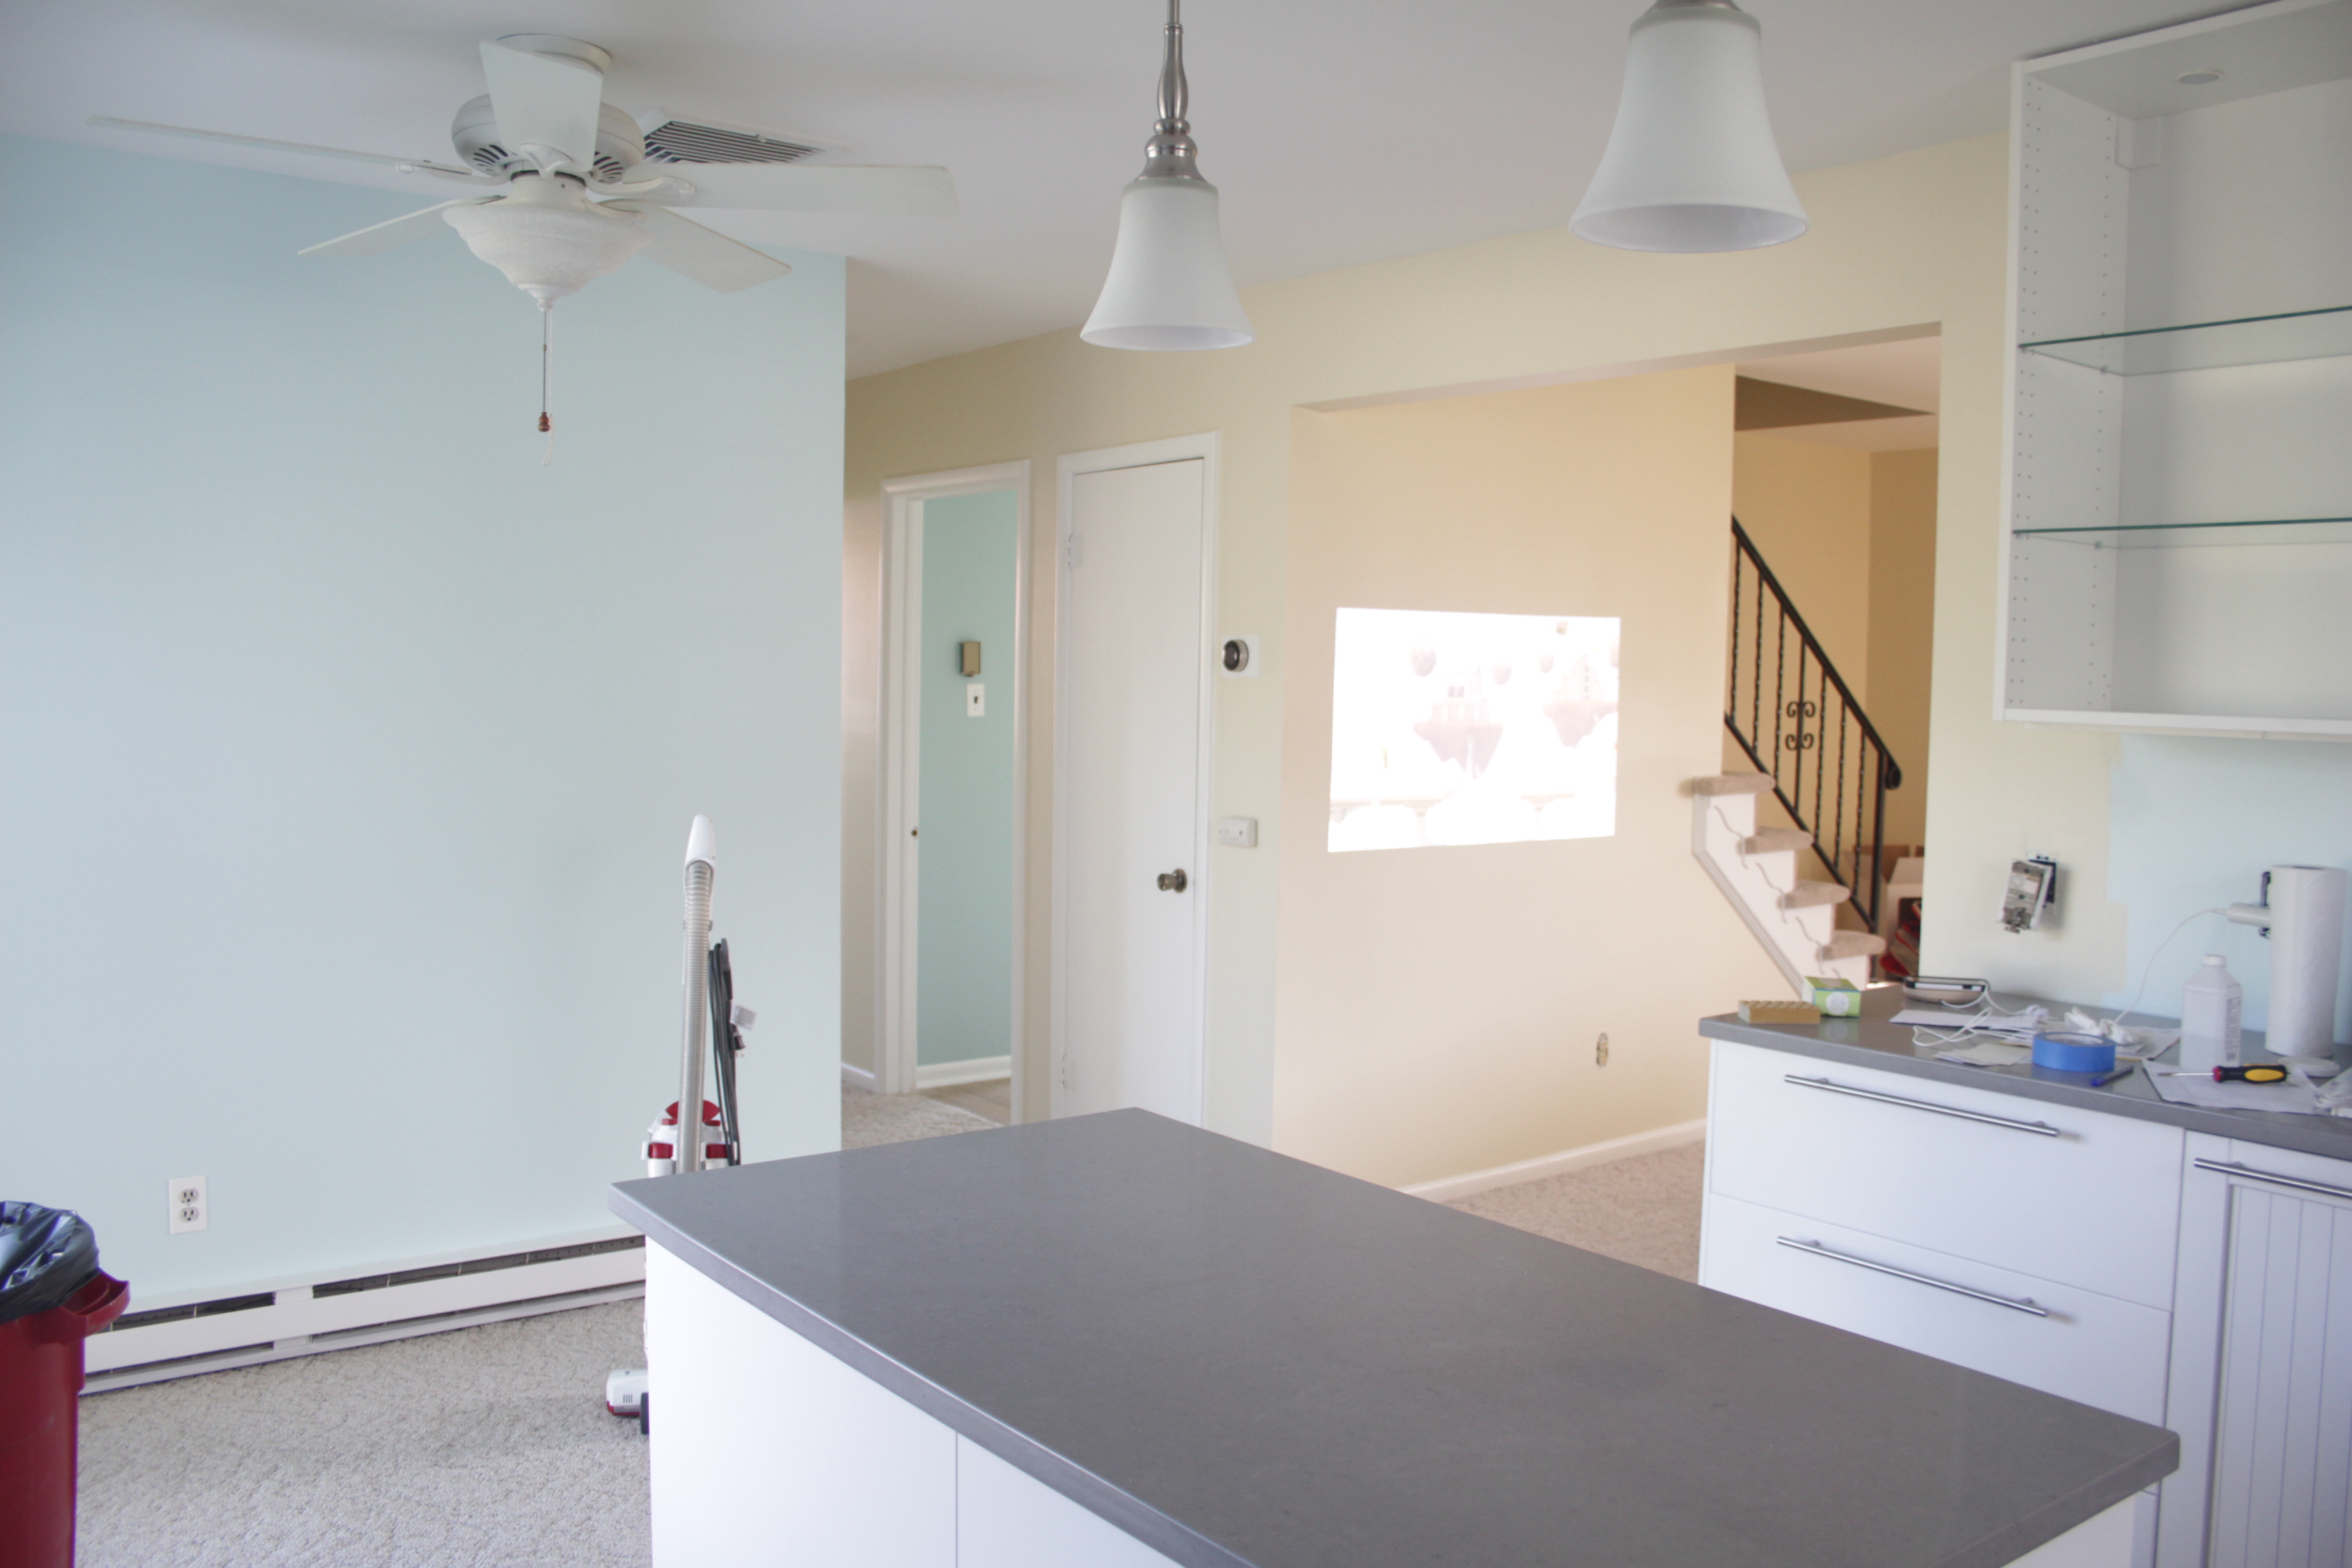
The painting itself took a crew of 5 or 6 guys ten hours. They managed to sand and put two coats of paint on the ceiling, walls, and trim all in one day. The change is dramatic, the house feels much brighter and more open now (admittedly some of that openness also comes from finally having the house clean).

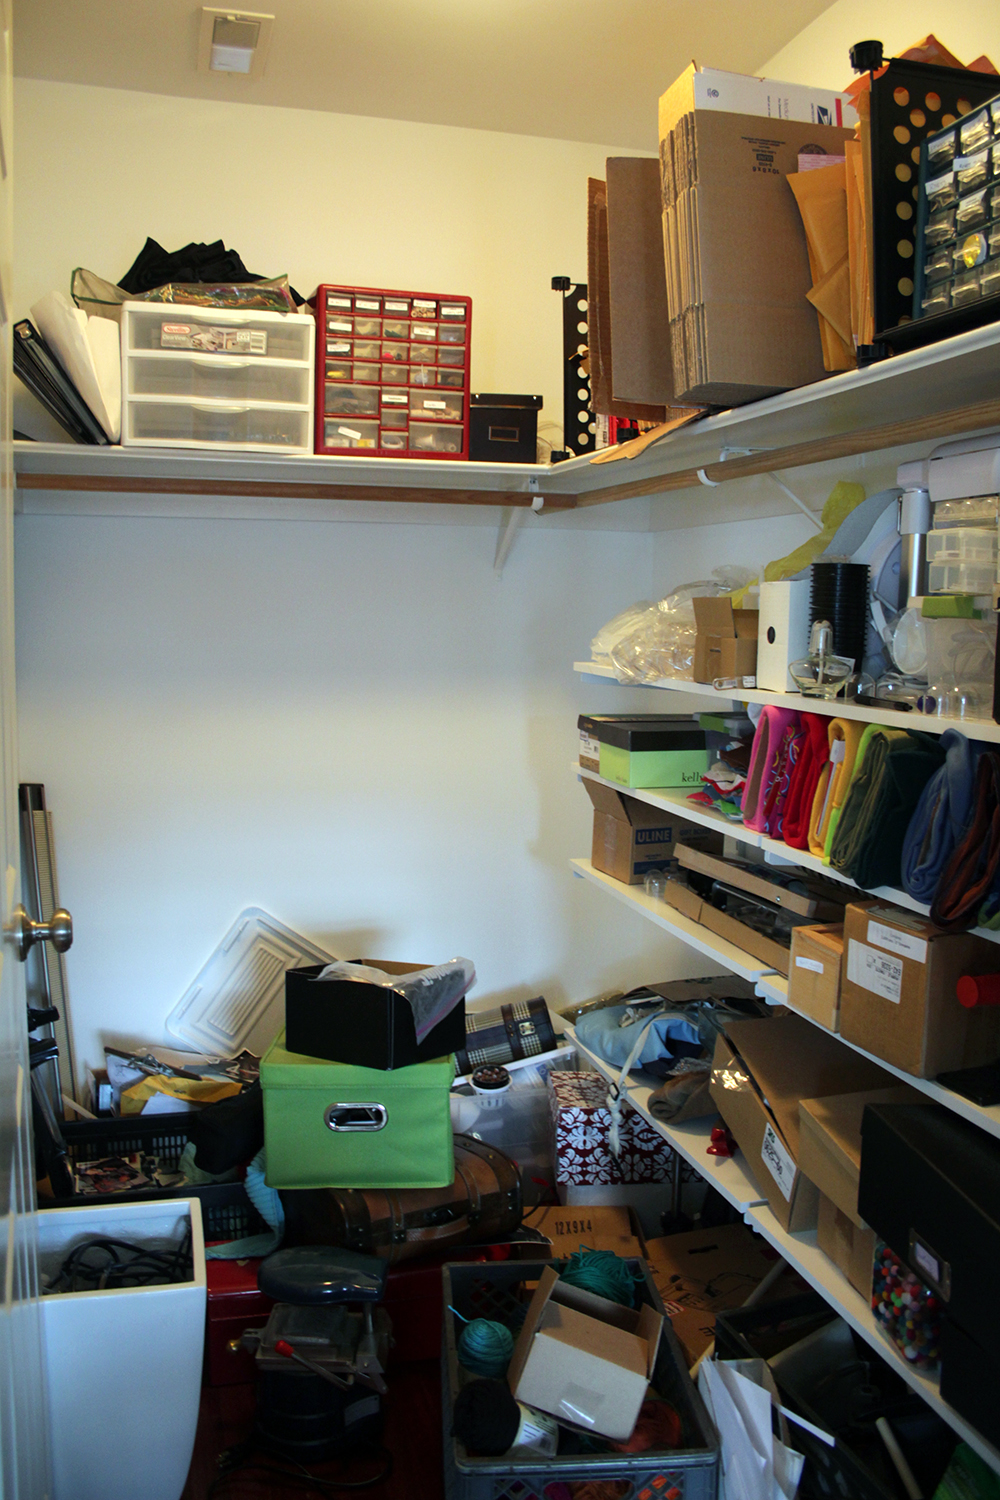
The house is finally starting to look good. Gone are the piles of debris everywhere (except the laundry room and downstairs bathroom). The carpets need a professional cleaning but at least they’ve been vacuumed. There’s a ton of little finishing to do all around the house, but the major stuff is very close to being done. My last big kitchen task is to tile the backsplash.

One slight unrelated aggrevation: the hot water heater has been cutting out periodically. After a phone call to tech support (yes, my water heater has a tech support line) it was determined that the flow rate isn’t high enough for the burner to kick on. The next debugging step is to figure out if the problem with the flow rate sensor, or the plumbing elsewhere in the house. I would not be even a little bit surprised if the problem is the plumbing, the water pressure upstairs seems lower than it should be. Sigh.

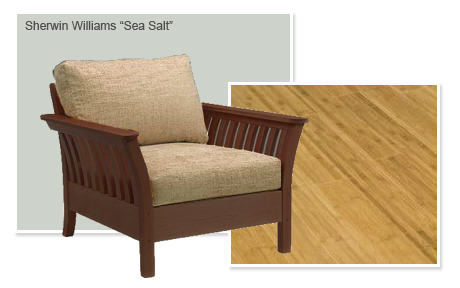
Oh well, plumbing can be fixed… and I’m finally approaching the fun part of this whole project… decorating! I’ve logged more hours on Pinterest lately than I’d like to admin. And I might be seriously considering getting a tide clock (but only if I can find a pretty analog one that doesn’t have to be manually set every week).

But whatever that can all come later. Painting is done! Flooring is done! Hooray!

New Construction Townhome

Closet Saga, Part 1

“Organize my office closet” has been on my to-do list for a long time. This week was the week.

Not shown: piles of boxes outside the closet

I have some cheap Ikea standards and brackets (on the right) which absolutely had to go. They wobble and are a pain to deal with. And I needed shelving on the back. And the wrap-around top shelf and clothing rod weren’t helping matters.

The Ikea stuff came out easily enough (save for the drywall anchors… ugh). But the wrap around shelf was another story. It turned out it had been nailed in all the way around. And there were many coats of paint on the shelves so the nails were near impossible to find, let alone dig out. So I got out a prybar and started pulling the stuff down.

At one point, with a sickening ripping sound, it became clear that some of the drywall was coming along for the ride. It turns out not only was the shelving nailed to itself and the wall, it was also caulked and glued in place. And so a great deal of drywall came down with it. The horizontal stripe below is the totally unpainted drywall, with a scar on the left and all along the top from the caulking.

Please excuse the bad lighting in my closet.

To make things more awesome, all this caulking, nailing, and gluing had been done on unsealed drywall so there was absolutely nothing to keep it from taking giant chunks out of my wall.

Well that sucks.
Well that sucks.

I got a self-adhesive mesh patch to go over the worst spot (shown above) and a big tub of joint compound. The first coat is drying now. In all honesty I’m not being a perfectionist about it – it’s a closet. I used a 8″ wide putty knife to smooth the edges of the layers, and only plan on sanding after the final layer. Most of the closet should be OK with two, except for the huge gash which will need at least 3.

I hadn’t originally intended to paint the closet, because it’s a closet, but now I’ve got to prime and paint at least the patches. And it’s a small enough room that I can probably handle painting the whole thing. And while I’m at it, I’ll change the color to something nice, like the blue we used in the guest room:

6962000425_26e23e6bfe

But seriously, who glues in shelves?

New Construction Townhome

Painting is done!

At last, the painting is done and the house is ready for us to move in! When people ask what color we painted, I say “all of them.” There were no less than 13 different colors used (though because I’m a creature of habit most of them were shades of blue, grey, or beige).

Unfortunately I don’t have great photos of all the different colors, because despite bringing all the rest of my camera stuff I somehow managed to leave the one lens I need at the old place. So the rest of the photos will have to wait until after we move this weekend. But I did manage to take a couple snapshots.

BabyRoom

I really enjoy the looks on people’s faces when I say that we painted the nursery black. To be fair, it’s really a very dark slate grey (Sherwin Williams Iron Ore), but it looks pretty black. We’re pairing it with a lot of really bright furniture and decor.

MediaRoom

The media room, where our TV and games will go, is blue (Sherwin Williams Turkish Tile) except for one wall. A friend of ours who used to do TV installation said that blue walls make the colors of your TV look awful, so the TV wall is the same dark grey we used in the nursery. The carpet is made up of individual modular tiles, by Flor.

BedroomFront

The front part of the master bedroom is a tealy sort of color. Sherwin Williams calls it “Hazel” but depending on the light it looks alternately blue or green.

The painter who did the work painted pretty much every paintable surface in the house, including all the trim and doors. It took about two weeks, but the house looks absolutely amazing. Should anyone be looking for a painter in Philadelphia I would definitely recommend him. After one more cleaning we’ll be all set to move in this weekend.

New Construction Townhome

Picking Wall Colors

Now that the floors are in (photos forthcoming after the dust is gone) we can start picking out paint. Picking paint colors is hard. For the time being we’re just focusing on the main floor, which is an open floor plan with a kitchen in the middle and room for seating at either end.

On one end, nearest to the kitchen, we want to create a nice sitting area to chat / read, with built in bookcases. This area opens up to the back patio as well as the kitchen (which has decidedly contemporary cabinets), so we kept it pretty light and airy.

There’s also a fireplace surrounded by blue-green stone on one wall, which dramatically influenced what colors we could use. I got a few different swatch strips from the paint store and taped them all up next to the fireplace to see which hue matched the stone the best.

The chairs we chose in approximately the colors we chose.

Armed with our paint swatch and a sample of our flooring we headed to the furniture store, and spent maybe an hour comparing woods, stains, and upholstery until we got something that looked good together.

At the other end of the house is what we’ve been calling the “media room,” which is basically a shrine to our video game consoles. After keeping things pretty tame in the living room, we went a little nuts with color and opted for decidedly more modern furniture.

We opted for a sectional in the same style/line

To choose the blue, I went a little overboard and mocked up a ton of different color options in Google Sketchup. I even created a 3D model of the sectional we picked out.

TurkishTile - With Lorimer
Computer rendering of the room

Sherwin Williams conveniently provides the approximate RGB values for their paints, and you can see some of the earlier color options on Flickr. After a ton of deliberation we had our color, and a vague idea of what it might look like. I got a sample quart of paint and painted swatches on each wall in the room, to make sure it was going to look right.

After picking out color for just two rooms I’m pretty sick of looking at paint swatches, so I doubt I’ll go quite as nuts with mockups and options for the bedrooms.  We’re headed to Disney World next week, and I’m definitely looking forward to a week away from looking at home decor!