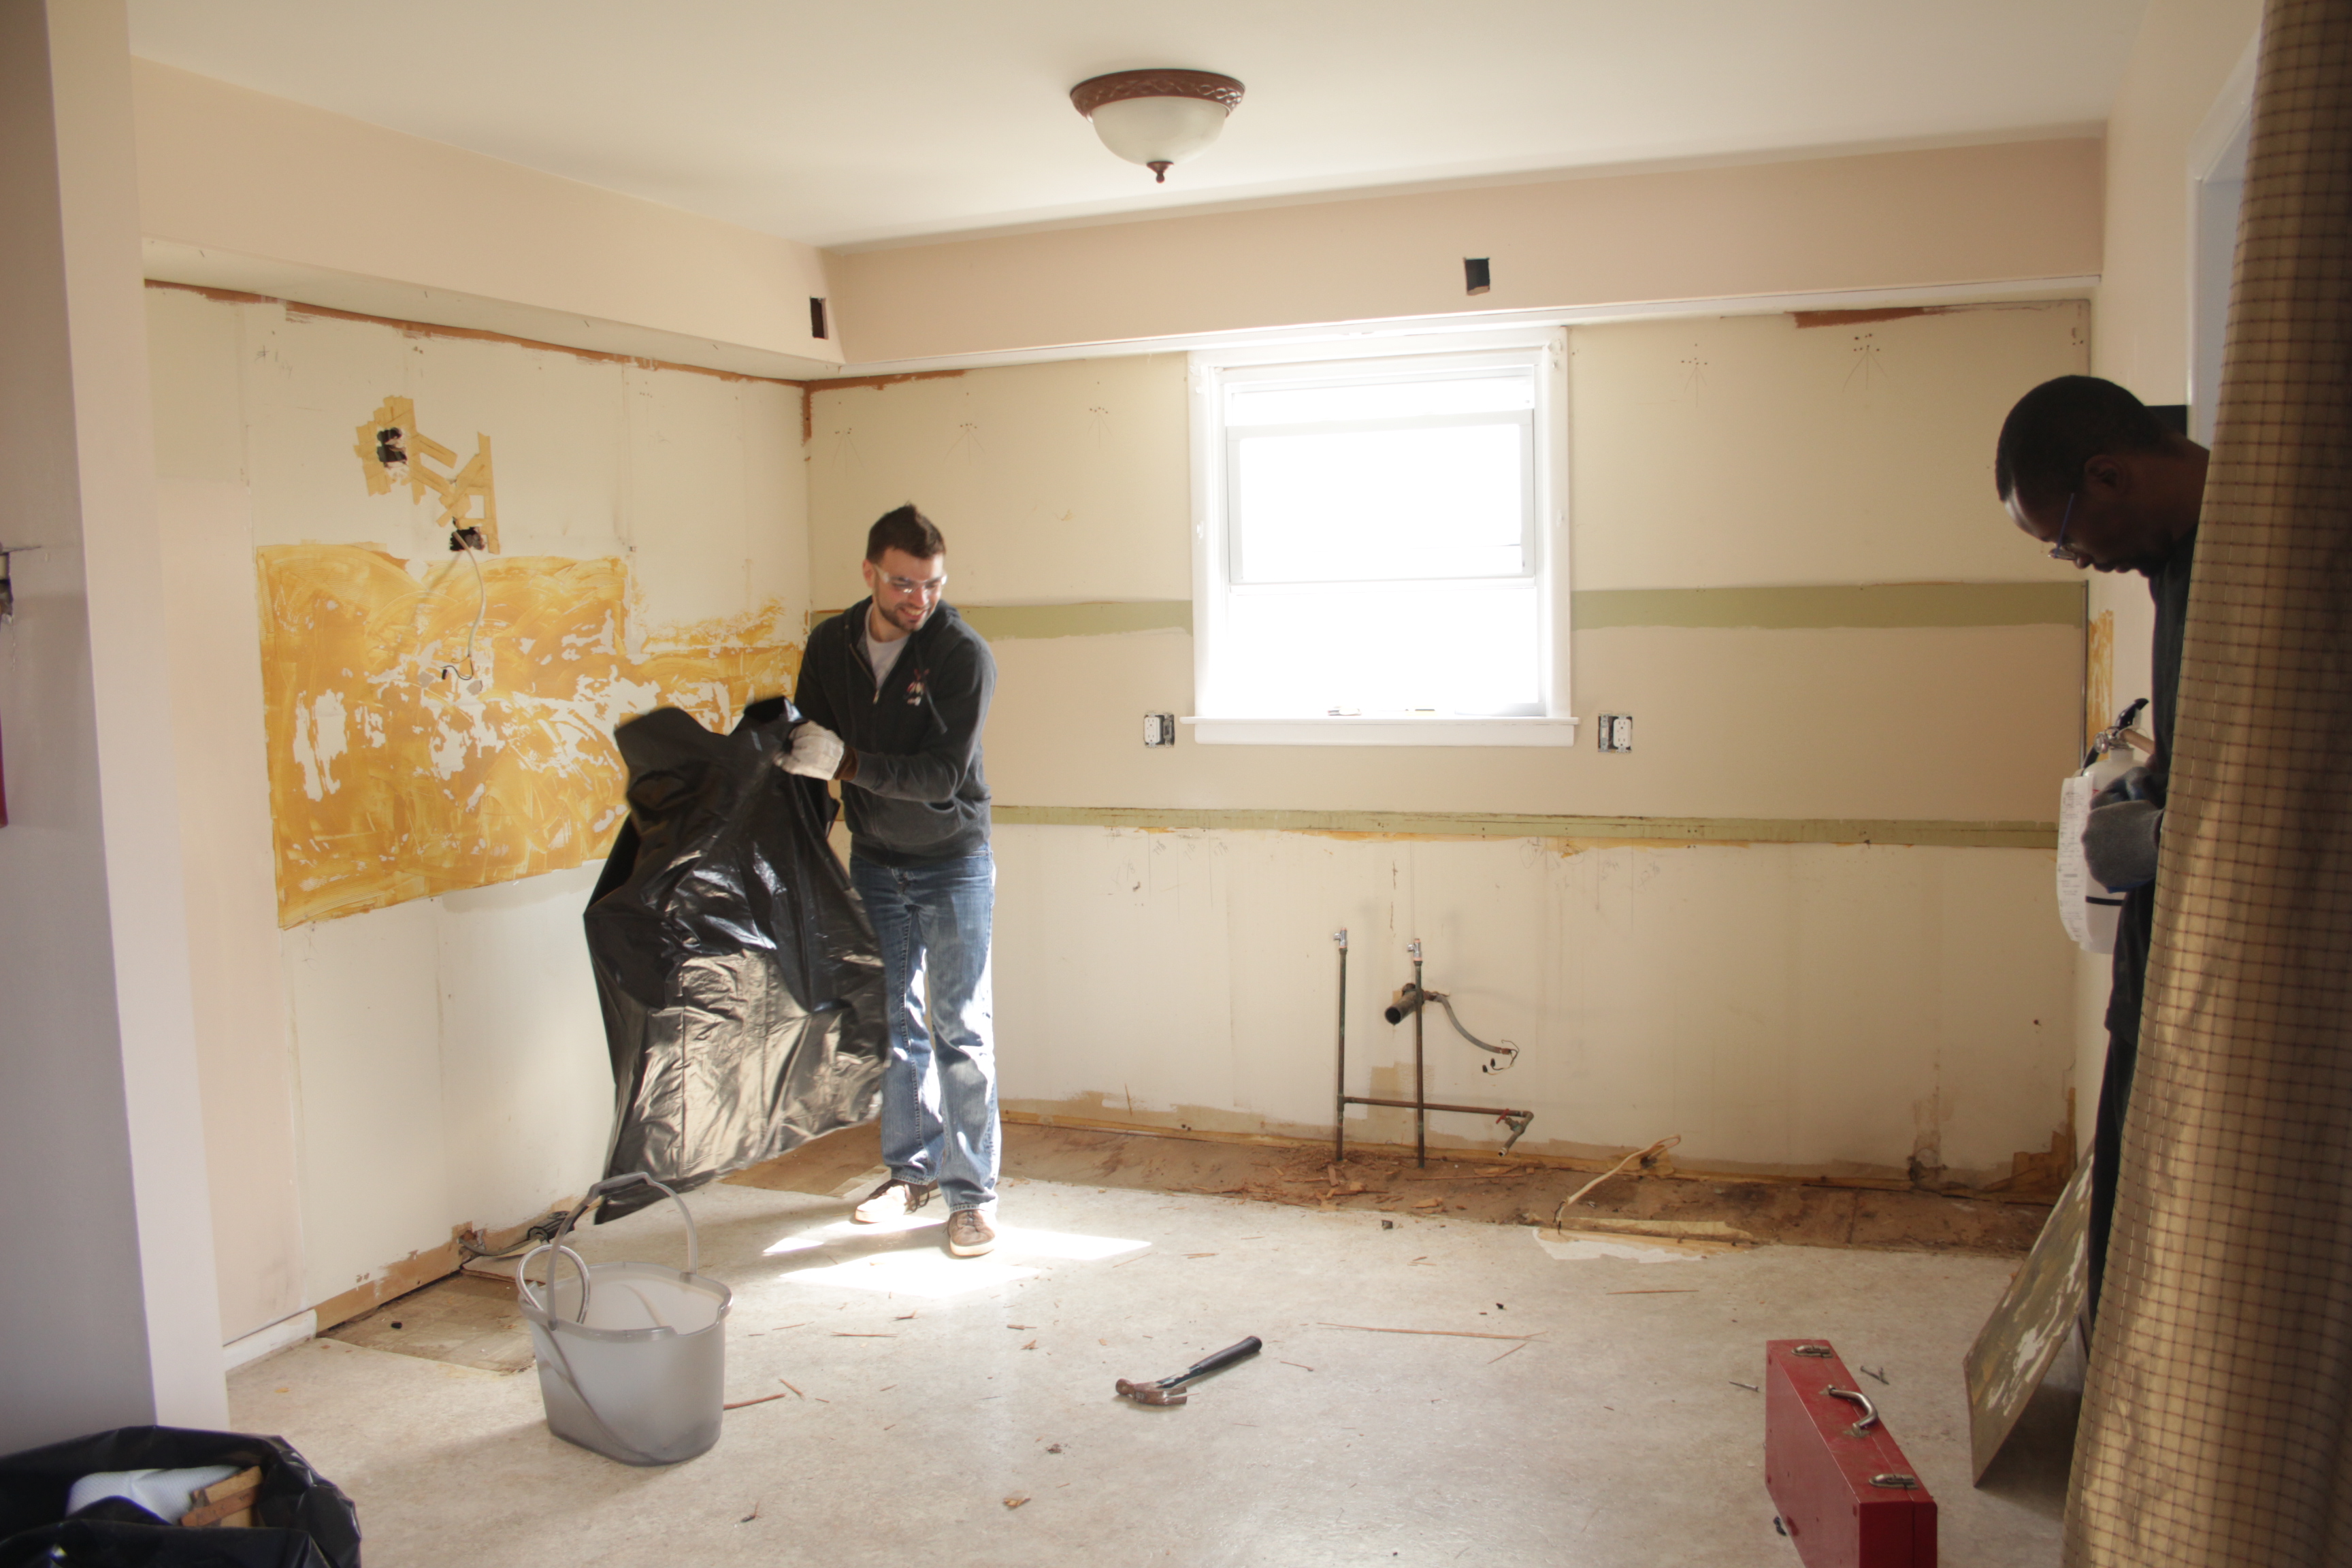
This weekend seven of us descended upon the shore house to rip out the kitchen and begin prepping the walls for paint.
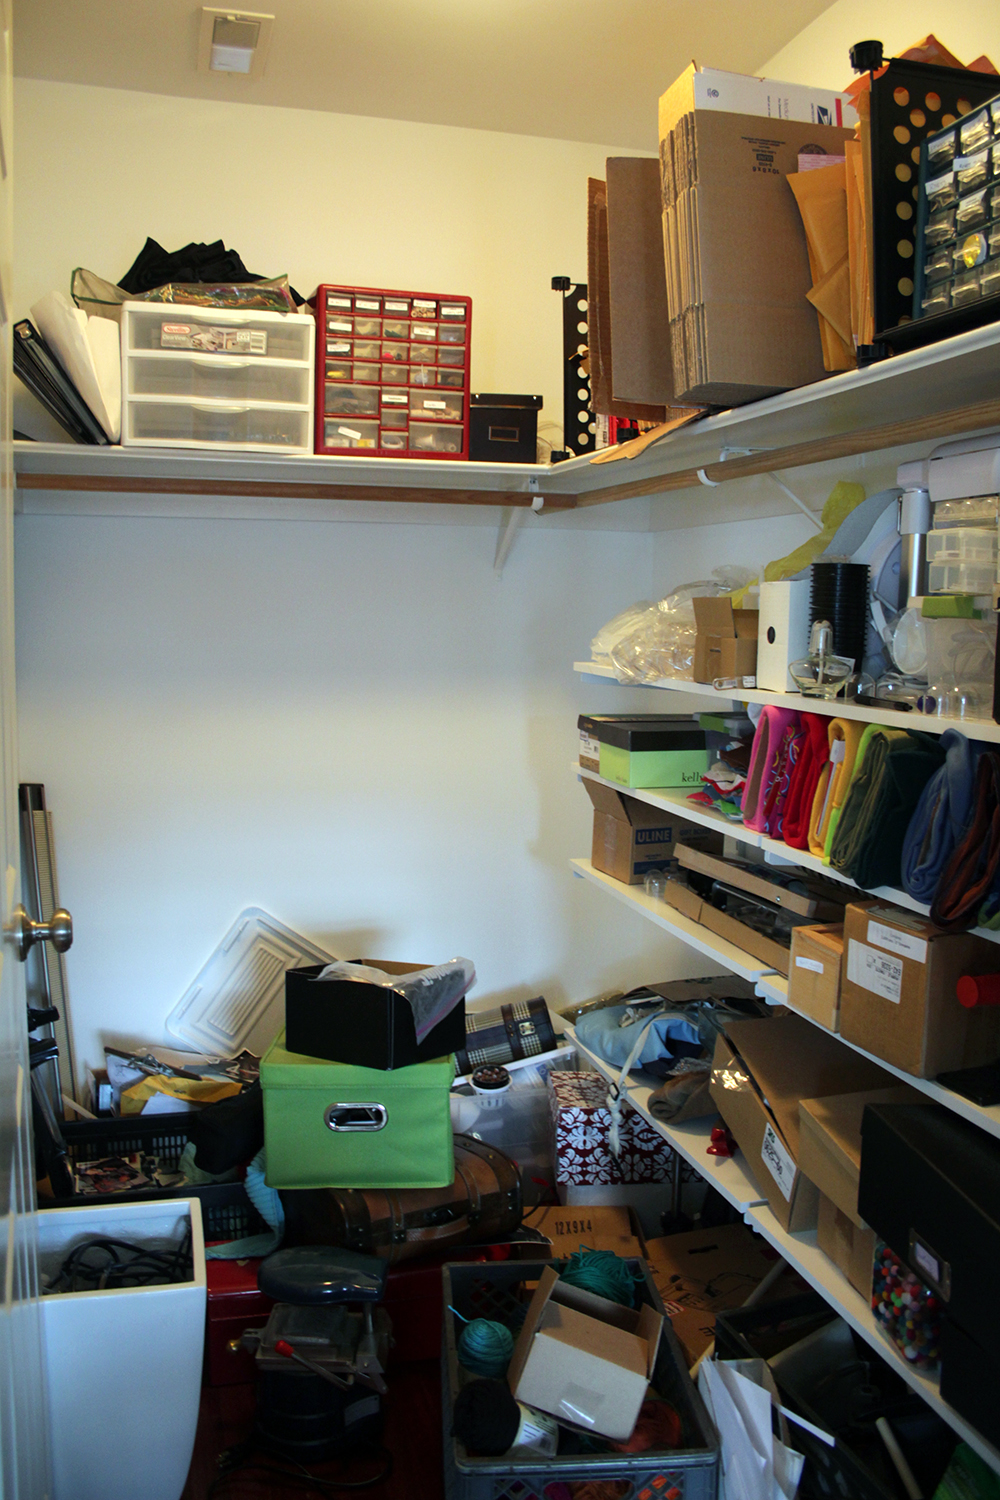
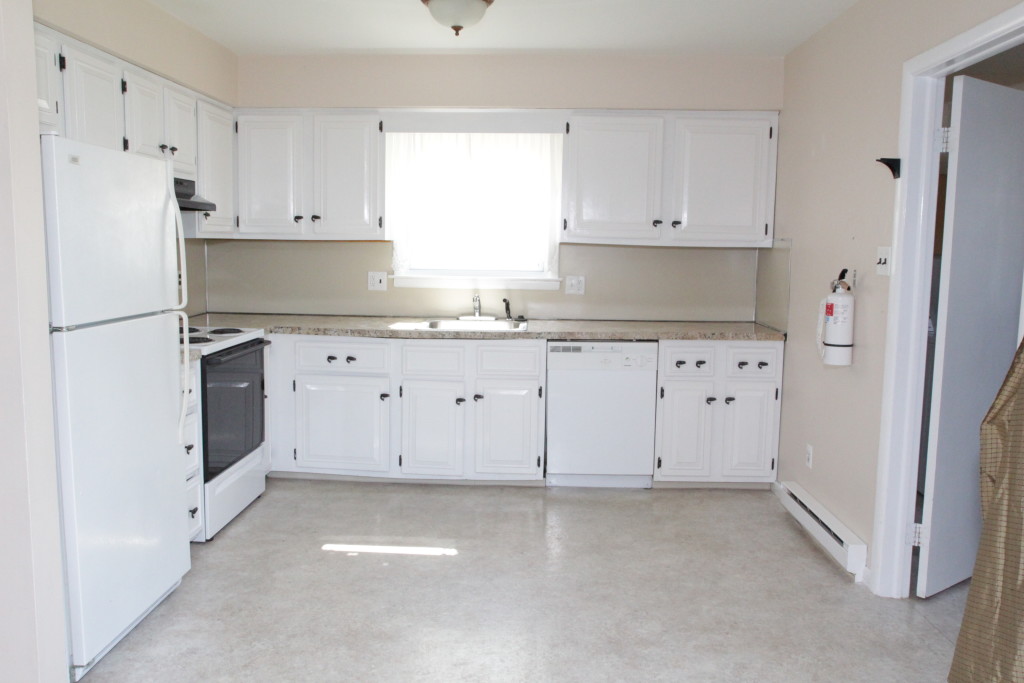
Take a good look at this picture of the kitchen, because it’s the last you’ll see of it!
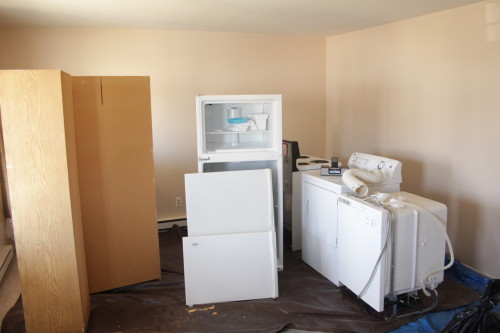
First we removed all the appliances and put them in the living room. I was really glad I had my dad and another handy friend with us, because I had no idea how to remove a dishwasher. Additionally, the shutoff valve for the dishwasher water supply failed, spraying water everywhere. Thankfully there is very easy access to the main water shutoff, and we could use my in-laws’ bathrooms next door.
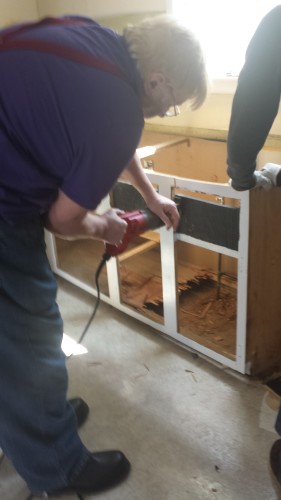
Next we took off the doors and started taking the cabinets apart. The sink came out and then we ripped off the countertops.
Some of the cabinets came out in one piece, and those will be donated to Habitat for Humanity’s ReStore along with the dishwasher, stove, sink, and garbage disposal. Other cabinets were not so lucky.
Removing the cabinets revealed that there were not two layers of vinyl flooring, as we’d thought, but actually three.
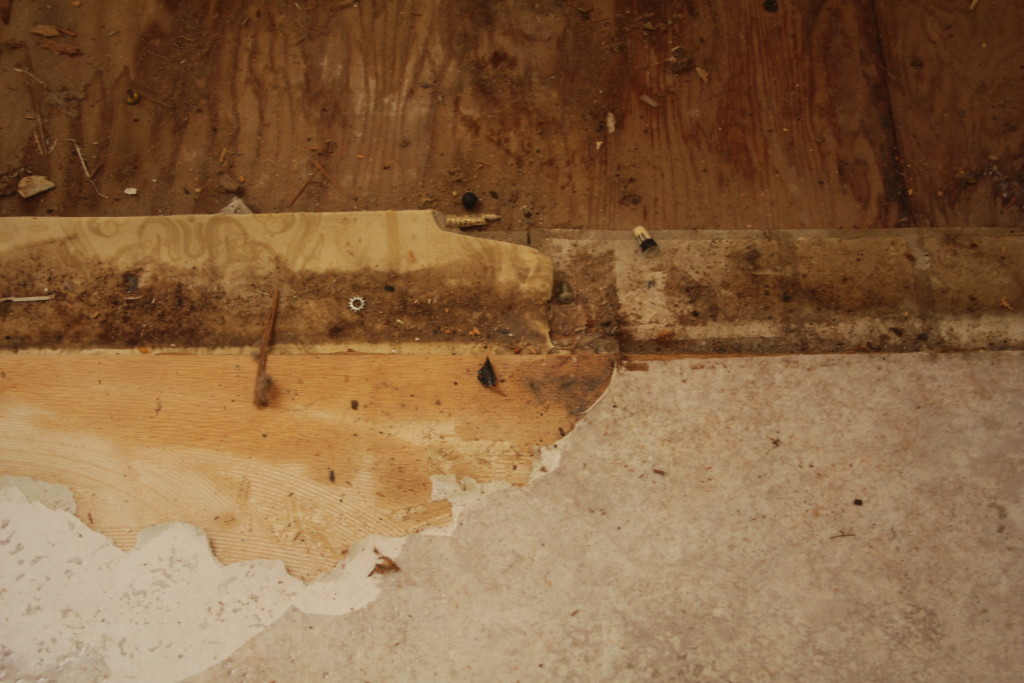
I took samples of the layers of flooring and had them sent to a lab for asbestos testing. Thankfully they came back negative, but it’s still gross dirty work so we wore respirators. The plan was to take up the top two layers and leave the one beneath that. There are only so many surprises I can take in one day.
Between each layer of vinyl was a layer of plywood underlayment. The plywood was held down with approximately 1000 staples. It took four of us at least four hours to get all the goddamned staples out. Each staple was at least an inch long and had to be pried out with vice grips. Regular pliers were completely useless for the task.

After pulling out staples forever we pulled up the middle layer. Because it was glued down (surprise!) the bottom layer started coming up with it. Thankfully the bottom layer came up mostly intact so it wasn’t too terrible. I don’t know what the moral of this story is, because I don’t think it’s “leave your floor covered in 40 years and 2 inches worth of vinyl.” My takeaway is that we should build a time machine and stop everyone from putting a million layers of flooring down.
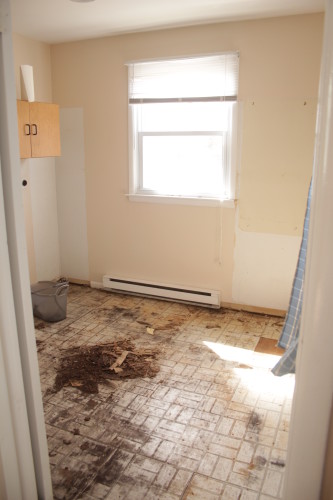
Thanks to water damage on the floor, the plywood in the laundry room came up without taking much of the asbestos tile with it. The pile of debris in this photo is actually plywood that had decomposed into dirt. On the right side you can see a spot that jettisoned an old tile.
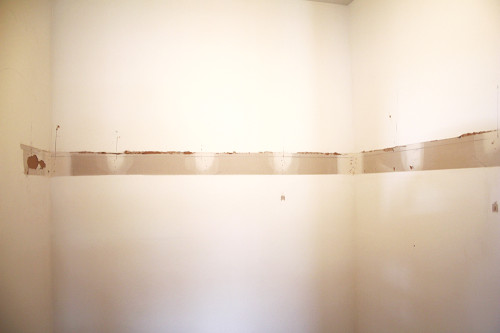
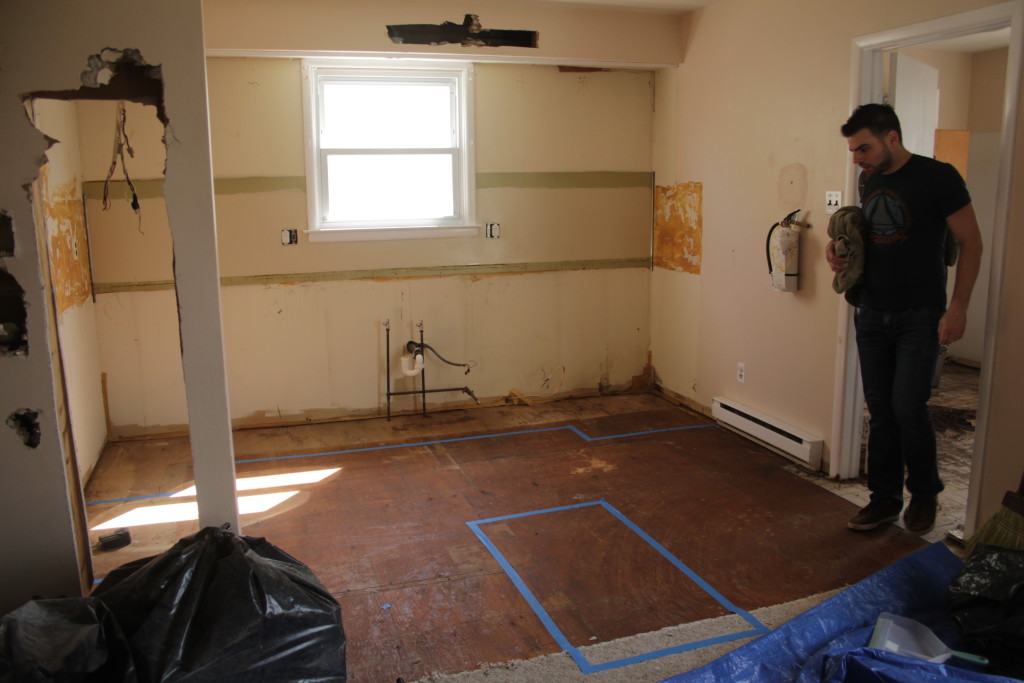
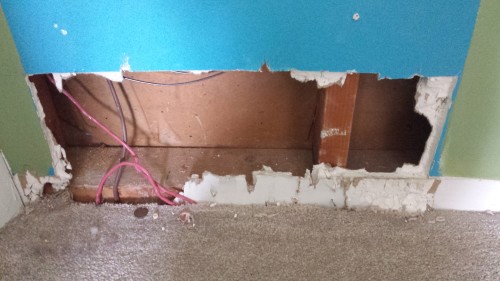
The last major items to demolish are the soffit above the cabinets and the wall next to the fridge. And electrician came in and removed the wires that were running through the wall so that we could safely remove it. He’ll be back in a few weeks to button it all up.
With the kitchen emptied out I taped off where the new cabinets are going to go. I wasn’t sure about the island before, but now I think it’ll fit comfortably.
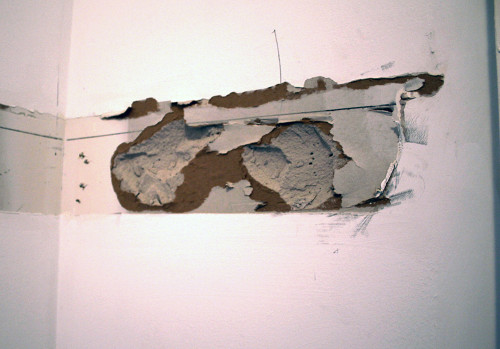
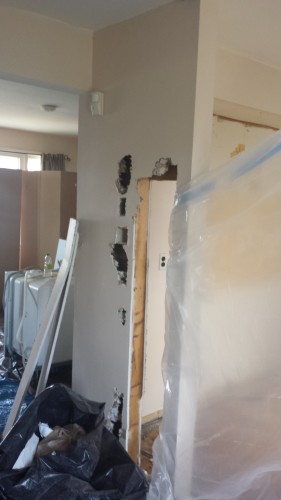
There is still some work to do but it’s coming along. In addition to the kitchen demo there was also a ton of spackling and sanding happening upstairs. I salvaged some of the drywall from the kitchen wall in order to make a patch which will go in this charming space where someone ran wires and didn’t close it back up. Or paint around it.
In the meantime I’ve got a million contractors scheduled. The crawlspace needs work (which we knew about before purchasing) and originally I was going to put it off because it’s not urgent. After spending 5 minutes under there I think we should do it sooner rather than later. It’s very damp all the time due to the fact that the soil has eroded below the bottom of the foundation and water has no way to escape.
Other big-ticket items are the heating system. I want to convert to gas, and then if we convert to gas the question is do we replace the aging hot water heater now. And if we do, do we get a tankless system. The tankless system is wayyyyyyy more expensive but in a house where we’ll regularly have 8+ people sleeping/showering a tankless system is very appealing. Even if we can only run one shower at a time (a complaint I’ve heard with tankless), 8 warm showers is better than 2 warm showers and 6 cold showers.
Right now I’m feeling a liiiiiittle bit overwhelmed by the scope of this project. We can talk about my sticker shock over the price of countertops another day.