We decided to move the Amazon spybot Echo out of the living room and I needed to come up with a new way for the kids to play music, since they can no longer run around yelling “Alexa, play Katie Perry!” 200 times per day.
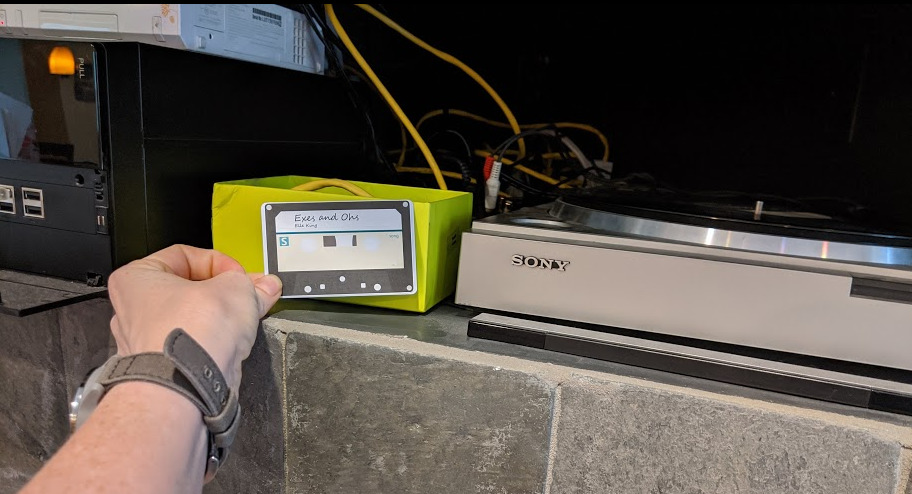
I combined a Raspberry Pi with an RFID reader to make a system where the kids can grab a card and swipe it in order to play a song or playlist.
I’ve seen both RFID and mag-stripe based music players built around Raspberry Pis so putting this together was more about assembling the bits that suited my needs rather than actually doing any hard work. Helen Hou-Sandí has a really thorough write up of her project which was the jumping off point for mine.
I ended up installing and configuring the music server by hand rather than using Pi MusicBox. Pi MusicBox is built on top of Mopidy, which I installed on a fresh copy of Raspberry Pi OS (formerly Raspbian). I added in four extensions: Mopidy-Iris (web frontend), Mopidy-MPD (needed for command line control of the player), Mopidy-Spotify, and Mopidy-Local (which used to be bundled with the core but is now separate). This was a moderate pain so if you’re not familiar with the joys of Linux and Raspberry pi I suggest sticking with Pi MusicBox, which Just Works.
While I’m not an audiophile I do think the sound output on the Raspberry Pi is pretty miserable so I added a Hifiberry DAC+ card to it, which has RCA outputs I can connect to my stereo. Configuring the card is pretty easy, you just need to make sure you set the appropriate Mopidy config so it uses the RCA out and not the onboard headphone jack.
I picked up a 125kHz RFID reader and a package of 100 RFID cards. The RFID reader is a ready to go USB device that functions like a keyboard when you plug it into a computer, so no driver setup was needed for the pi.
Side note: the RFID reader has the weirdest configuration method I have ever seen. You plug it into your PC, swipe a special “configuration card” and then it will start spitting out config options, one second at a time, into Notepad or whatever you’ve opened up to accept text input. When it gets to the setting you want you unplug it to “save” that setting.
When the Pi boots up it runs a bash script that listens for the RFID reader’s input. The cards I got were pre-programmed and read only, so I set up a document that correlates the card number to the song or playlist to play. Each line has the 10 digit card number, track URI, and a comment about what it is to make the list easier to update later. The script is a fork of the one Helen wrote for her jukebox project. I tweaked it so I could include the card number and comment in the song list, and designated a specific card to trigger a graceful shutdown in case it needs to be unplugged, moved, etc.
Helen’s original repo is here and my modified version of the file is here.
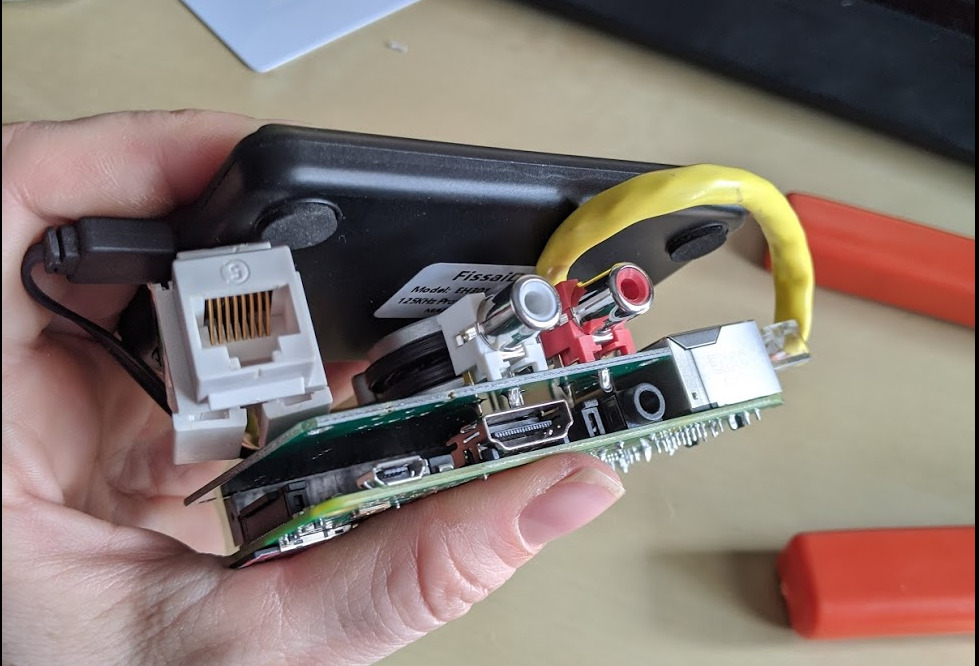
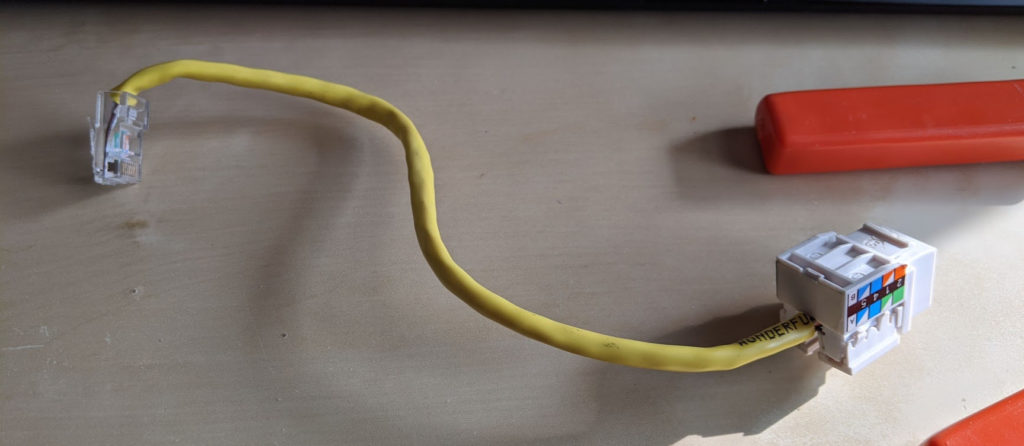
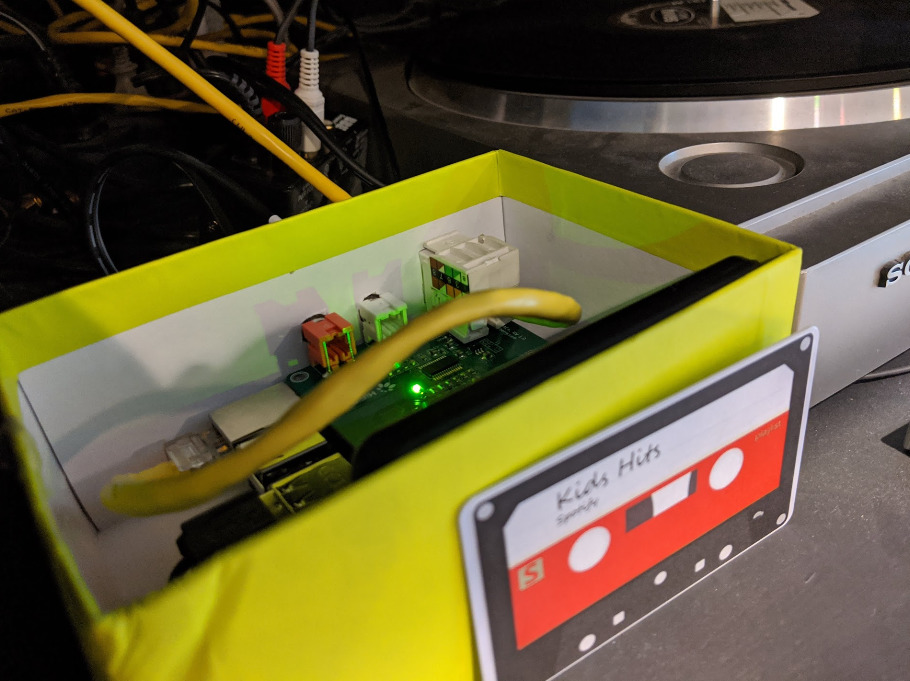
I’m using a Raspberry Pi 3B+ which has the ethernet jack on the side and I wanted everything to be on the same face so I make a short ethernet cord to bring the jack around to the back.
Eventually I’d like to make a nice enclosure for it but right now this cardboard box is doing just fine. I made a template for the outputs and hacked some holes in it with an xacto knife.

Here’s everything nestled into the box, with plenty of room to spare:
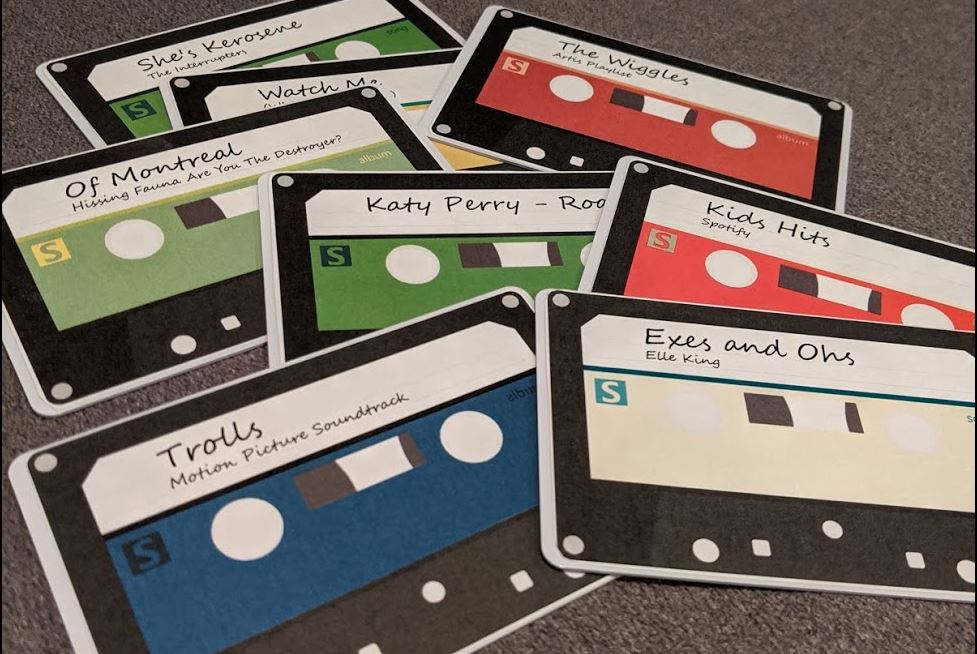
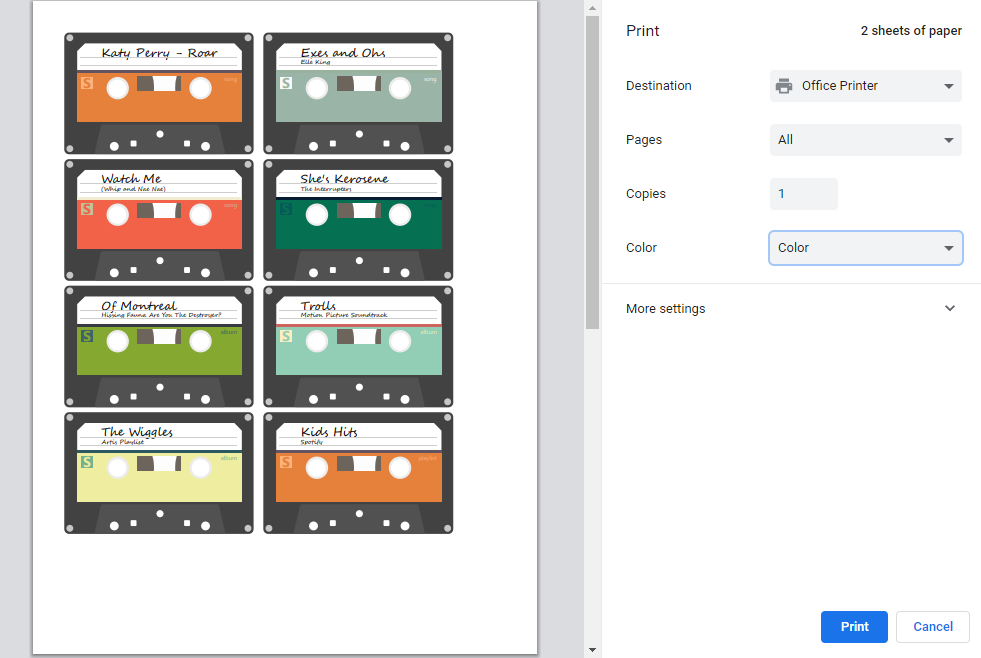
I put together a quick tool to generate the labels. Photoshop has surprisingly clean SVG output. I was able to use that with a script that swaps in the artist / song title and changes the colors for each label. I’m still working on tweaking the label images but the basic process is to put the titles into a JSON file, run that through the script which outputs to a browser, then use Chrome’s “print to PDF” to print it out. It’s not really the best way to dynamically create printable PDFs but it was easy and it works.
Future Enhancements
I’ve got it working well enough to suit our needs but there are definitely some things that could improve it for the future, including:
- Nice looking enclosure
- Attached card holder / organization
- Physical play / pause / next / previous and power buttons
- Moving the track listing into a database of some sort (maybe Airtable) for easier updating and maintenance
- Cutting out the labels on my Silhoutte Cameo rather than by hand
- Amiibo support
The last one is just a silly add-on. I realized after I’d ordered the reader and cards that Amiibo use NFC and it would be neat to be able to scan those and play songs as well. Unfortunately it’s a different frequency than the reader I ordered.
Originally I had planned for a card holder to slide the currently playing card into, and have it look like a cassette deck. Right now this doesn’t work because after a few seconds the RFID reader scans it again and starts the song over. I’m sure I could come up with a software workout for that though.
Materials
Here’s a list of materials and components, most of which I already had lying around.
- Raspberry Pi 3B+ ($25 at Microcenter)
- Hifiberry DAC+ ($29 at Hifiberry)
- 125kHz RFID reader ($34 on Amazon, though this is a generic Chinese brand)
- 125kHz RFID cards ($22 for 100 on Amazon)
- Ethernet extender (I made my own but they’re $5 on Adafruit)
- Sticker Paper ( $37 for a 100 sheets at Onlinelabels, you can find smaller quantities at Michaels or Staples)