Crafting

Knitting Machine Teardown Part 2

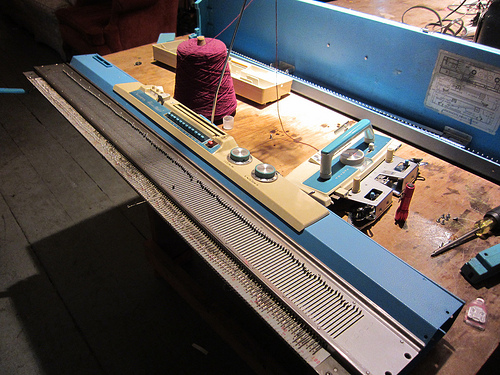
After purchasing a fresh sponge bar for the Toyota K747 I started to put it through its paces. It knits stockinette beautifully, so I started working through the tuck stitches.

At first I couldn’t get the I and II buttons to stay in place at all. After some disassembly and a lot of oil, we got things moving again and it works great. But I quickly noticed that the 3rd needle selector wasn’t working. So I started to disassemble the machine to figure out why.

IMG_0289

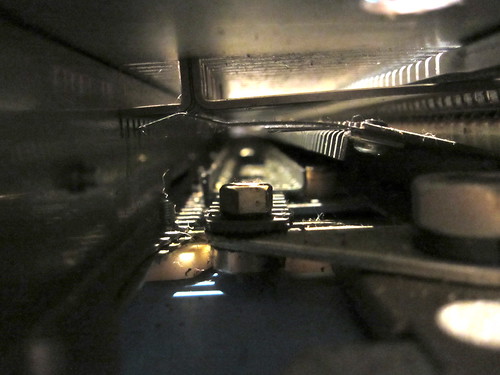
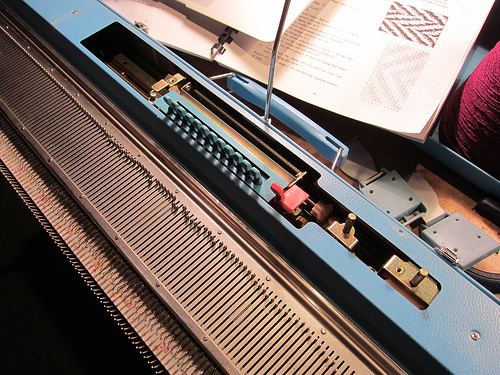
With the top cover off you can see some of the neat mechanisms in there. The zigzag gear (right) physically moves the needle selector up or down the needle bed. This means if you have a simple shifting pattern like a zigzag or checkerboard, you don’t need a punch card at all. You can just move the zigzag back and forth with each row.

Each of the blue needle selector levers rotates down to catch a small lever on the bottom of the machine. When these levers are caught, they cause the corresponding shafts (anyone know what these are really called?) to raise, which then push the needle butts forward. The small red lever releases the needle selectors.

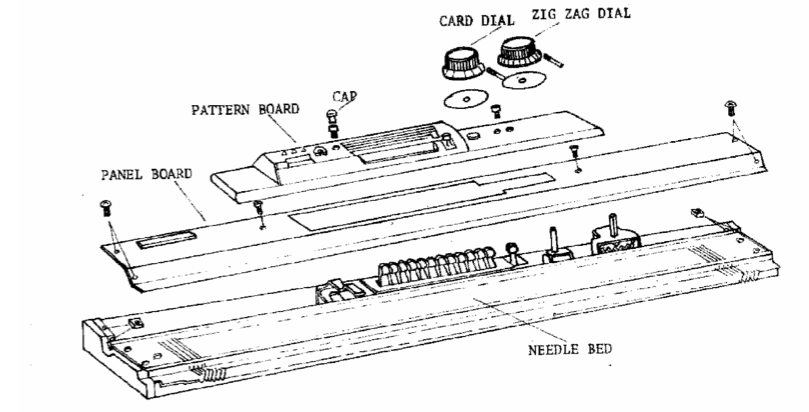
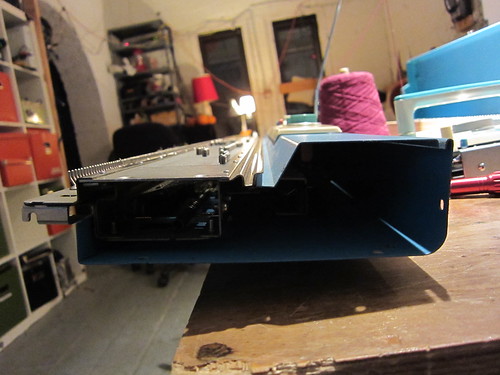
Getting into the machine was a little tricky, you have to remove the card and zigzag knobs to access all the screws. Thankfully there’s a useful diagram in the K747 service manual. With the knobs removed, you can see the discoloration of the plastic over the years.

IMG_0287

I had to fully remove the needle bed from the machine casing to get at the needle selector levers. Unfortunately by that time my hands were absolutely covered in grease so I couldn’t take many pictures. But once I got it out, I could flip it over and see the problem part:
Busted

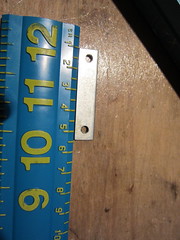
The two little tangs on the bottom of the 3rd needle selector have somehow broken off, though I’m really not sure how. Unfortunately disassembly/repair of that part of the machine isn’t covered in the service manual. I see two options going forward: 1) I can carefully disassemble the needle selector mechanism, 3D print a replacement lever, and pray to God that I can get it all back together again, or 2) Fashion some replacement tangs with Sugru and hope they stay in place.

Since option 2 doesn’t require completely disassembling the machine, I’m going to try that first. There are a lot of little springs and I’m not sure I have the dexterity to get them all back in place again. I’d also like to better document the machine teardown, so sometime in the new year I’ll recruit an assistant and take apart / photograph the whole thing.

In the meantime the machine works great, and I can come up with plenty of patterns that avoid the 3rd needle selector.

Crafting

Toyota K747 Knitting Machine Instruction and Service Manuals

When I partially dismantled my K747 knitting machine I wasn’t able to clean it out much because I couldn’t get it completely opened up. I was thrilled to find a copy of the Service Manual as a free PDF, and can’t wait until I have a spare weekend to get in there are de-gunk it.

When I first got the machine, I had no idea what model it was. Thankfully the folks at Newton Knits did, and were able to guide me to the right replacement sponge bar and needles, as well as a copy of the instruction manual.

I’ve noticed that there are a ton of people selling PDFs of the scanned manuals, for a king’s ransom. One on eBay was $15 plus $4 shipping for a CD with the PDF on it. Mind you this is a PDF that the seller didn’t even author, they just scanned the book. Someone else holds the copyright.

I was able to find the instruction manual for the lace carriage as a free PDF, which led me to copies of the service manual and instruction manual for the machine itself. I’m making them available here for anyone who so desires them, free of charge.

Toyota K747 Instruction Manual
Toyota K747 Service Manual
Toyota K747 Lace Carriage Manual

If you have a different machine you need a manual for, check out this link. They list a huge number of free knitting machine manuals, many direct from the manufacturers.

Crafting

Knitting Machine Teardown

A few years ago I was given a Toyota K747 knitting machine, a gorgeous blue knitting machine that features a punchcard patterning system. It is by all counts a fascinating machine, and I was excited to receive a lace carriage for it today.

It’s been a while since I’ve devoted time to the knitting machine – they’re a bear to set up and take down so without somewhere to leave it set up all the time it can be daunting to use.

I noticed that one of the screws on the side wasn’t biting into anything, and decided to take the machine apart to figure out what was missing. I took out 6 screws on each end, and pulled off the end caps.

Side view

With the caps off I could stare into the dark abyss of needles and gears. I discovered it’s really challenging to take photos down a long, dark tube when using a point and shoot camera, so forgive the image quality of the following photos.

There are two “compartments” inside the machine, the front area which is all metal and has slots at the top for the needle tabs (called the needle butt) to stick out of, and the back which is mostly plastic where the needle butts rest. This is also where the patterning shafts (for lack of a better term) are located.

Here’s the front compartment, the front of the machine is to the left. If you have trouble seeing the needle tabs, click the image for an annotated version.

Front interior

Here’s the back. You can see there’s some greasy dusty areas. I’m not sure how to get in there to clean it. The needle shanks are pointing down to the “shafts”, which if you look closely you can see there are 12. The Toyota K747’s repeat is 12 stitches wide.

Rear interior

The missing part in question is a small rectangular nut which slides into the end cap. I’m really hoping this is something I can source rather than having to mill/tap one myself. Any suggestions for shortcuts are appreciated.

Mysterious nut

Aside from the missing nut, the machine is in great shape, and the nut isn’t super crucial to the machine’s operation. My next step is to find a scale version of one of the punch cards so I can cut some out on the laser cutter. I found a few places that claim to sell punch cards for it but none of them had them in stock.