New Construction Townhome, Organization

You Have to Clean Before You Can Tidy

My closet is now officially tidied (or KonMari’d, if you want to turn the method into a verb)! It doesn’t look drastically different, especially because the most dramatic change is in the drawers, but it  feels so much better in there. No more piles of t-shirts on the top shelf, no more collections of crap on the floor under the hanging clothes. No more pile of clothing I haven’t put away! Everything is where it belongs! Of course I’ll have to go through it again in 6 months once I’m back to my pre-pregnancy self and can wear normal clothes again, but even what I’ve done so far is a huge improvement.

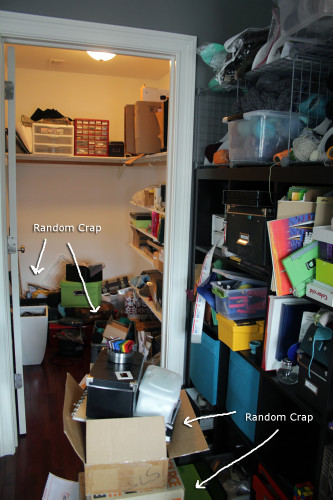
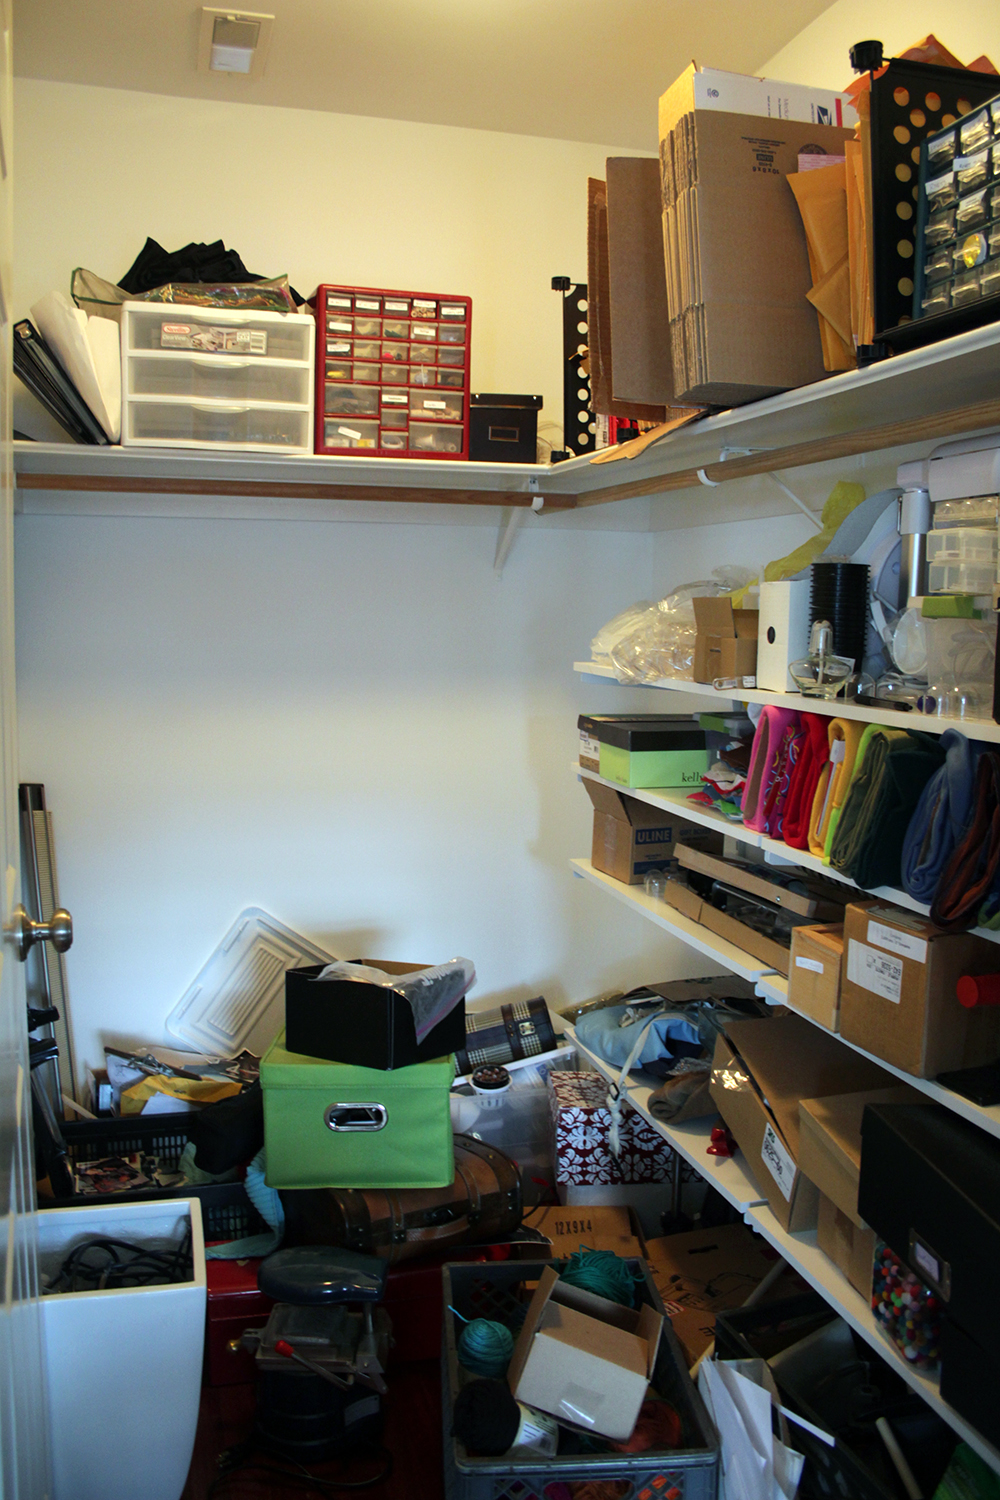
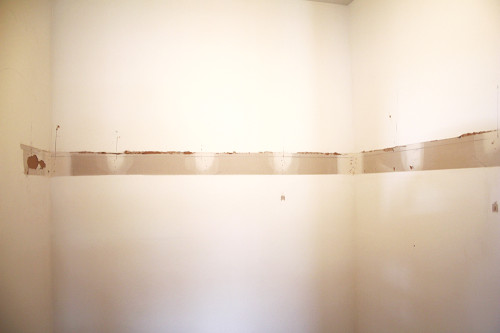
Next up is the hobby category. I talked about strategies for tidying hobby supplies in my last post, and sat down to tackle a new one today. Except my office is a mess (which is what inspired this whole thing in the first place). I realized that there’s a certain catch-22: you need to have a clear space to work in order to tidy effectively, but the reason I have no clear space is that I need to tidy! I spent about 20 minutes putting things away, throwing out trash, and doing the sort of clean-up I might do before company comes over. I didn’t worry too much about exactly where stuff went, I just tried to lump like items together and get the floor to a place where I could vacuum.

This brought me to tidying step 0: a vaguely clean office.

Clean enough to vacuum but still pretty cluttered

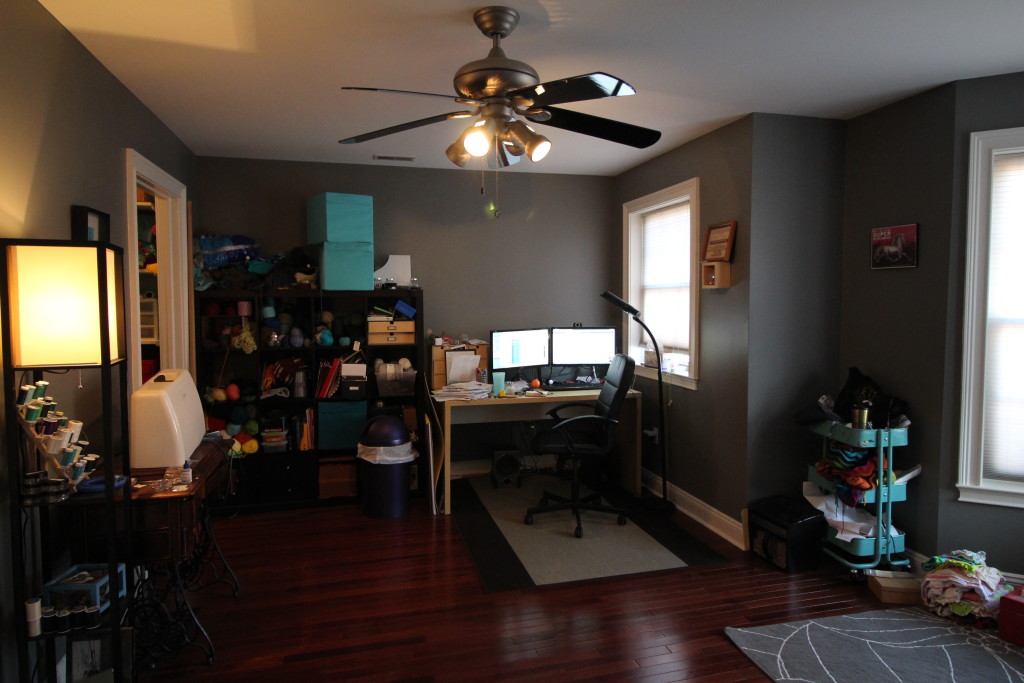
Then I tackled my electronics, which didn’t have a ton of stuff in it but was still challenging. I relocated a lot of random cables to the basement (where we have storage bins with various computer parts) and got rid of some very old mostly broken hardware.

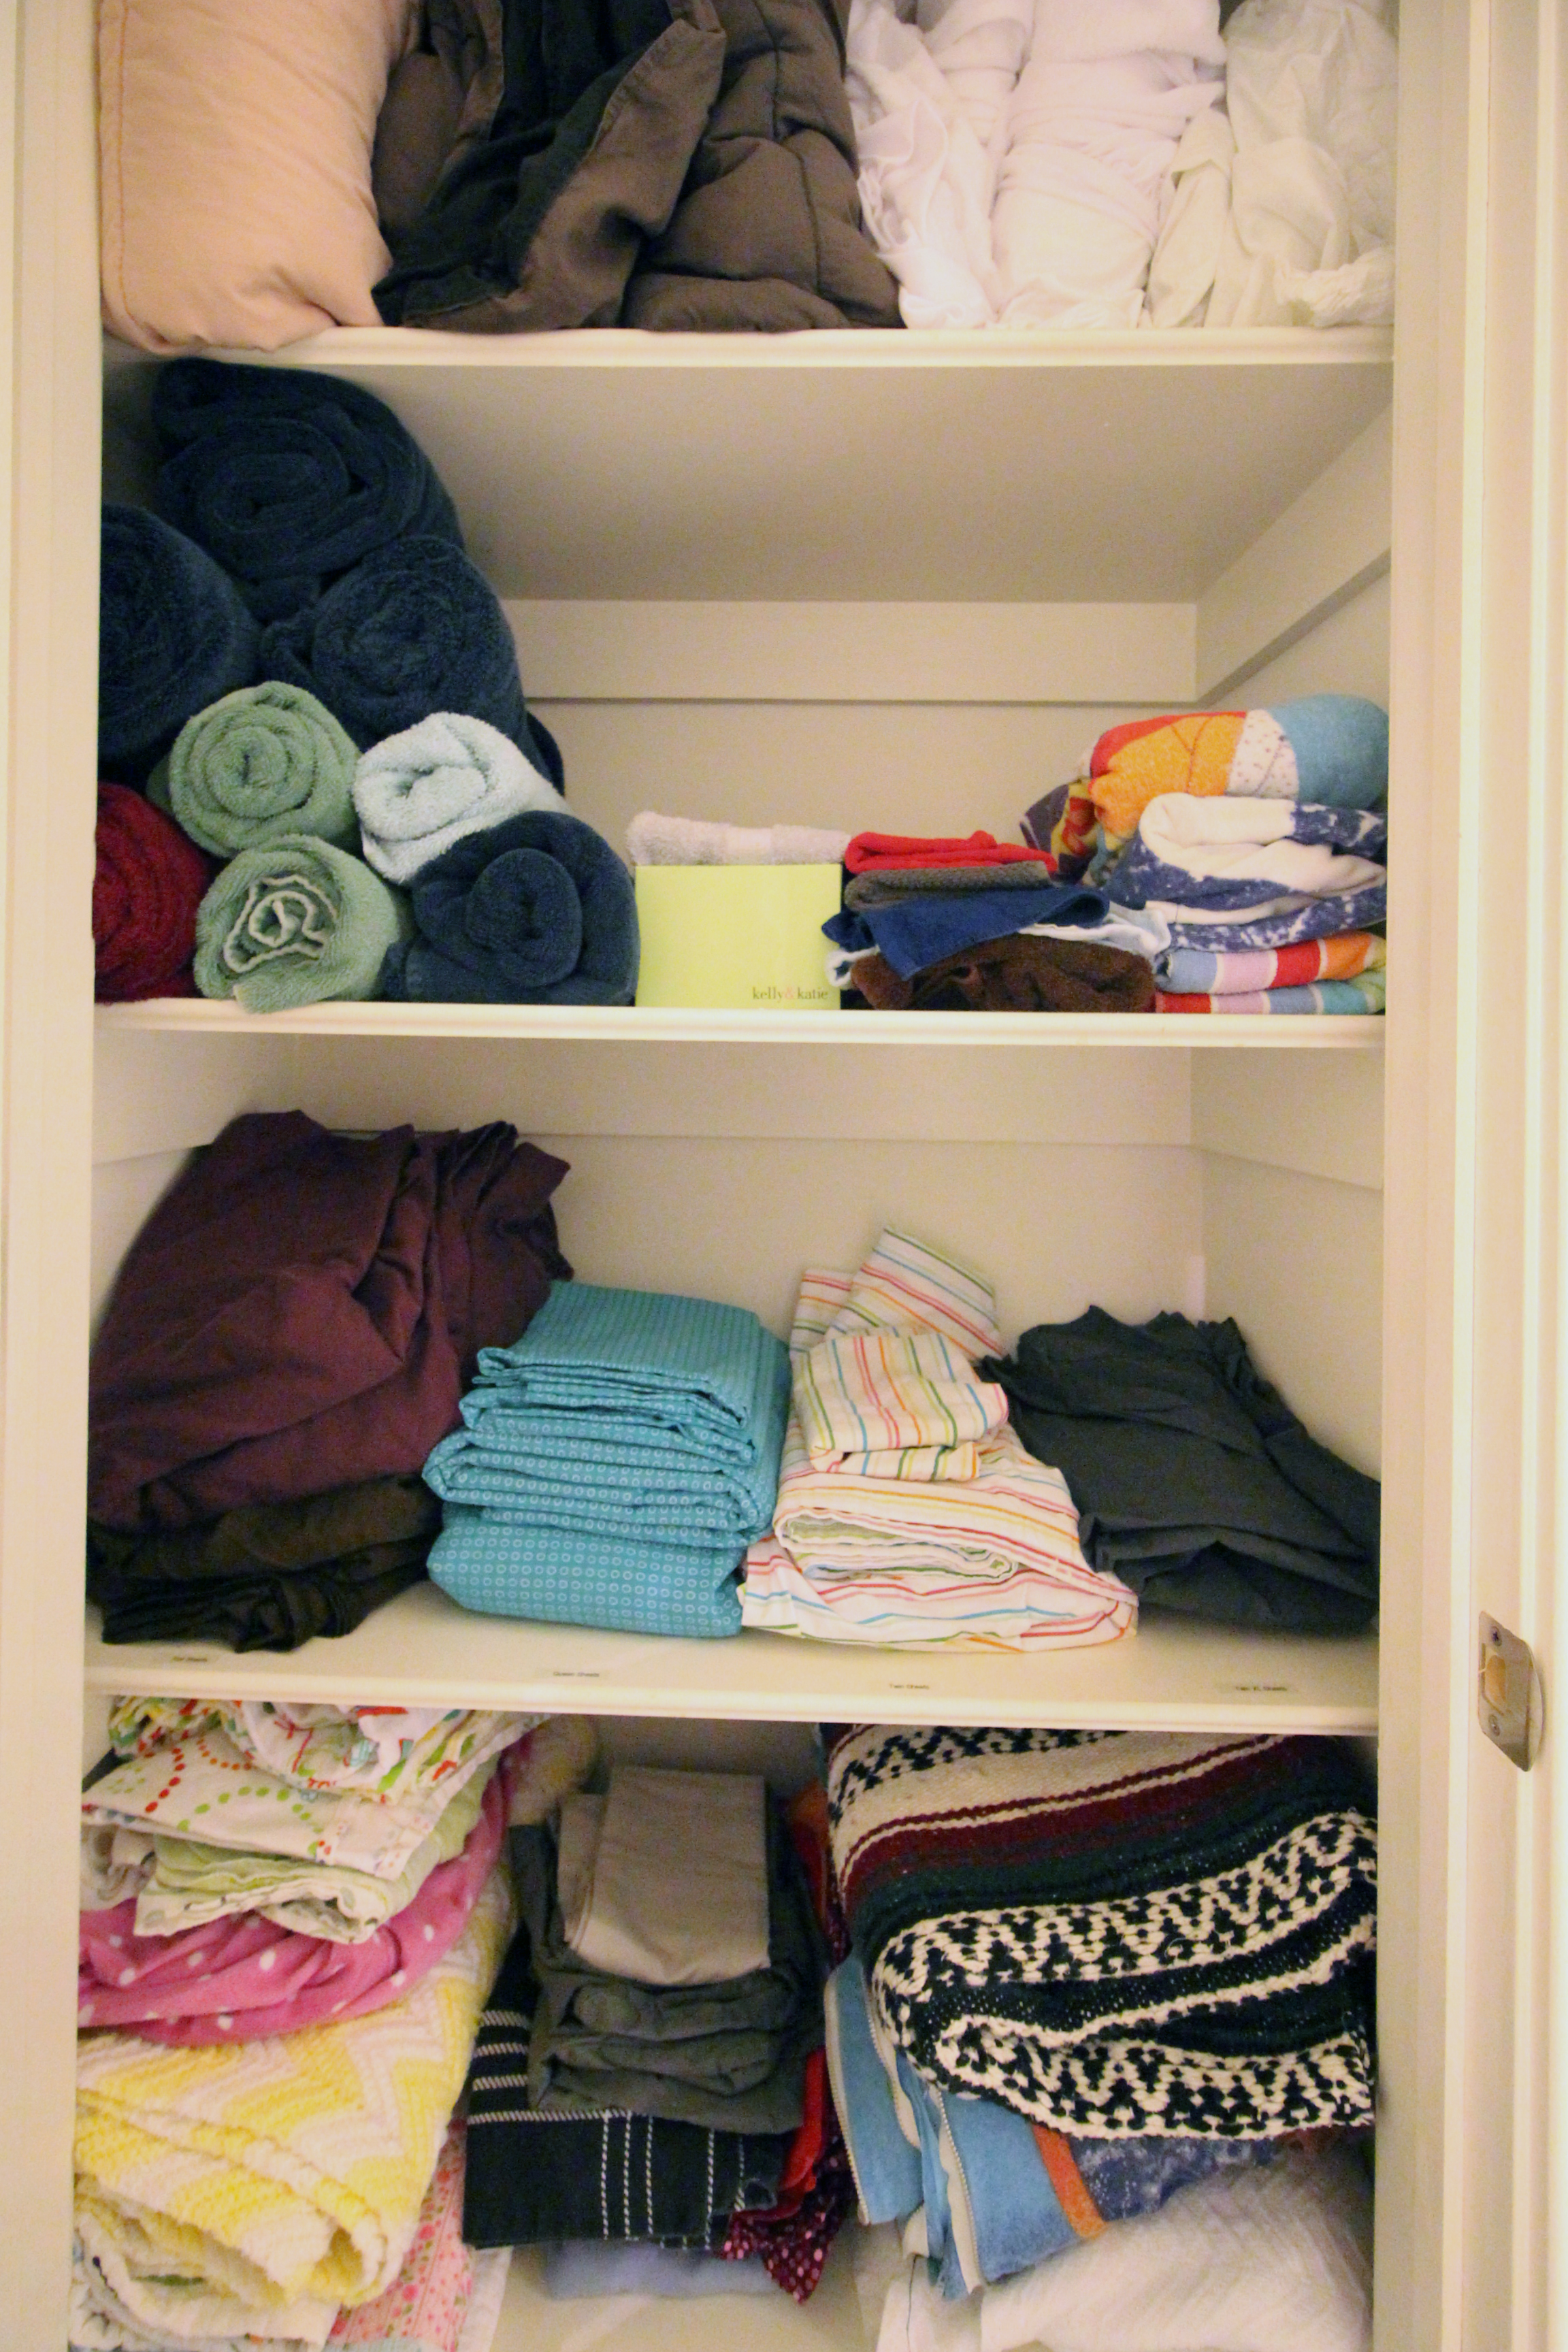
Next on the agenda was the linen closet. I hadn’t intended to tidy it, but when I went to put fresh sheets on the guest bed and realized I had no idea where the queen sheets were. There are queens, doubles, twins, and Twin XL in there and I can’t remember which is which.

Sooo anyone know where the queen sheets are?

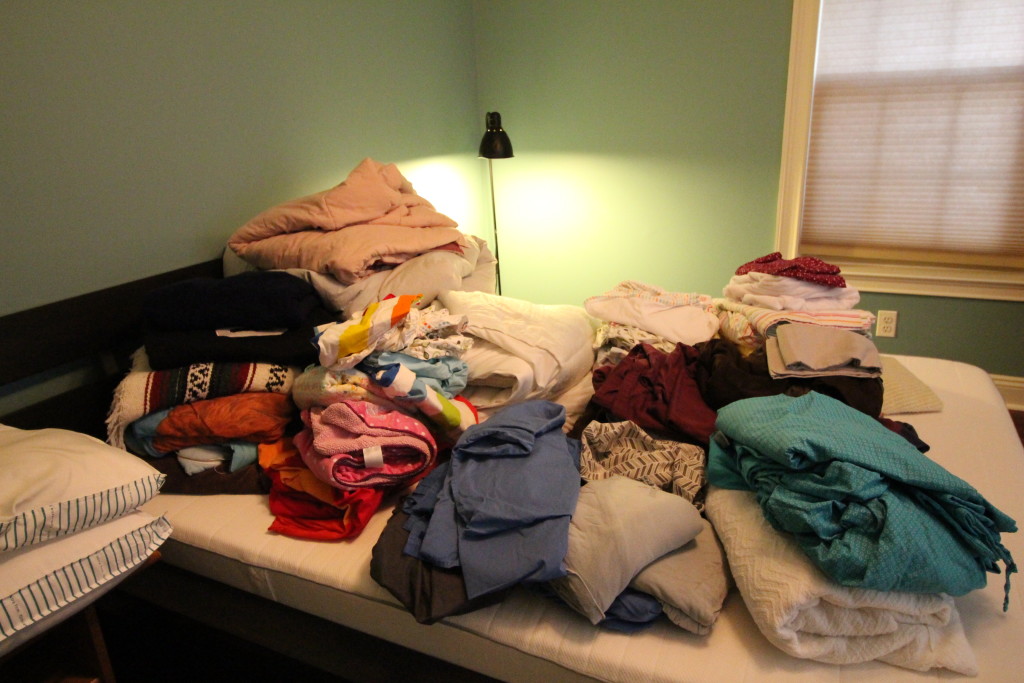
We store linens in 3 different closets, plus the “in use” linens which occupy the beds/bathrooms. I amassed all the sheets and blankets on the guest bed. Keep in mind this is just the “spares.” The guest bed sheets/comforter were in the wash, and the other 3 beds in the house (ours, our daughter’s, and the crib) all have sheets on them.

No joke, there is an ALF sleeping bag in there.

I pulled out anything that I felt was too gross for a guest to sleep on. I pulled out the Snuggie and some polar fleece throws (I hate polar fleece). Since some of these came with my husband when we moved in together I gave him right of first refusal for anything on the chopping block. He agreed with my assessments though.

Next I went through the towels. Not including the full sets hanging in the bathrooms we had 15 bath towels, 16 washcloths, 3 beach towels, 10 hand towels, and 5 bath mats. Once again I culled anything that wasn’t in good enough shape to offer a guest. I set aside a couple towel/washcloth sets to take down the shore along with a surplus duvet.

I didn’t quite hit my goal of fitting all the linens in one closet. We have a bunch of extra waterproof covers for furniture which are bulky but we’ll definitely need them when the baby shows up. I put the crib sheets back in my daughter’s closet, but everything else fit! I rolled the towels for easy grabbing, then folded the washcloths and stuck them on end in a shoe box to keep them from getting mixed up with the hand towels and beach towels.

I put labels in front of each stack of sheets indicating what size they are

This whole process is so much work but I really think it’s worth it. Just being able to easily grab a set of clean sheets is a huge improvement in my domestic life.

New Construction Townhome, Organization

Toddler Closet Organization

It’s my favorite time of year… time for the Container Store elfa sale. This year the closet in my daughter’s room got a makeover. Her closet consisted of hanging organizers from Ikea which were the source of much cursing due  to their poor design and awkward center of balance. I have been planning this closet for months waiting for a sale. The day before the sale started I sprung into action, preparing the closet for Operation Shelving 2.0

The closet suffered many of the maladies that my office closet did, namely shelving that was glued to the walls. Thankfully this time there was a little less glue so I was able to get away with just one day of sanding/spackling. I also was a little less picky about them this time around.

2014-08-26 11.12.55
Walls patched and awaiting paint

It was at this point that my daughter looked into her empty closet and said “you broke my room. Fix it.” This time I opted to just paint over the patches rather than redo the whole room. Unfortunately I managed to pick the wrong shade of white from our pile of leftover paint. I decided I didn’t care and just left it. If you notice it, you can kindly keep your mouth shut.

IMG_1730
Walls painted. You almost can’t tell I used the wrong white!

I love the way the elfa system is organized. The whole thing comes in these nice organized bags. The little one has all the mounting hardware, the big one has various smaller elements for the closet and a separate side pocket containing customized instructions for installing the whole thing.

It's like Christmas for closets
It’s like Christmas for closets

Feeling like an elfa pro after doing my office closet, I happily set to work on the toddler closet. Unfortunately I got a little too confident, and did not measure the height for the top tracks correctly. As a result the hanging standards (vertical bits) overlapped my baseboard molding by about half an inch. Tragedy. I spent a couple hours cursing myself, wringing my hands, and contemplating my two options: rip out the top track (drywall studs and all) and reinstall it higher up, or cut an inch off the bottom of the vertical standards. Since I lack the tools to cut them myself option 2 required a trip out to the suburbs to have them cut. Both options sort of sucked.

After a quick phone call to The Container Store I went with option 2. Thank you to the staff at the Container Store in King of Prussia, who cut the standards for free (despite it being my mistake) and had me in and out of the store in about 10 minutes. I managed to get the standards installed just in time for toddler bedtime.

IMG_1733

Day 3 of Operation Closet was spent putting up the shelving and deciding on the spacing I wanted. For this closet I splurged on some of the “nice to have” finishing touches like bracket covers and shelf fascia. Stuff that’s not functional but makes the closet look nice. I didn’t bother with those for my own closet, but they do make things look cleaner and nicer.

As I put everything back in the closet I started culling stuff that was too small. I am a bit ashamed to admit that some of the stuff hanging up had been in the 9-12 month sizes (she’s two and a half now). When all was said and done she had about half as many hanging clothes and an entire additional storage bin full of too small stuff.

So now the toddler’s room is “fixed” and I can now easily find socks that fit her. So ends another fruitful elfa sale. Look out, master bedroom closet. You’re next.

New Construction Townhome, Organization

Putting it all back

The shelving is up (pictures forthcoming), and I’m now replacing the contents of the closet. For the most part it was easy; the huge pile of stuff has dwindled to just a few errant boxes of flotsam and jetsam. But this last little bit is taking forever. Almost like zeno’s paradox, each box I sort through seems to take twice as long as the last.

Behold: boxes of junk. Junk I suddenly desperately need.

Some of these boxes haven’t been touched since I moved in. After the exhaustion of moving, I punted on the boxes labeled “random crap” and shoved them in the closet “for later.” More than a year after moving, it is taking all of my willpower not to do the same now. In fact, I’m pretty sure there’s one box that hasn’t been touched since I moved out of my apartment in Brooklyn, long before RD and I got married.

Going through each box is exhausting. Each one contains various relics I’ve completely forgotten about until the moment I open it; at which point I can’t imagine parting with. Some things are easy: old bank statements can safely be shredded and discarded now that the information is available online. Others are tougher: college artwork  (some good, some not so good), trinkets given to me by good friends, and various objects that might be useful someday.

Triage on this stuff takes a lot out of me. I part with a lot of small items, rationalizing with myself that although this pin / pencil / whatever meant a lot to me at age 15, it’s just a piece of plastic crap now. The friendship it symbolizes is the enduring thing I should keep. As a result, I’m unable to part with the items from friends I’ve lost touch with. It goes in a bankers box marked “memorabilia,” full of old papers and photos that I plan to scan into the computer “someday.”

Some of it is neat, and doesn’t take up much room, but I’ve got no idea where to put it. Included in this are MRI photos of my brain and neck; the former from a medical study I participated when I was unemployed, the latter from a neck injury sustained while washing my hair. During the brain scan, the MRI tech complimented me on how still I held my head, and asked if I would be willing to participate in other studies. I got my head scanned a bunch that year.

I’ve whittled it down to two bags full of papers “to be filed,” a stack of papers I’ve already sorted but have no idea where to file, and one 8 x 10 box of “random crap” still to contend with. With each trash bag I fear I’m throwing out something I desperately need. Something I’ll curse myself looking for down the line. But given how long I’ve managed to live without while it languished in a box, I suppose that’s pretty unlikely.


New Construction Townhome

Closet Saga, Part 1

“Organize my office closet” has been on my to-do list for a long time. This week was the week.

Not shown: piles of boxes outside the closet

I have some cheap Ikea standards and brackets (on the right) which absolutely had to go. They wobble and are a pain to deal with. And I needed shelving on the back. And the wrap-around top shelf and clothing rod weren’t helping matters.

The Ikea stuff came out easily enough (save for the drywall anchors… ugh). But the wrap around shelf was another story. It turned out it had been nailed in all the way around. And there were many coats of paint on the shelves so the nails were near impossible to find, let alone dig out. So I got out a prybar and started pulling the stuff down.

At one point, with a sickening ripping sound, it became clear that some of the drywall was coming along for the ride. It turns out not only was the shelving nailed to itself and the wall, it was also caulked and glued in place. And so a great deal of drywall came down with it. The horizontal stripe below is the totally unpainted drywall, with a scar on the left and all along the top from the caulking.

Please excuse the bad lighting in my closet.

To make things more awesome, all this caulking, nailing, and gluing had been done on unsealed drywall so there was absolutely nothing to keep it from taking giant chunks out of my wall.

Well that sucks.
Well that sucks.

I got a self-adhesive mesh patch to go over the worst spot (shown above) and a big tub of joint compound. The first coat is drying now. In all honesty I’m not being a perfectionist about it – it’s a closet. I used a 8″ wide putty knife to smooth the edges of the layers, and only plan on sanding after the final layer. Most of the closet should be OK with two, except for the huge gash which will need at least 3.

I hadn’t originally intended to paint the closet, because it’s a closet, but now I’ve got to prime and paint at least the patches. And it’s a small enough room that I can probably handle painting the whole thing. And while I’m at it, I’ll change the color to something nice, like the blue we used in the guest room:

6962000425_26e23e6bfe

But seriously, who glues in shelves?