1970s Shore Home

Kitchen, Bathroom, Doom

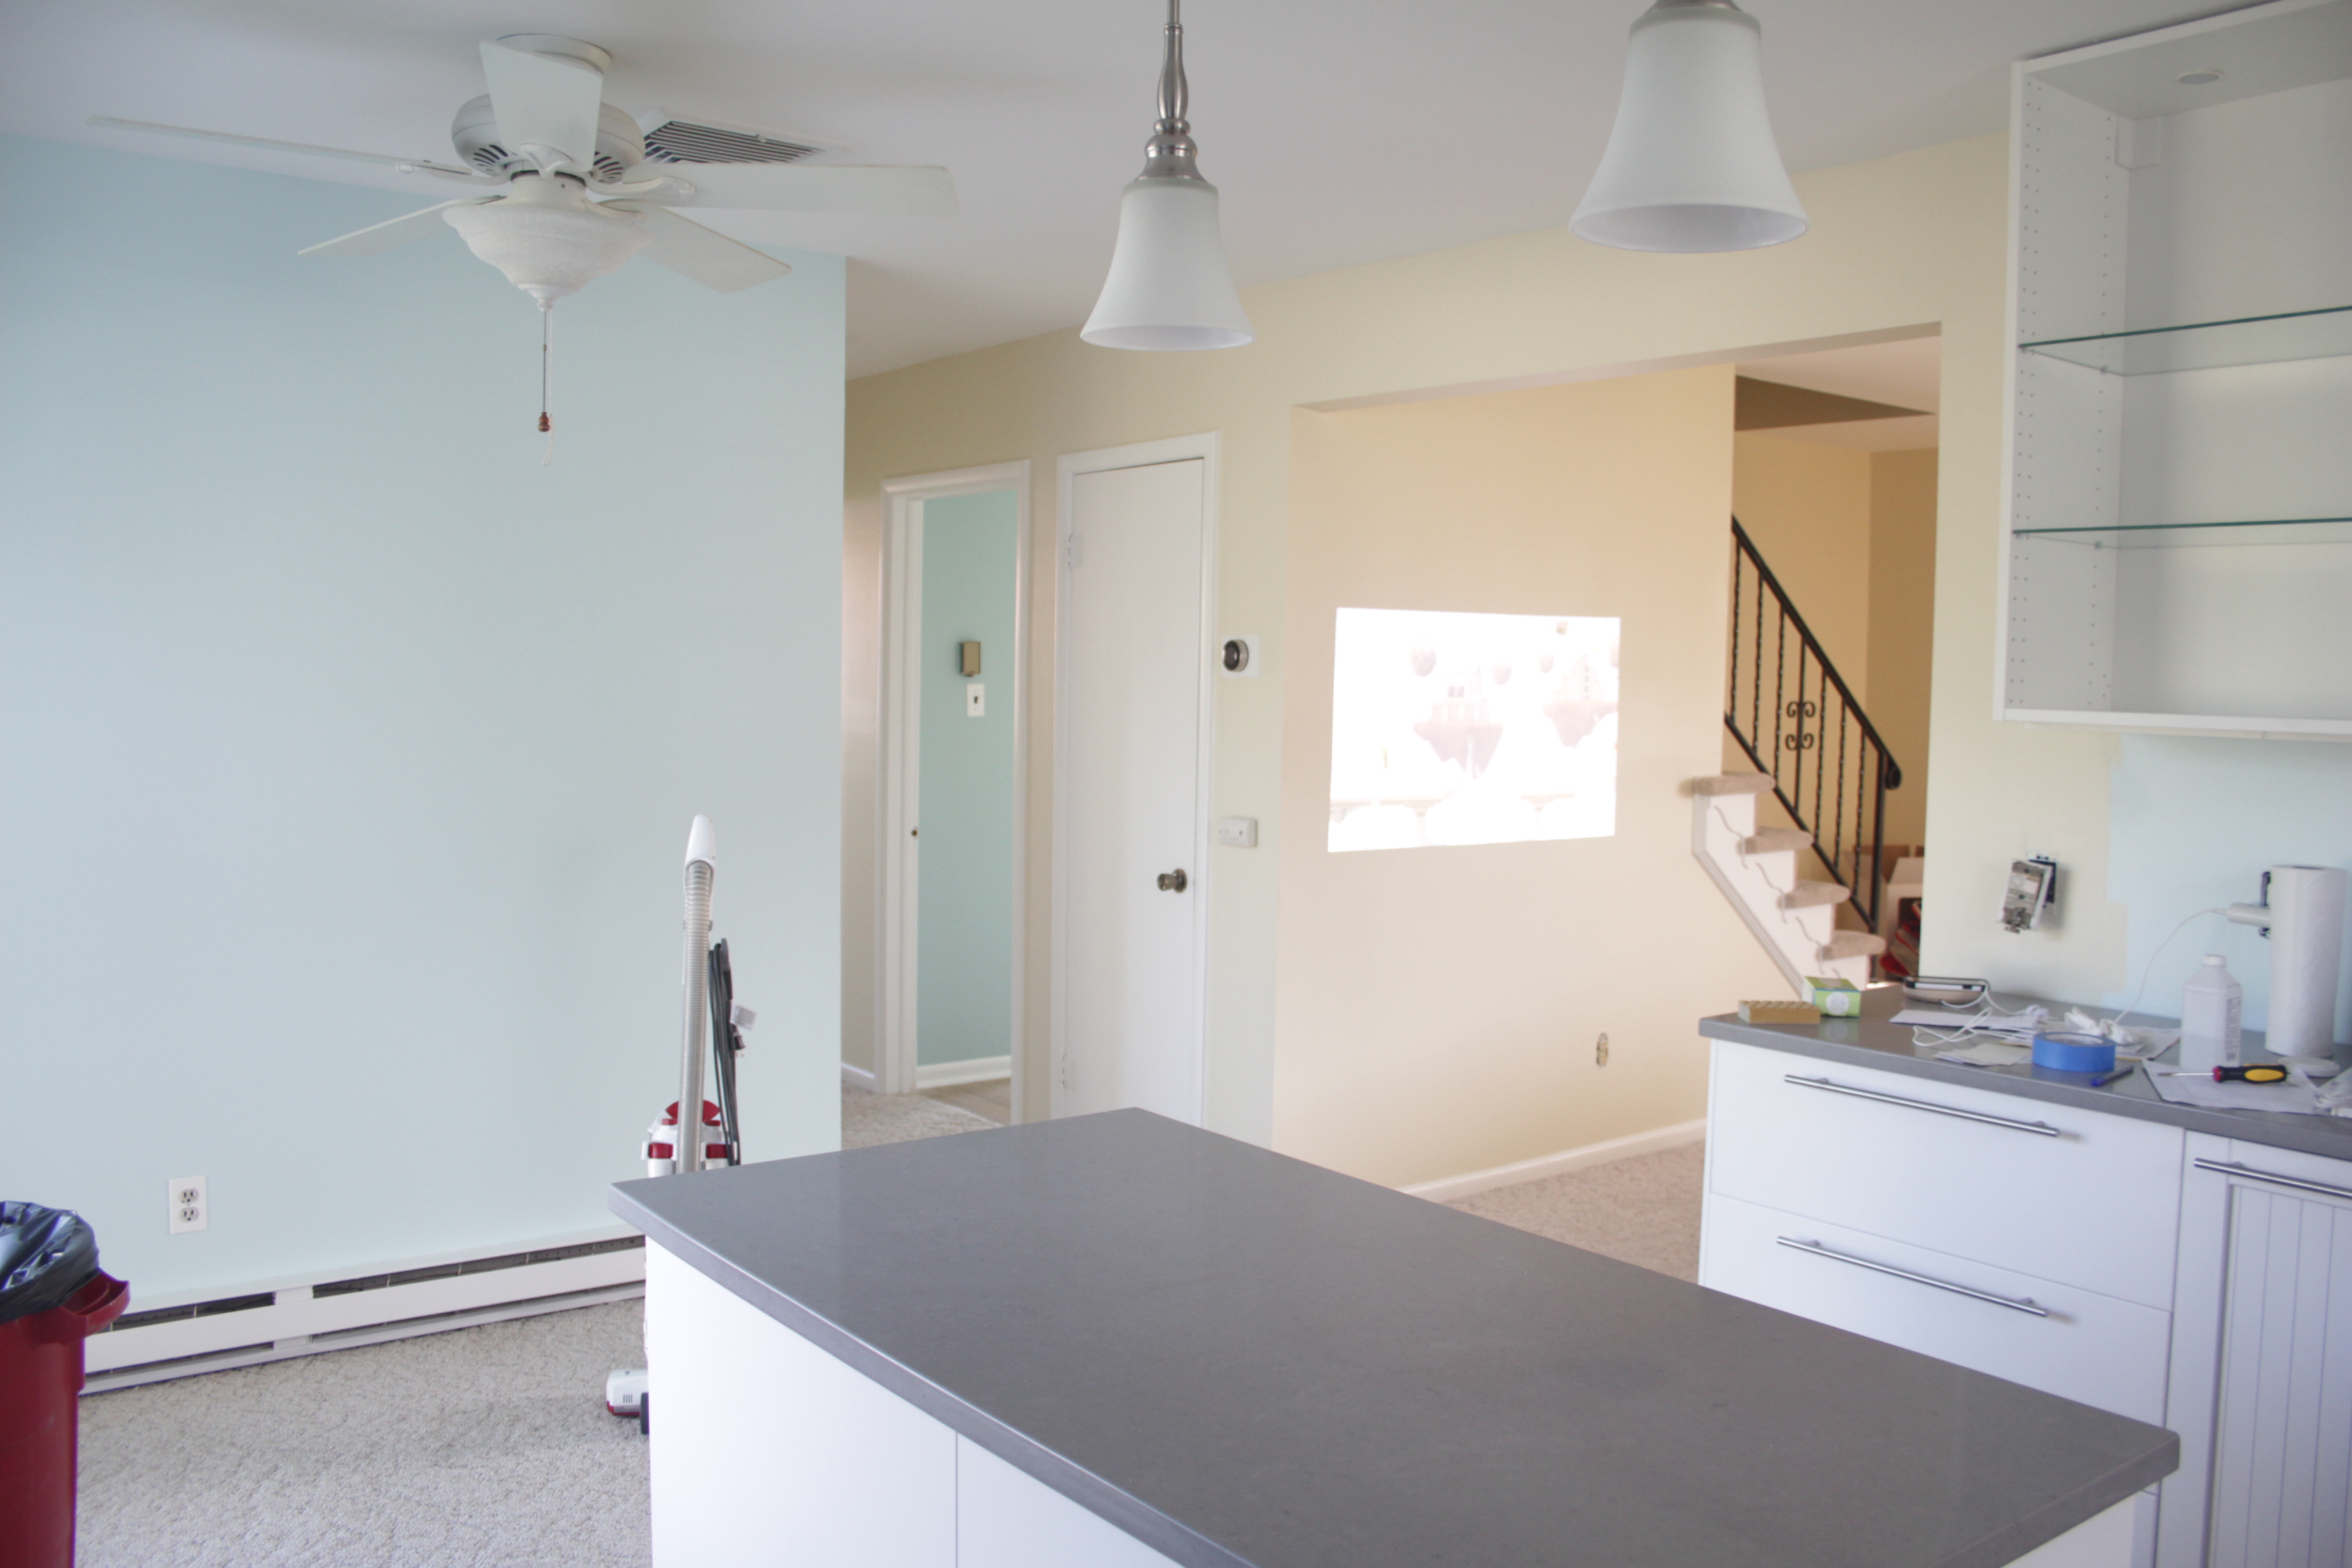
The kitchen is very near completion! I haven’t had a chance to take photos with a real camera, or write up a recap of the many things I learned in the process, but here’s a quick phone snapshot:
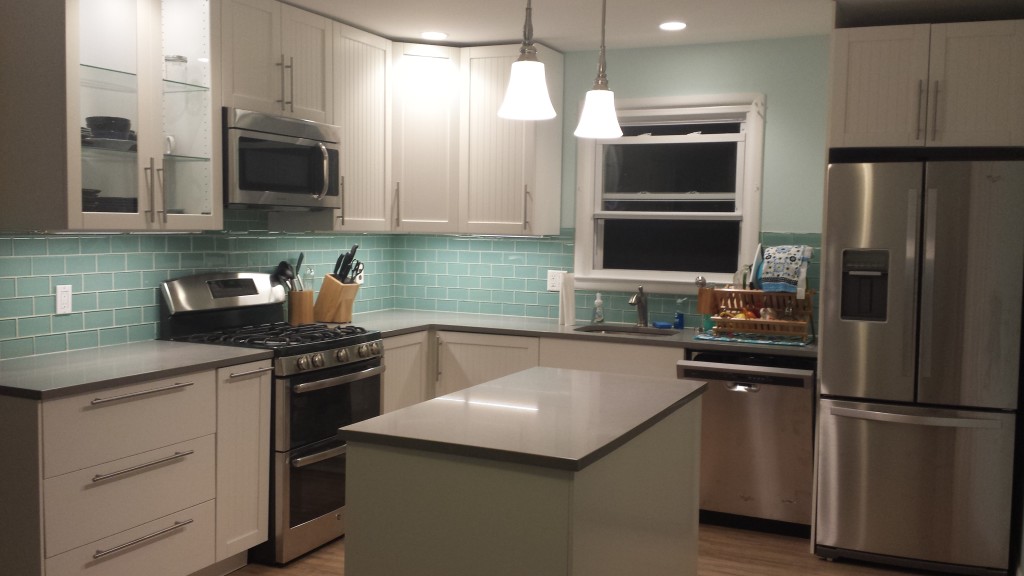
2015-09-24 20.39.27

There are still a bunch of finishing touches to do, but the hard stuff is all done! We had our first weekend of using the kitchen and it worked very well, with two people able to cook without driving each other insane.

When I stepped into the house earlier this week I had a bit of a panic moment: I was immediately greeted by a very musty smell. After all this work on the house, damp musty grossness is absolutely NOT what I want. We had a really dry summer so we haven’t had a chance to see how the house holds up in a storm. After some poking around I found a window that had been left open, and thankfully after a few days the house has returned to its usual neutral scent.

In boring-but-important news, we had our structural contractor install a new beam under the house. Now the bathroom no longer jiggles around when you step! The end of the house is no longer sinking into the sand! It’s still not level, but it’s been raised a few inches. The drywall cracked in a few spots around the door frames but other than that it was a pretty painless process.

Over Pope Weekend we had 10 people total staying in the house, and no one came to blows! So I consider that a ringing endorsement for the house. Unfortunately, over the course of the weekend we also discovered that the upstairs bathroom has sprung a leak. Wamp womp. It’s a really weird leak. There’s a water stain on the ceiling below the shower, but even if the shower is off there is fresh water trickling down the waste stack (which is behind the toilet). The toilet has a tendency to run because it’s an old toilet with an old flapper I haven’t gotten around to replacing.

My totally unscientific theory is that the toilet is leaking, and since the bathroom has a distinct slant towards the shower the shower drain is no longer appropriately sloped, letting water run from the toilet to the shower where it then drips onto the ceiling below.
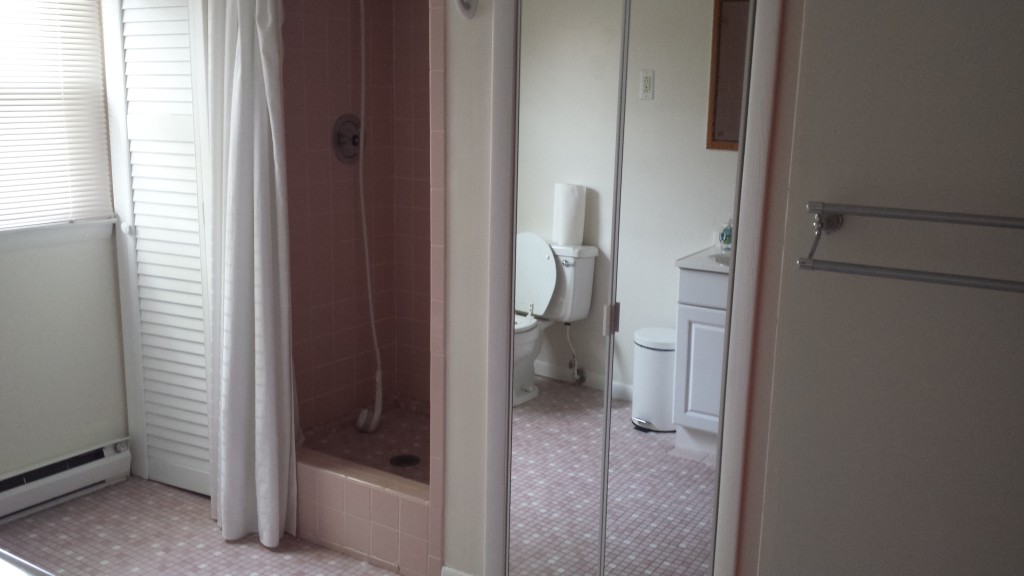
Please note the fact that the shower starts 6" off the ground.
Please note the fact that the shower starts 8″ off the ground.

There is no easy way to access any of the waste line to see what’s going on. At the very least it will require cutting into the (freshly painted!) bedroom ceiling below it. Due to the bizarre way the shower is built, there’s also a chance we’d have to open up the shower tile. This bathroom is kind of a nightmare and we knew going into it that a full remodel was on the short list of things we wanted to do. But I wasn’t intending to tackle that until next spring at the earliest.

Now I’m trying to decide whether I rip up the bathroom just to fix the drain line, or just pull the trigger on the remodel now. I’ve met with two contractors so far and am waiting on estimates.

If we end up doing the bathroom now it will be a total gut remodel, and I’m contracting out 100% of it. At 6 months pregnant I have neither the energy nor time to do another major renovation.
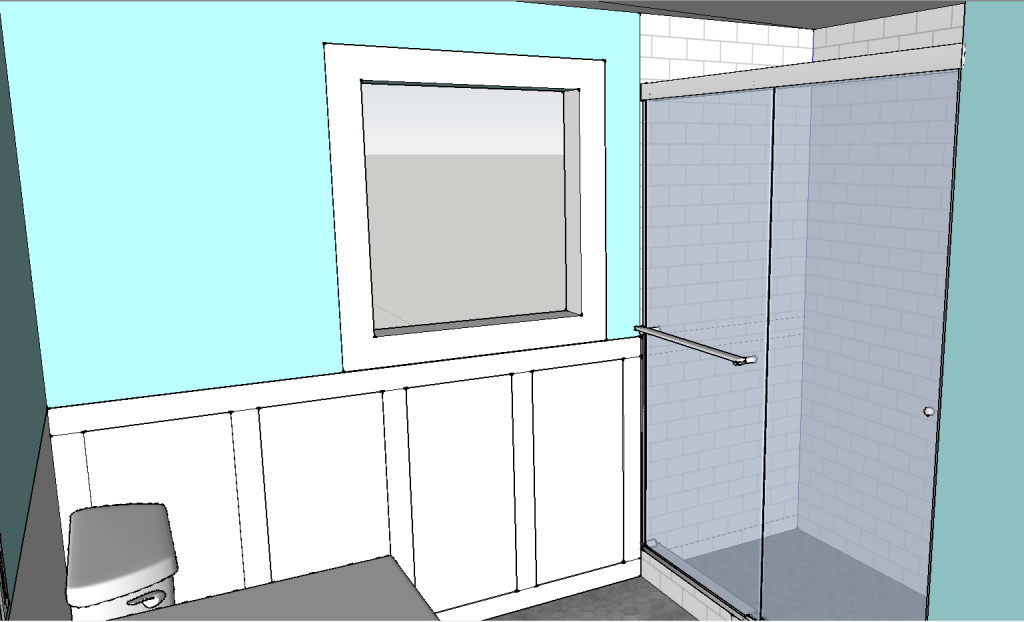
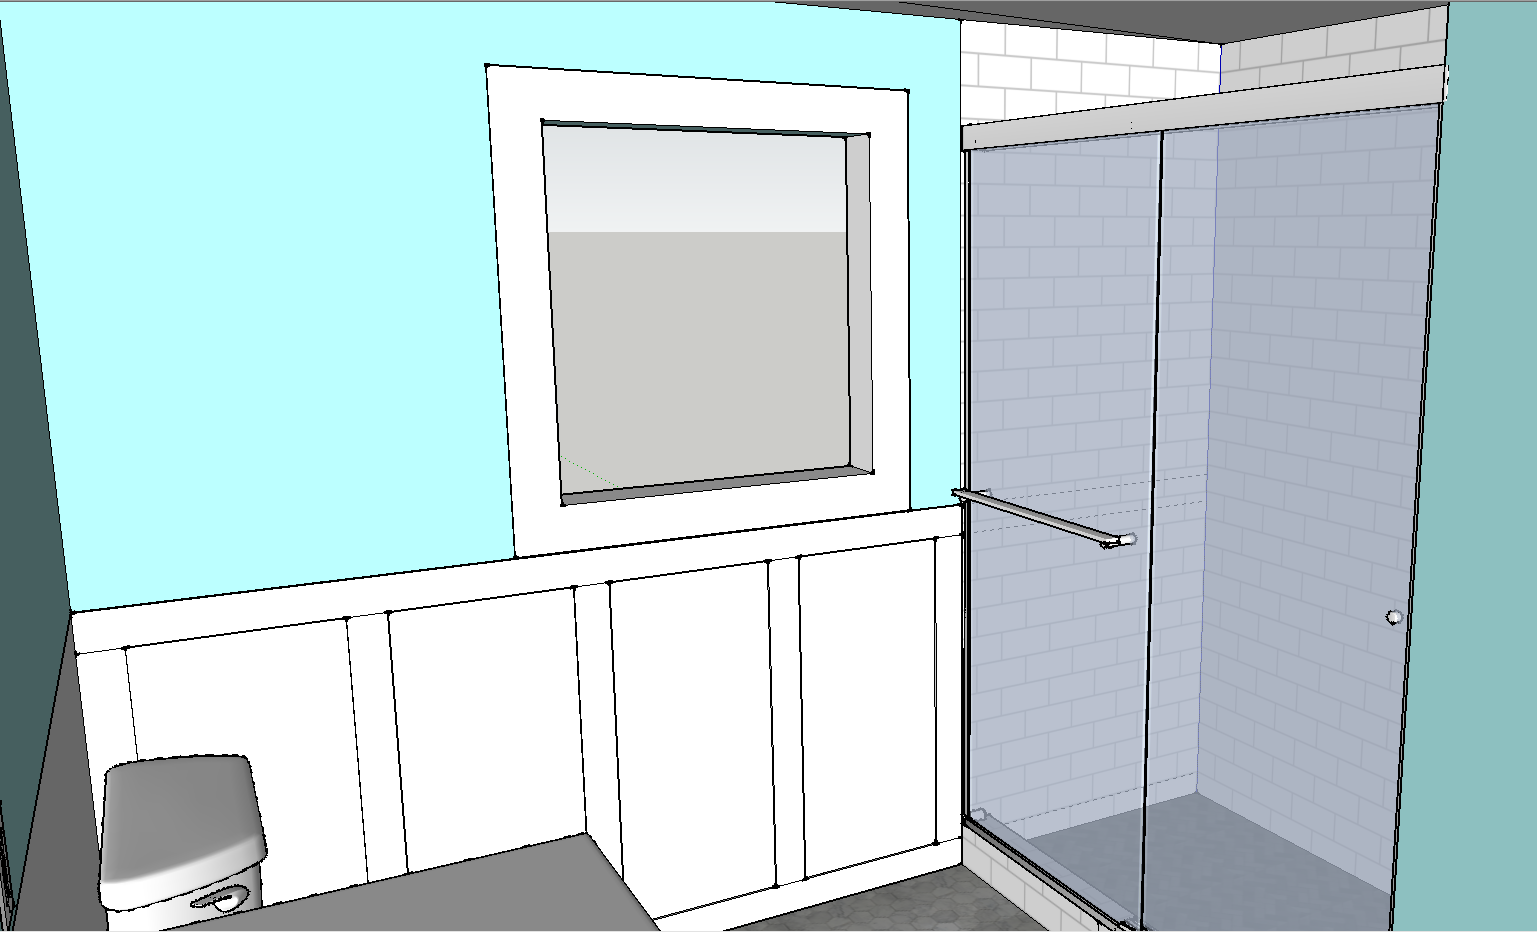
Layout for new shower
Potential layout for new shower

The last item on the agenda this week was preparing for the potential doom of Hurricane Joaquin. Thankfully the storm went out to sea, but we still had a really nasty nor’easter come through. My dad and I took care of some lingering to-dos, like removing the old HVAC condensation line (which was just sort of flapping around outside the house). Both of our storm doors don’t latch shut, so somewhat counter-intuitively we removed them before the storm so they didn’t fly open and rip off the door frame in the process. Getting replacement storm doors is on the short term to-do list once the storm passes.

So far almost every issue we’ve had with the house is something we’d budgeted to fix when we bought it. What we didn’t anticipate was cramming so much stuff into the first year. Many of the stuff on the “eventually” list became “now” either because they were more urgent than we thought, or because it didn’t make sense to do certain tasks separately. For example, the immediate project of “replace the broken heat pump” became “convert to gas heat” when we found out they cost about the same, and then that morphed into “convert and replace the hot water heater” since we were having gas lines run anyway. Silly me, I thought the electrical panel upgrade was gonna be next on the to-do list, but it’s actually the bathroom. Surprise!
1970s Shore Home

All done with painting and flooring!

At long last, all the rooms are painted! We painted the upstairs ourselves, but after 4 months of nonstop work I am exhausted (and also 5 months pregnant) so we decided to hire a painter to do the downstairs. But before we could have the walls painted we had to get the new flooring installed in the two downstairs bedrooms.

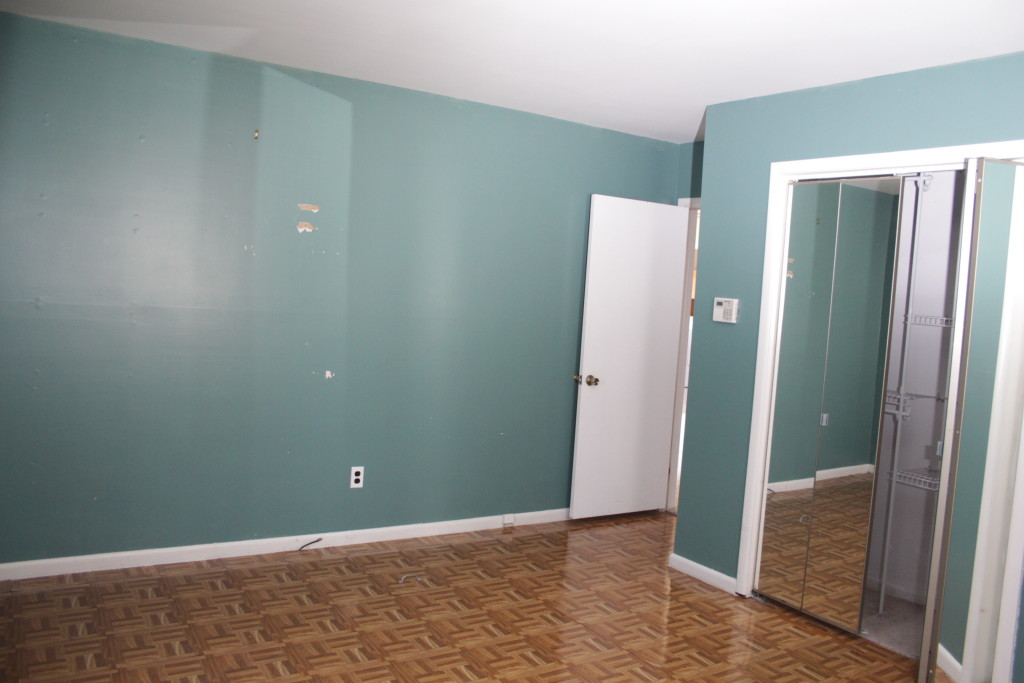
The bedrooms came to us with some fake parquet stick-on vinyl tiles (which tested asbestos free, thankfully). We replaced it with the same click-lock waterproof vinyl we used in the kitchen and laundry room.

Old fake parquet floor
IMG_2256
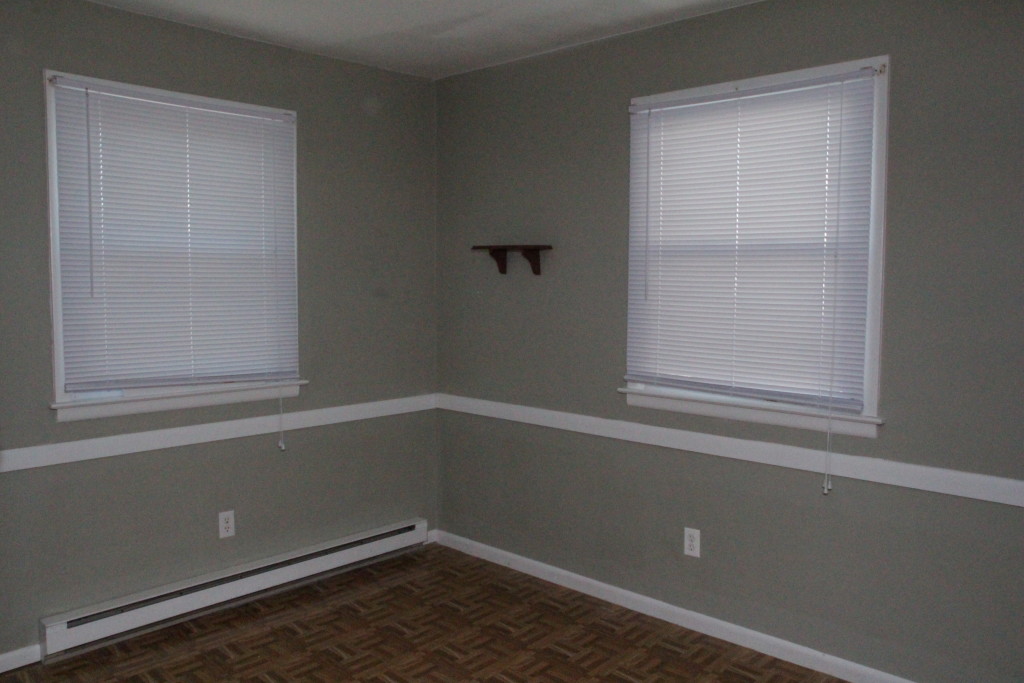
The smaller bedroom with a chair rail (??)

The tiles came up easily but getting the sticky goo leftover was nearly impossible. It dissolves with mineral spirits, but I didn’t really have a mop capable of getting the slick goo up efficiently and wearing a respirator for long periods of time sucks. I ended up scraping it with a putty knife and then putting paper down to just contain the adhesive.

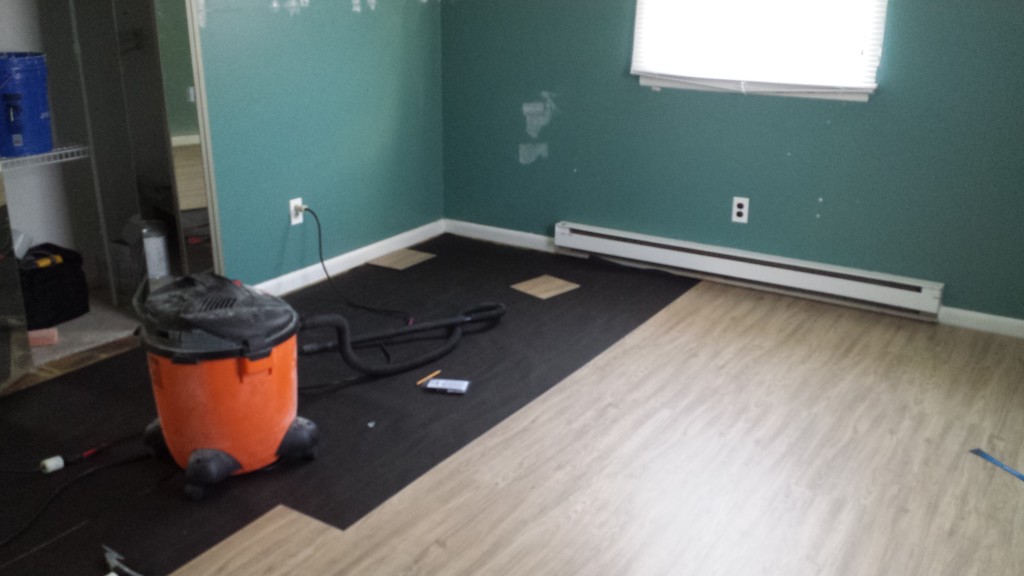
Flooring is half installed in the big bedroom

Apparently I did some math wrong when I ordered flooring because I came up short about 6 square feet. The flooring company warehouse is out in Trenton, about an hour from me. My dad saved the day by volunteering to drive to pick it up on Tuesday, my mom and I came down on Wednesday to finish installing it, and since my father-in-law had pre-cut all the quarter round molding we were able to get everything done in time for the painters on Thursday.

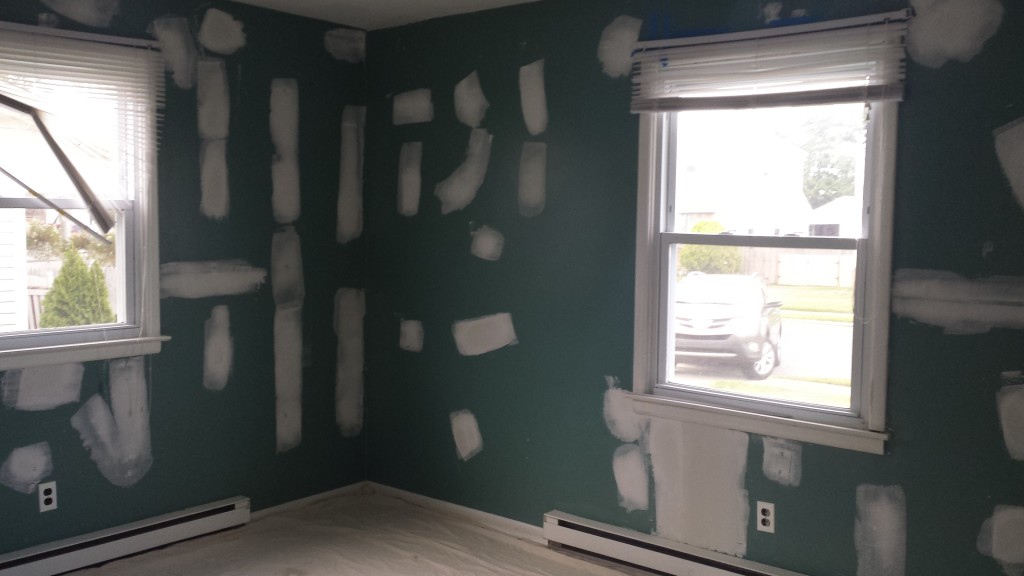
The first day the painters prepped all the walls. They were in pretty rough shape. It took two guys a solid 8 hours of working to get everything spackled and smooth.

2015-08-20 18.19.49
Bedroom chicken pox

The painting itself took a crew of 5 or 6 guys ten hours. They managed to sand and put two coats of paint on the ceiling, walls, and trim all in one day. The change is dramatic, the house feels much brighter and more open now (admittedly some of that openness also comes from finally having the house clean).

The house is finally starting to look good. Gone are the piles of debris everywhere (except the laundry room and downstairs bathroom). The carpets need a professional cleaning but at least they’ve been vacuumed. There’s a ton of little finishing to do all around the house, but the major stuff is very close to being done. My last big kitchen task is to tile the backsplash.

One slight unrelated aggrevation: the hot water heater has been cutting out periodically. After a phone call to tech support (yes, my water heater has a tech support line) it was determined that the flow rate isn’t high enough for the burner to kick on. The next debugging step is to figure out if the problem with the flow rate sensor, or the plumbing elsewhere in the house. I would not be even a little bit surprised if the problem is the plumbing, the water pressure upstairs seems lower than it should be. Sigh.

Oh well, plumbing can be fixed… and I’m finally approaching the fun part of this whole project… decorating! I’ve logged more hours on Pinterest lately than I’d like to admin. And I might be seriously considering getting a tide clock (but only if I can find a pretty analog one that doesn’t have to be manually set every week).

But whatever that can all come later. Painting is done! Flooring is done! Hooray!

New Construction Townhome

Painting is done!

At last, the painting is done and the house is ready for us to move in! When people ask what color we painted, I say “all of them.” There were no less than 13 different colors used (though because I’m a creature of habit most of them were shades of blue, grey, or beige).

Unfortunately I don’t have great photos of all the different colors, because despite bringing all the rest of my camera stuff I somehow managed to leave the one lens I need at the old place. So the rest of the photos will have to wait until after we move this weekend. But I did manage to take a couple snapshots.

BabyRoom

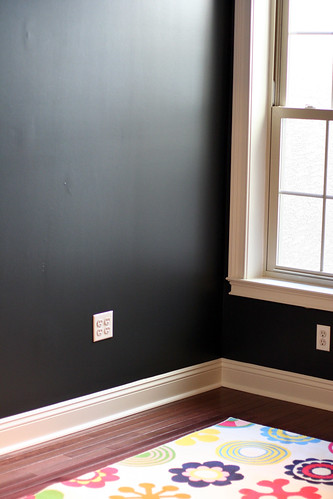
I really enjoy the looks on people’s faces when I say that we painted the nursery black. To be fair, it’s really a very dark slate grey (Sherwin Williams Iron Ore), but it looks pretty black. We’re pairing it with a lot of really bright furniture and decor.

MediaRoom

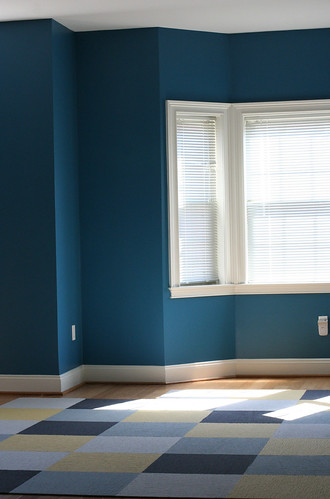
The media room, where our TV and games will go, is blue (Sherwin Williams Turkish Tile) except for one wall. A friend of ours who used to do TV installation said that blue walls make the colors of your TV look awful, so the TV wall is the same dark grey we used in the nursery. The carpet is made up of individual modular tiles, by Flor.

BedroomFront

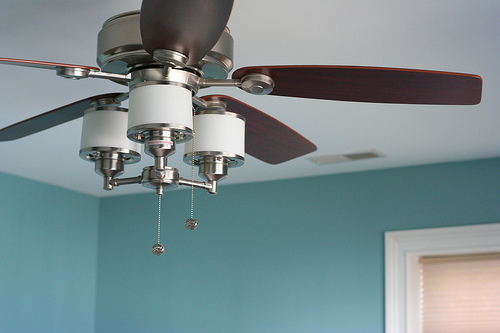
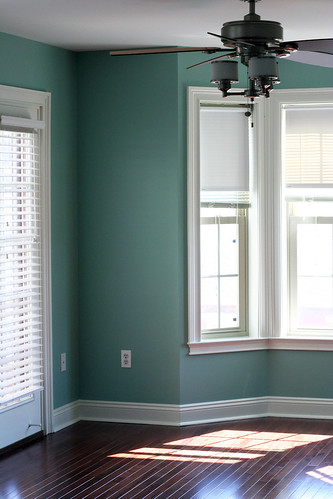
The front part of the master bedroom is a tealy sort of color. Sherwin Williams calls it “Hazel” but depending on the light it looks alternately blue or green.

The painter who did the work painted pretty much every paintable surface in the house, including all the trim and doors. It took about two weeks, but the house looks absolutely amazing. Should anyone be looking for a painter in Philadelphia I would definitely recommend him. After one more cleaning we’ll be all set to move in this weekend.

New Construction Townhome, Organization

Our New-House Checklist

Offbeat Home featured an article asking “We bought a house, now what?” Since we’re in the process of getting our place ready for move-in, I figured I’d share what we did to keep organized.

Photo by Images_of_Money on Flickr

When we closed on our new place we started a Google Doc titled “New House Things.” Everything we need to do to or buy for the house gets shoved into this document. Since our time is split between two different states, Google Docs has been a lifesaver; it’s impossible to leave the list at the other house.

The day we closed we started listing everything we might want to do to the house. And I do mean everything, from putting in hardwood floors to changing the burnt out light bulbs. The list was sorted into categories of things we needed to hire someone to do, things we could do ourselves but didn’t really want to (at 6 months pregnant I’m not super handy around the house), and then everything else.

Not everything on this list will get done before we move in, or even within our first year of living there. Some of the things on the list would be considerably harder to do after move-in (e.g. painting) so those were on our must-do list. Others fell to the bottom; some were deprioritized for financial reasons, some because we decided they weren’t that important, and some because we’re just too tired to think about them.

We use the same Google doc to store our shopping list, with everything we need from toilet paper to furniture. We also use it to store the paint colors we picked out and the phone numbers of the contractors we’re using. In short, everything we need to get the house in order is in this one document which I can access from my laptop, desktop, and phone.


Things we need someone else to do

  • Hardwood floors for upstairs
  • New carpet for basement
  • Inspect / fix gutters
  • Get roof checked out
  • Investigate water damage above window in living room
  • Fix mysterious switches in living room
  • Ceiling fans: how do they work?
  • Scary buzzing junction box in kitchen
  • Nonworking outlet in laundry room
  • Fritzy lightbulb in guest bathroom
  • Investigate garage leak

Things we could do ourselves but probably won’t

  • Cat6 wiring throughout
  • Caulk outside windows
  • Paint (interior, exterior door / stairs)
  • Fix molding in living room and elsewhere

Everything else

  • Get pan for under washer
  • Add some sort of tread to outside stairs?
  • Change or re-key locks
  • Set up alarm
  • Set up land line
  • Set up internet
  • Set up gas
  • Set up electric
  • Remove ugly bar from living room
  • Disassemble the wardrobe in the basement
  • Change light bulbs
  • Finish/paint media alcove in living room
  • Install storage in pantry
  • Built in bookcases for living room
  • Make back yard cute
  • Put house number above garage
  • Get programmable thermostats
  • Treat for termites
  • Install additional towel bars/hooks in master bathroom
  • Clean whole house from top to bottom


New Construction Townhome

Hardwood Floors Are Underway

The biggest project on our to-do list for the new home is the floors. The two upper floors came with wrinkly, stained carpeting that we knew we’d want to replace before moving in. We decided to bite the bullet and have hardwood installed.

Israel Furniture Co.

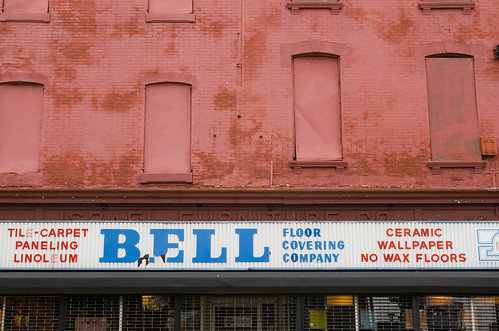
Our first stop was Bell Floor Covering in downtown Philly. This place has been around forever, and it didn’t take long to figure out why. The sales staff was friendly and explained the difference between solid and engineered hardwood. Engineered woods can be installed most anywhere and can be refinished twice. Solids have to be nailed down and can be refinished three or more times. Since we’re installing it over a plywood subfloor, we could go with either.

Lyptus hardwood

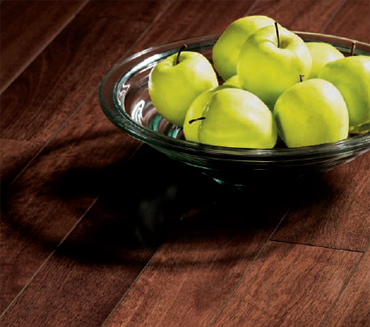
We ended up picking out a solid hardwood called Lyptus – it’s a hybrid of a few different Eucalyptus species and claims to be sustainably grown and harvested. It was on closeout so we got it for $3 / square foot, less than half of what it retails for.

To figure out how much we needed I went around and measured every room in the house that we wanted to put hardwood in, closets and all. Since converting feet/inches to decimal is tedious, I used Wolfram Alpha to calculate the square footage of each room. I added 10% to the total to get the total number of square feet.

We had three contractors come out to give estimates – two dedicated flooring specialists and one general contractor who handles complete home remodeling. All of them came in around $3 / square foot for installation. We went with the general contractor and I was immediately glad we did – when we were loading the wood flooring into the garage I noticed a leak coming from the first floor bathroom. The contractor, Osman, added to his list of things to check out.

Osman and his assistant are hard at work ripping out the existing carpet. I think it’s already starting to look better.