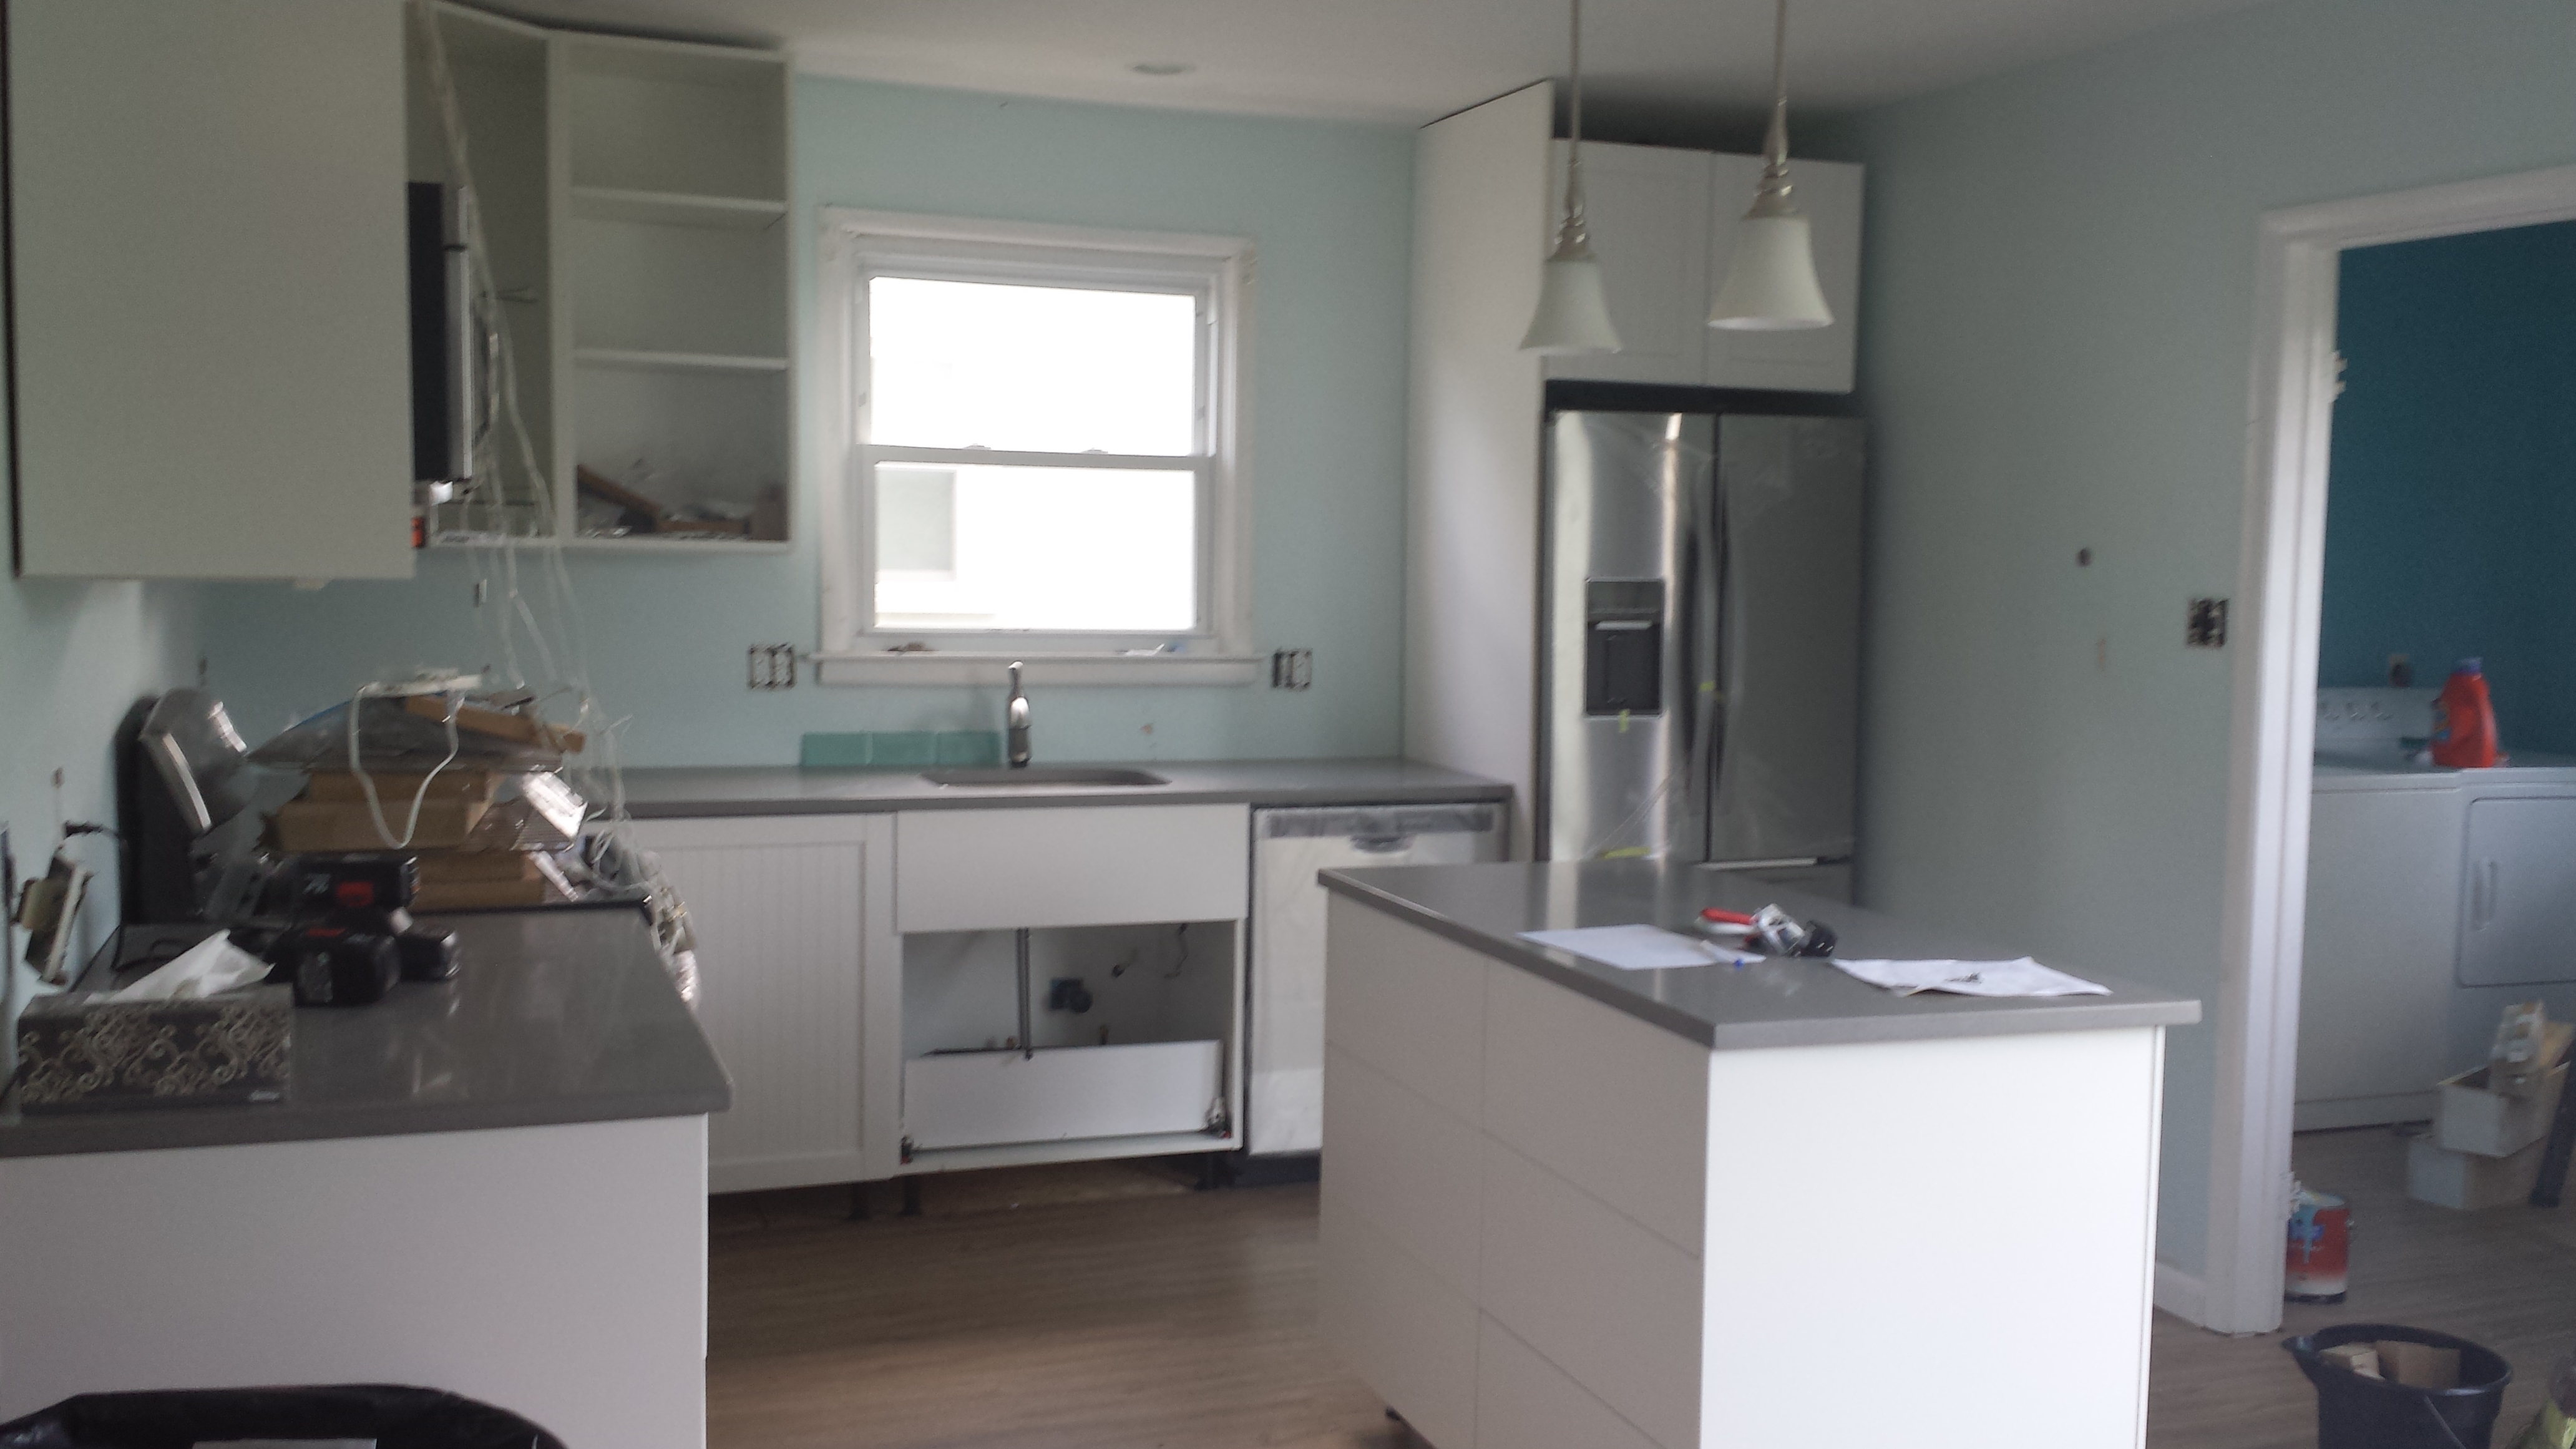
On Friday the stone company came and installed our counter tops. The kitchen looks 75% more like a real kitchen now!
The next steps for the kitchen are installing all the plumbing for the sink / dishwasher / fridge, and having the painter come paint the walls. There are a lot of detail items for us to finish (cabinet doors/handles, toekicks) and of course the big task is the tile backsplash. You can see a few of the tiles chilling behind the faucet. But we have counters and it’s starting to really feel like an honest to god kitchen.
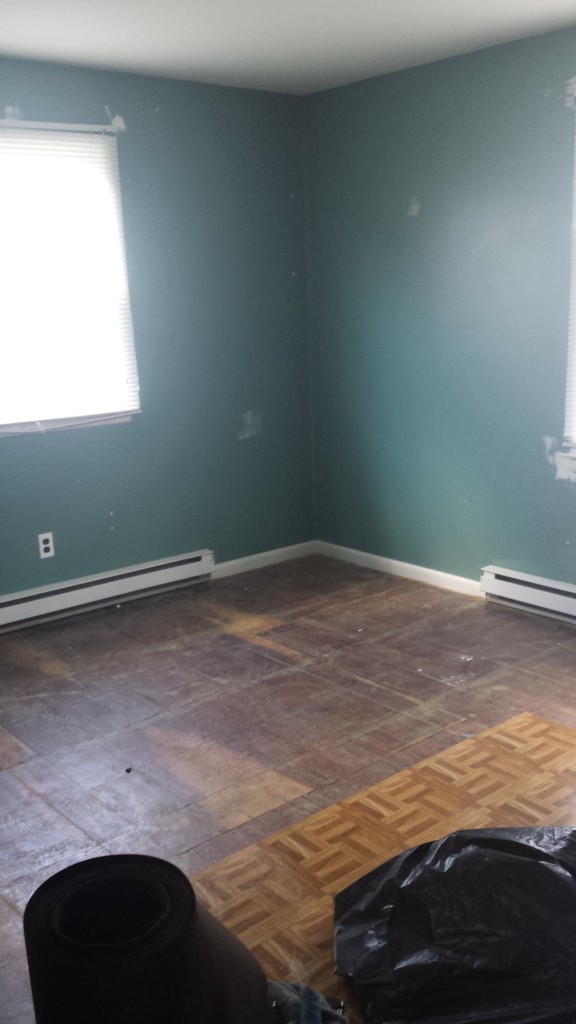
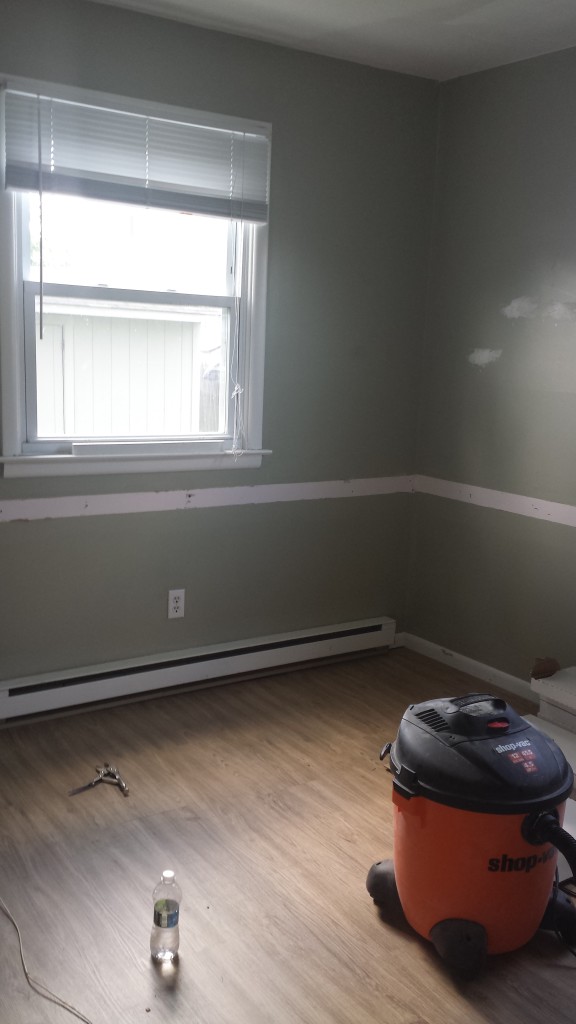
The living room is finally cleared out and we’ve started on the flooring in the downstairs bedrooms. My friends and parents came down this week / weekend to help.
Left: the larger bedroom with the subfloor showing under the old flooring. Right: The smaller bedroom with the new flooring in place, awaiting finishing trim.
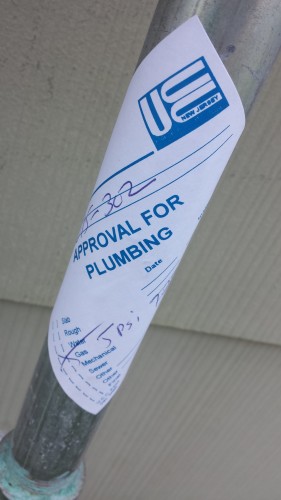
The last big exciting thing is that our gas lines were FINALLY approved by the inspector. The HVAC company is coming Tuesday to install… something. Honestly I’m not 100% sure what. Maybe the furnace, maybe the hot water heater, maybe the kitchen plumbing. They’re supposed to confirm on Monday. I’m really hoping it’s the hot water heater.
The to-do list is still long… very long. But we’re inching closer and closer each week.
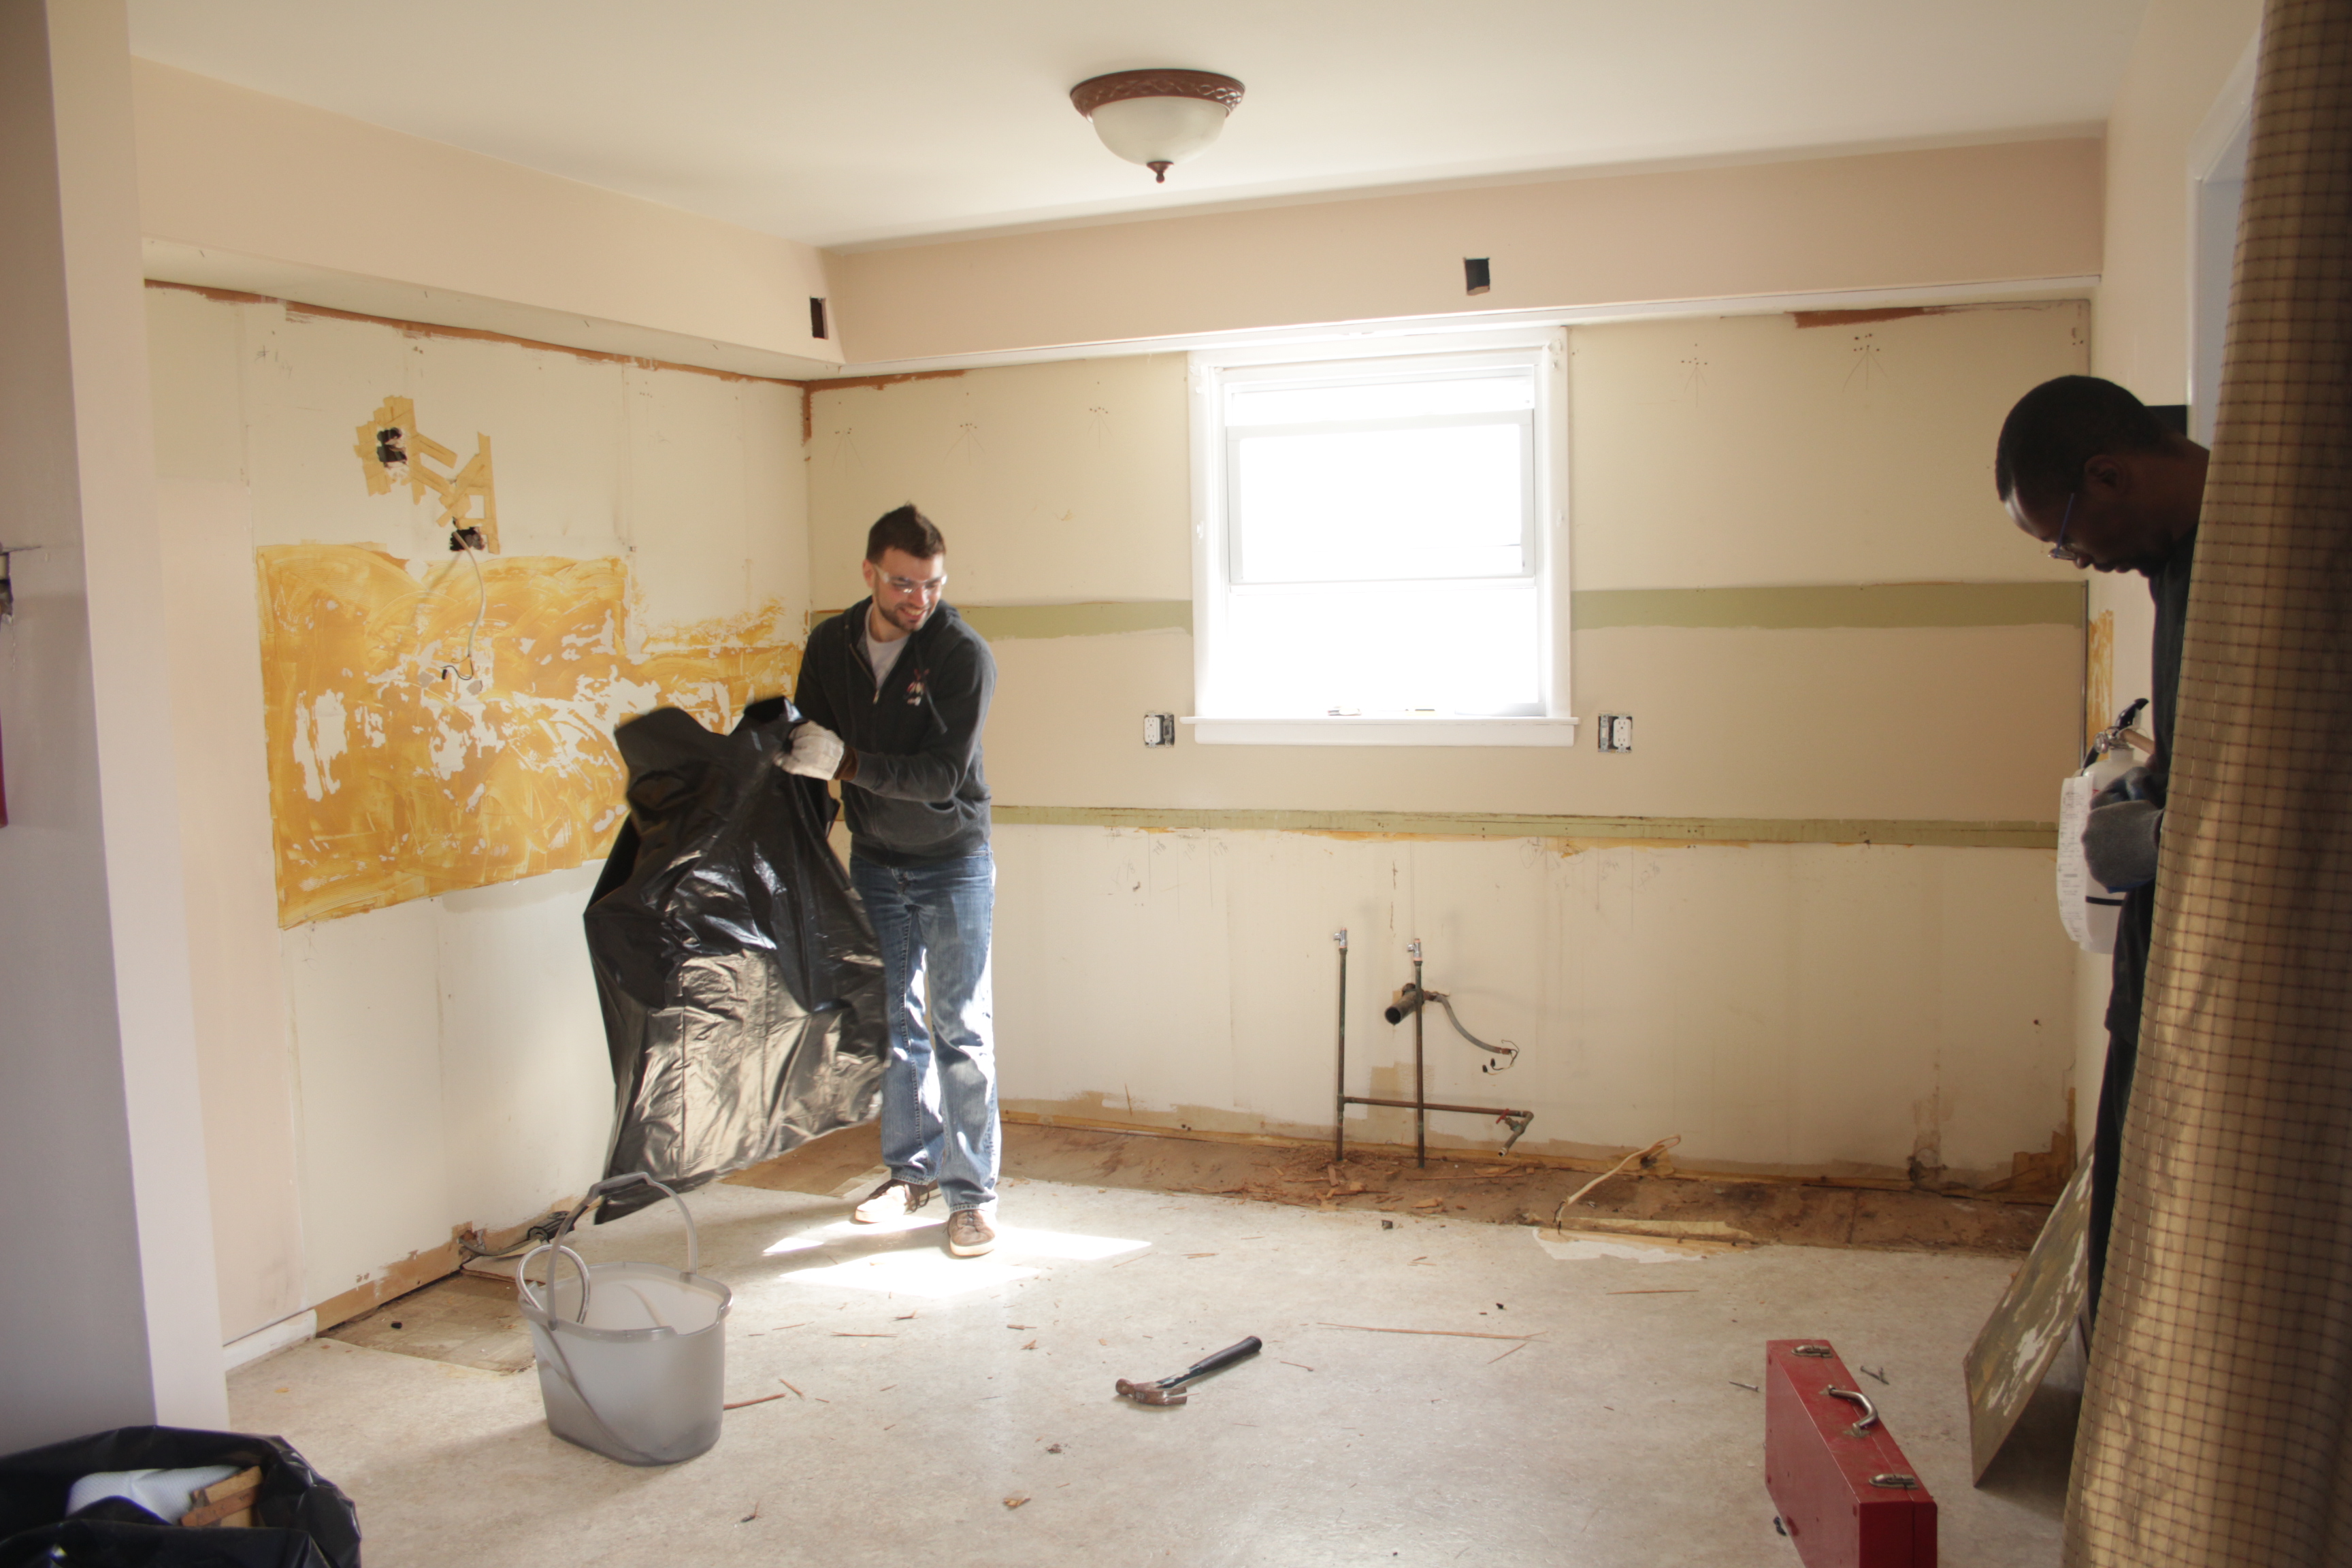
This weekend seven of us descended upon the shore house to rip out the kitchen and begin prepping the walls for paint.
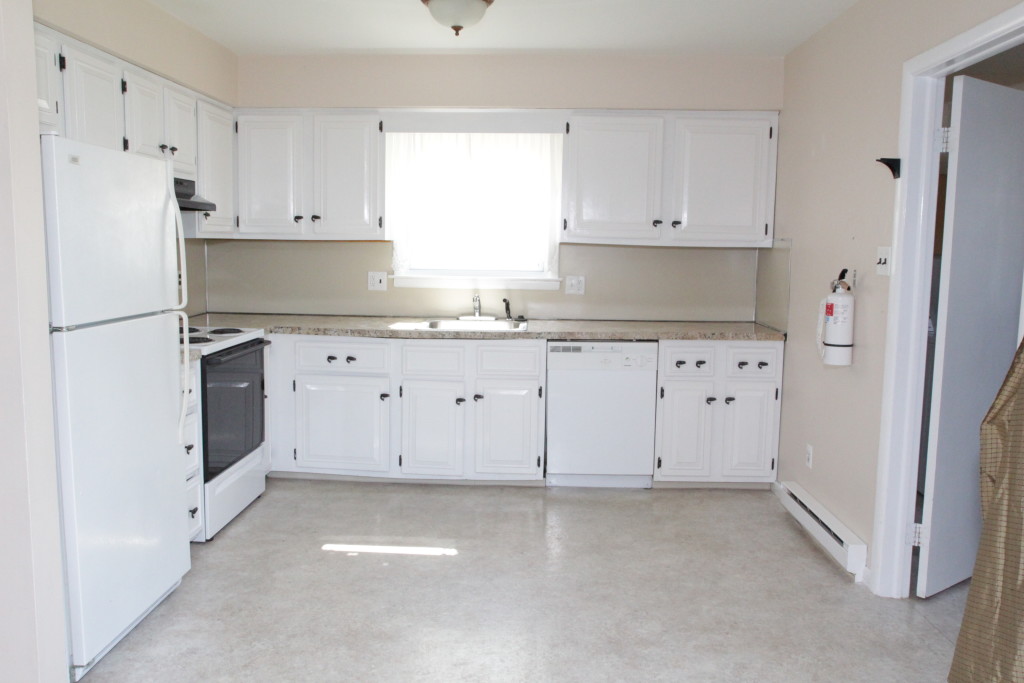
Take a good look at this picture of the kitchen, because it’s the last you’ll see of it!
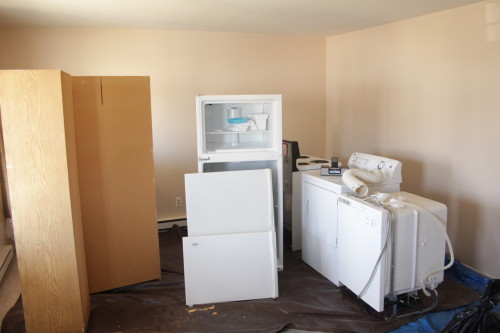
First we removed all the appliances and put them in the living room. I was really glad I had my dad and another handy friend with us, because I had no idea how to remove a dishwasher. Additionally, the shutoff valve for the dishwasher water supply failed, spraying water everywhere. Thankfully there is very easy access to the main water shutoff, and we could use my in-laws’ bathrooms next door.
Appliance Party!
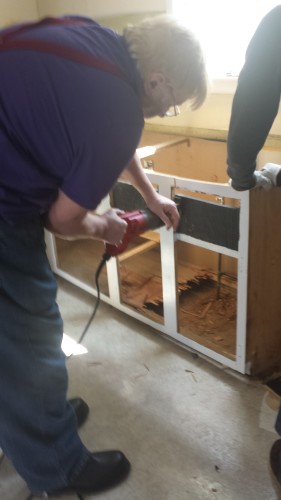
Next we took off the doors and started taking the cabinets apart. The sink came out and then we ripped off the countertops.
Some of the cabinets came out in one piece, and those will be donated to Habitat for Humanity’s ReStore along with the dishwasher, stove, sink, and garbage disposal. Other cabinets were not so lucky.
My dad using a sawzall on one of the cabinets
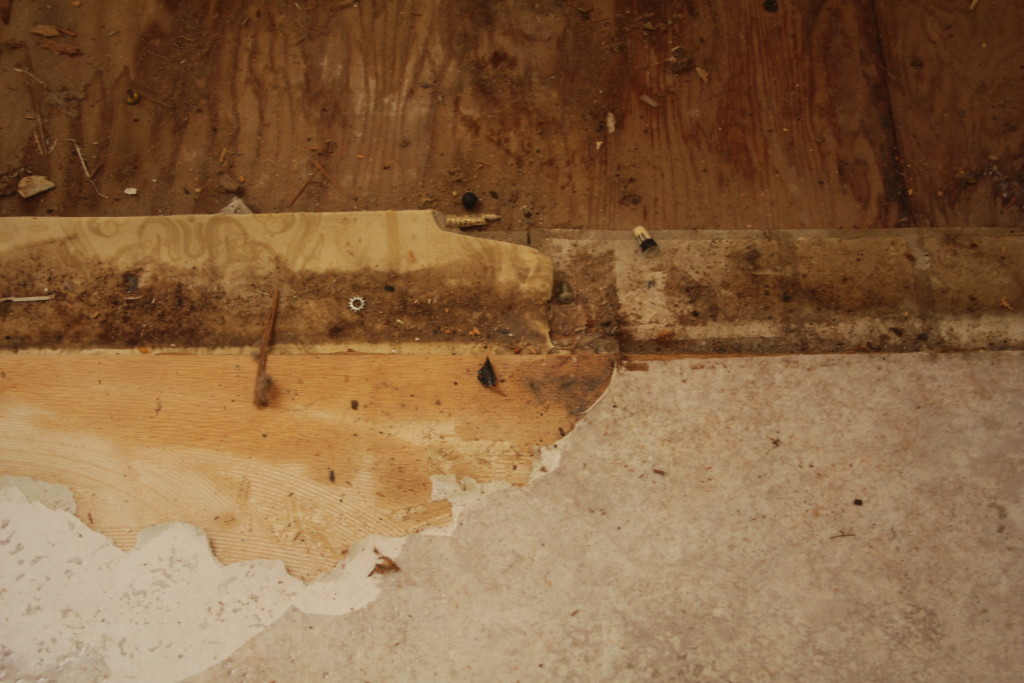
Removing the cabinets revealed that there were not two layers of vinyl flooring, as we’d thought, but actually three.
Top layer on the bottom, middle layer on left, original flooring on the right
I took samples of the layers of flooring and had them sent to a lab for asbestos testing. Thankfully they came back negative, but it’s still gross dirty work so we wore respirators. The plan was to take up the top two layers and leave the one beneath that. There are only so many surprises I can take in one day.
Between each layer of vinyl was a layer of plywood underlayment. The plywood was held down with approximately 1000 staples. It took four of us at least four hours to get all the goddamned staples out. Each staple was at least an inch long and had to be pried out with vice grips. Regular pliers were completely useless for the task.
We had one of these on Saturday. We went to the hardware store on Sunday and bought 4 more.
After pulling out staples forever we pulled up the middle layer. Because it was glued down (surprise!) the bottom layer started coming up with it. Thankfully the bottom layer came up mostly intact so it wasn’t too terrible. I don’t know what the moral of this story is, because I don’t think it’s “leave your floor covered in 40 years and 2 inches worth of vinyl.” My takeaway is that we should build a time machine and stop everyone from putting a million layers of flooring down.
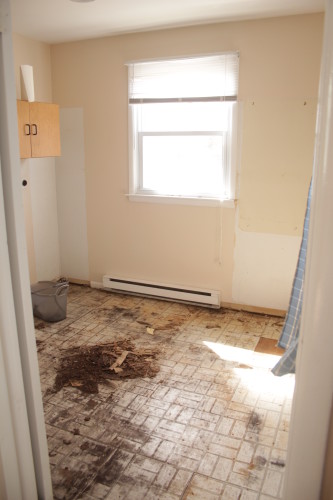
Thanks to water damage on the floor, the plywood in the laundry room came up without taking much of the asbestos tile with it. The pile of debris in this photo is actually plywood that had decomposed into dirt. On the right side you can see a spot that jettisoned an old tile.
Laundry Room
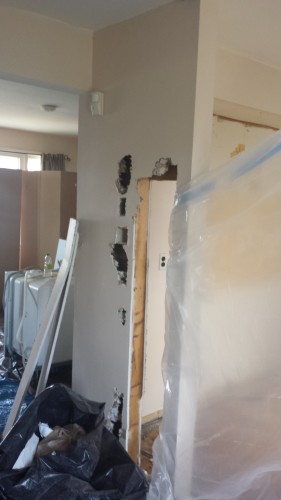
The last major items to demolish are the soffit above the cabinets and the wall next to the fridge. And electrician came in and removed the wires that were running through the wall so that we could safely remove it. He’ll be back in a few weeks to button it all up.
Goodbye Wall
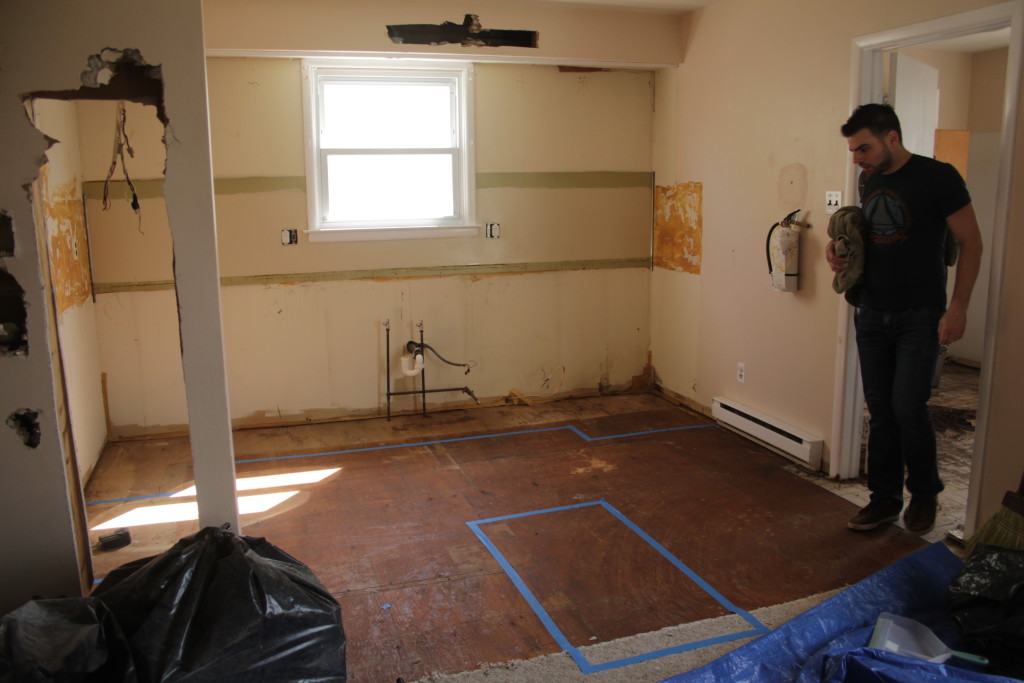
With the kitchen emptied out I taped off where the new cabinets are going to go. I wasn’t sure about the island before, but now I think it’ll fit comfortably.
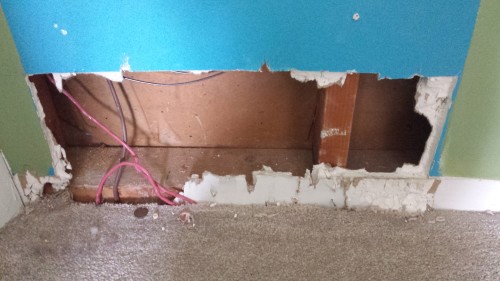
There is still some work to do but it’s coming along. In addition to the kitchen demo there was also a ton of spackling and sanding happening upstairs. I salvaged some of the drywall from the kitchen wall in order to make a patch which will go in this charming space where someone ran wires and didn’t close it back up. Or paint around it.
I don’t even know what’s happening here.
In the meantime I’ve got a million contractors scheduled. The crawlspace needs work (which we knew about before purchasing) and originally I was going to put it off because it’s not urgent. After spending 5 minutes under there I think we should do it sooner rather than later. It’s very damp all the time due to the fact that the soil has eroded below the bottom of the foundation and water has no way to escape.
Other big-ticket items are the heating system. I want to convert to gas, and then if we convert to gas the question is do we replace the aging hot water heater now. And if we do, do we get a tankless system. The tankless system is wayyyyyyy more expensive but in a house where we’ll regularly have 8+ people sleeping/showering a tankless system is very appealing. Even if we can only run one shower at a time (a complaint I’ve heard with tankless), 8 warm showers is better than 2 warm showers and 6 cold showers.
Right now I’m feeling a liiiiiittle bit overwhelmed by the scope of this project. We can talk about my sticker shock over the price of countertops another day.
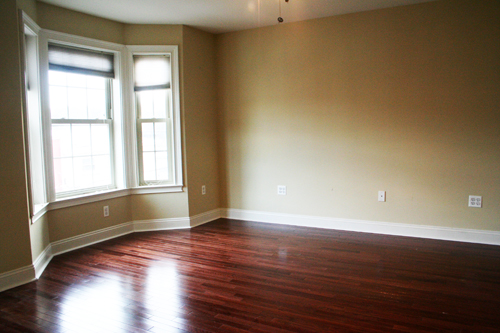
The biggest project for our new home was installing hardwood floors. If you remember, the house came with some stained, poorly-installed carpeting on the top two floors:
The wrinkles are just waiting to trip you in the night
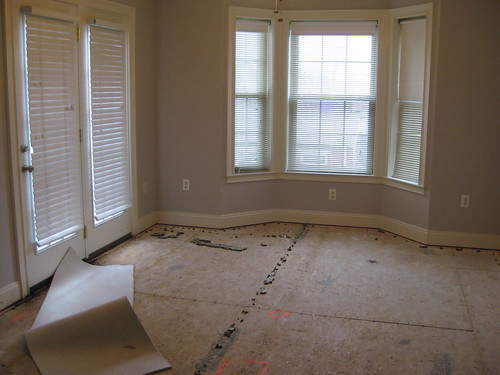
We picked out flooring and hired a contractor to install it. They started on Thursday and spent the day ripping out the old carpet, revealing the plywood subfloor underneath.
I think it looks better than the carpet already
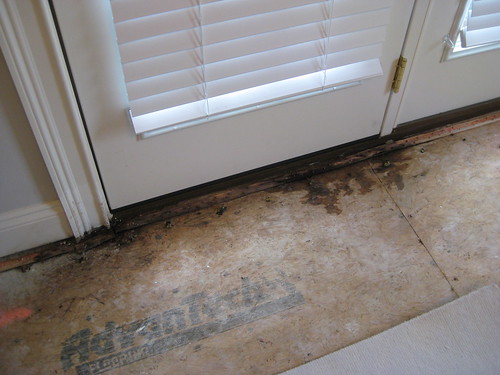
Less than thrilling was the water damage we found under almost all the windows. The tacking strips for the carpet were rotted out in some places. Not exactly what a new homeowner wants to find, especially on a house this young.
Unfortunately it was freshly damp, indicating an ongoing issue
The side of the house is stucco, which has deteriorated and created a gap around each window and door frame. We saw this during the home inspection before we bought the house, I just didn’t expect it to be such a dramatic problem already. Our contractor sealed the cracks with silicone caulk, which we’re hoping will stop the majority of the damage, and once the weather warms up we’ll look into having the house repainted with a waterproof paint.
The crew worked through the weekend, and when we returned to the house Tuesday night the floors were done. Everything in the house was covered by a fine layer of sawdust, even the light switches.
Not that it stopped me from walking around in my bare feet
To clean the floors we first vacuumed, then dry mopped (using dry swiffer-type pads), and then gave things a once over with Bona Floor Cleaner. There’s a trick to getting it to clean well – you have to rinse out your cleaning pad (I used a Quickie microfiber mop) frequently to prevent streaking/product build up. This meant at least once per room, usually every 4-5 sprays of the cleaner, being sure to wring out the pad well since wood and water are not friends. For tough spots you still have to get down on your hands and knees with a microfiber cloth.
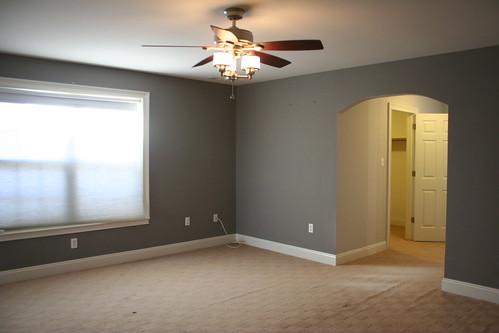
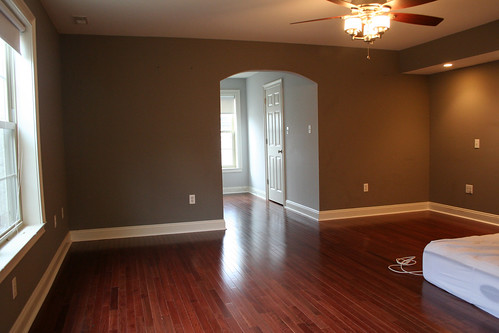
We'll get a bed eventually
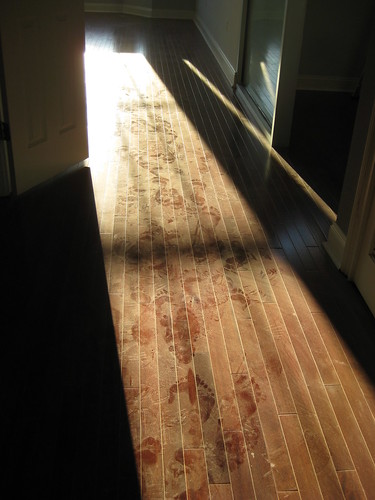
It was about 5pm by the time I finished cleaning so the lighting isn’t great in the photos. But what’s really interesting is that the wood looks drastically different colors depending on the light. This is most visible in the middle bedroom, which has a halogen light ceiling fan, where you can see out into the hallway (which is lit by compact flourescents).
Same wood across the whole photo
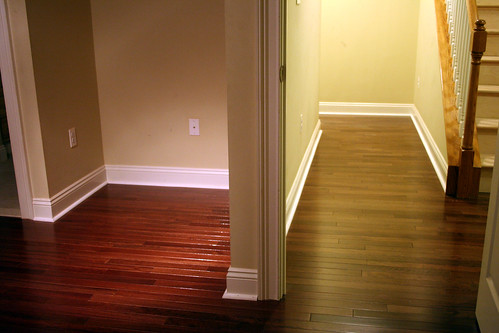
Yeah, that isn’t going to make picking out paint colors a headache at all… but we’re really super happy with the floors. They look great. At first I wasn’t sure about the narrower planks, because the trend right now is wider, but I think they give the house character and offset that blah new-construction feel a lot of recently built homes have.
Once the walls are patched up and painted we can drag all our belongings down and start actually living there! In the meantime, Chris and I are testing out hardware setups for our incredibly over-engineered home network / media center.
The biggest project on our to-do list for the new home is the floors. The two upper floors came with wrinkly, stained carpeting that we knew we’d want to replace before moving in. We decided to bite the bullet and have hardwood installed.
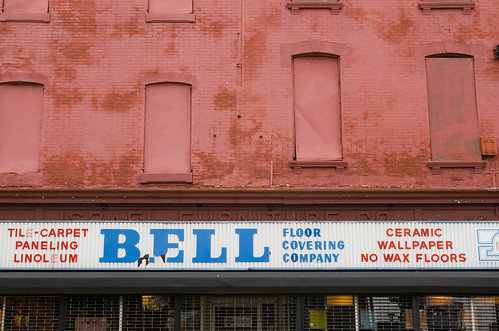
Our first stop was Bell Floor Covering in downtown Philly. This place has been around forever, and it didn’t take long to figure out why. The sales staff was friendly and explained the difference between solid and engineered hardwood. Engineered woods can be installed most anywhere and can be refinished twice. Solids have to be nailed down and can be refinished three or more times. Since we’re installing it over a plywood subfloor, we could go with either.
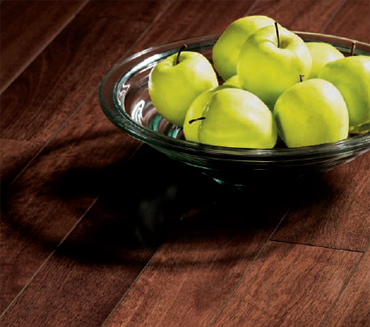
Lyptus hardwood
We ended up picking out a solid hardwood called Lyptus – it’s a hybrid of a few different Eucalyptus species and claims to be sustainably grown and harvested. It was on closeout so we got it for $3 / square foot, less than half of what it retails for.
To figure out how much we needed I went around and measured every room in the house that we wanted to put hardwood in, closets and all. Since converting feet/inches to decimal is tedious, I used Wolfram Alpha to calculate the square footage of each room. I added 10% to the total to get the total number of square feet.
We had three contractors come out to give estimates – two dedicated flooring specialists and one general contractor who handles complete home remodeling. All of them came in around $3 / square foot for installation. We went with the general contractor and I was immediately glad we did – when we were loading the wood flooring into the garage I noticed a leak coming from the first floor bathroom. The contractor, Osman, added to his list of things to check out.
Osman and his assistant are hard at work ripping out the existing carpet. I think it’s already starting to look better.