The biggest project for our new home was installing hardwood floors. If you remember, the house came with some stained, poorly-installed carpeting on the top two floors:
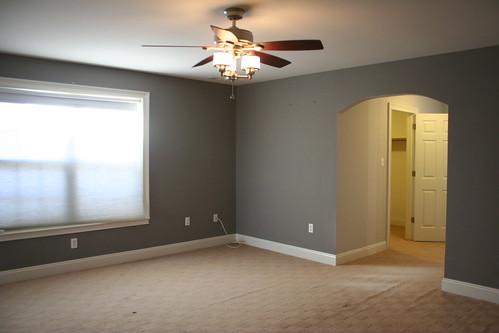
We picked out flooring and hired a contractor to install it. They started on Thursday and spent the day ripping out the old carpet, revealing the plywood subfloor underneath.
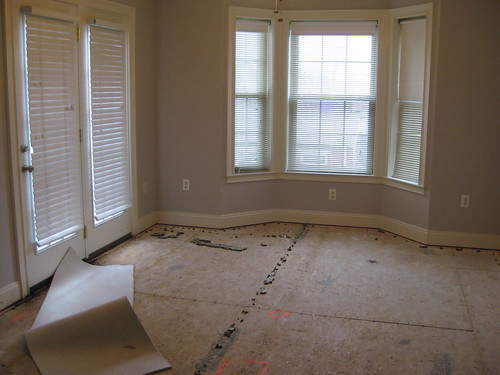
Less than thrilling was the water damage we found under almost all the windows. The tacking strips for the carpet were rotted out in some places. Not exactly what a new homeowner wants to find, especially on a house this young.
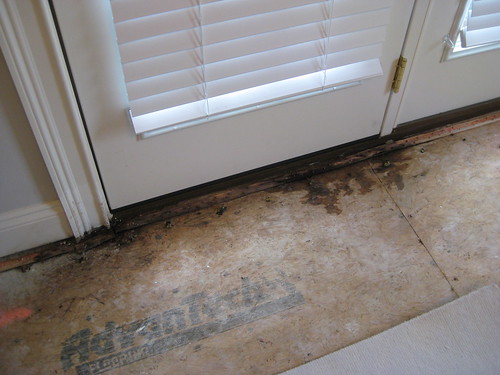
The side of the house is stucco, which has deteriorated and created a gap around each window and door frame. We saw this during the home inspection before we bought the house, I just didn’t expect it to be such a dramatic problem already. Our contractor sealed the cracks with silicone caulk, which we’re hoping will stop the majority of the damage, and once the weather warms up we’ll look into having the house repainted with a waterproof paint.
The crew worked through the weekend, and when we returned to the house Tuesday night the floors were done. Everything in the house was covered by a fine layer of sawdust, even the light switches.
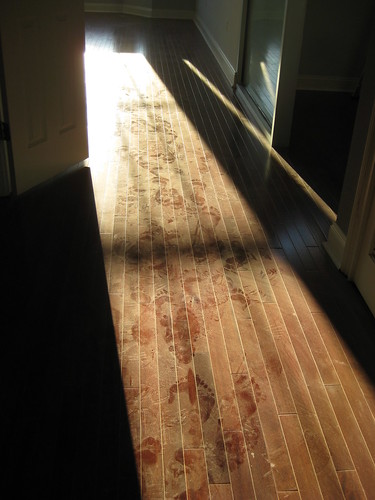
To clean the floors we first vacuumed, then dry mopped (using dry swiffer-type pads), and then gave things a once over with Bona Floor Cleaner. There’s a trick to getting it to clean well – you have to rinse out your cleaning pad (I used a Quickie microfiber mop) frequently to prevent streaking/product build up. This meant at least once per room, usually every 4-5 sprays of the cleaner, being sure to wring out the pad well since wood and water are not friends. For tough spots you still have to get down on your hands and knees with a microfiber cloth.
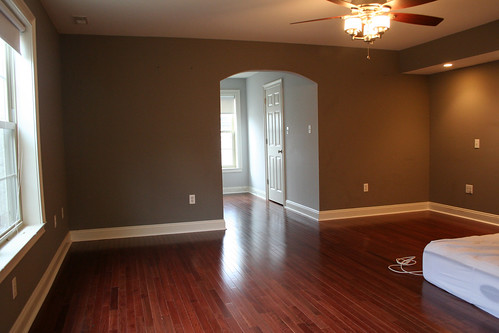
It was about 5pm by the time I finished cleaning so the lighting isn’t great in the photos. But what’s really interesting is that the wood looks drastically different colors depending on the light. This is most visible in the middle bedroom, which has a halogen light ceiling fan, where you can see out into the hallway (which is lit by compact flourescents).
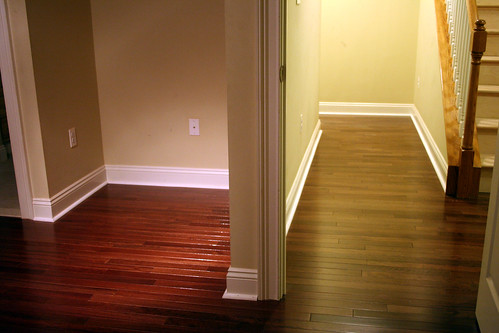
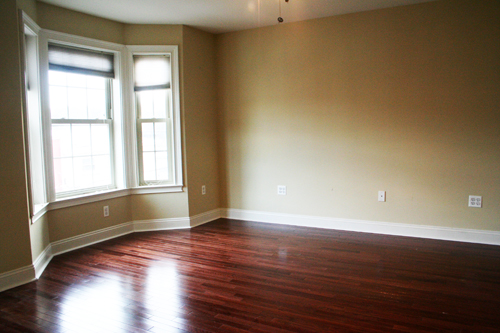
Yeah, that isn’t going to make picking out paint colors a headache at all… but we’re really super happy with the floors. They look great. At first I wasn’t sure about the narrower planks, because the trend right now is wider, but I think they give the house character and offset that blah new-construction feel a lot of recently built homes have.
Once the walls are patched up and painted we can drag all our belongings down and start actually living there! In the meantime, Chris and I are testing out hardware setups for our incredibly over-engineered home network / media center.
When you have a color you think you like, get some primer and a sample. Prime a big area of the wall, and then paint your sample over it- at least a 3×3 square. Look at it in different light over the course of a week or so.
The other thing to consider about paint colors is what it will do to the ambient light in the room. If you have a space in which you’re expecting to do photography, it may be good to stick to plain white walls and ceilings.
I once made the mistake of painting a ceiling sky blue with fluffy grey and white clouds. The mural looked pretty, but made everything in the room dingy.
Good luck!
Caulking and “waterproof” paint isn’t going to solve your water seepage problems unfortunately. From the sound of it, you’re going to need to look into getting proper flashing put in (or replaced), or you’ll surely end up with more rot and/or mold. You shouldn’t be getting that kind of seepage regardless of the condition of the stucco, ideally.
Wow – what a transformation! Love those footprints. Picking paint colors has been hard for us too – I’m looking forward to reading and learning about your final decisions! Looking great!
Looks great.
Kind of cool to see how sickly green fluorescent lights are. Makes color balance a bit of a challenge.