I’ve spent a ton of time working on the house lately. There isn’t a ton of visual progress but stuff is slowly inching forward.
Upstairs
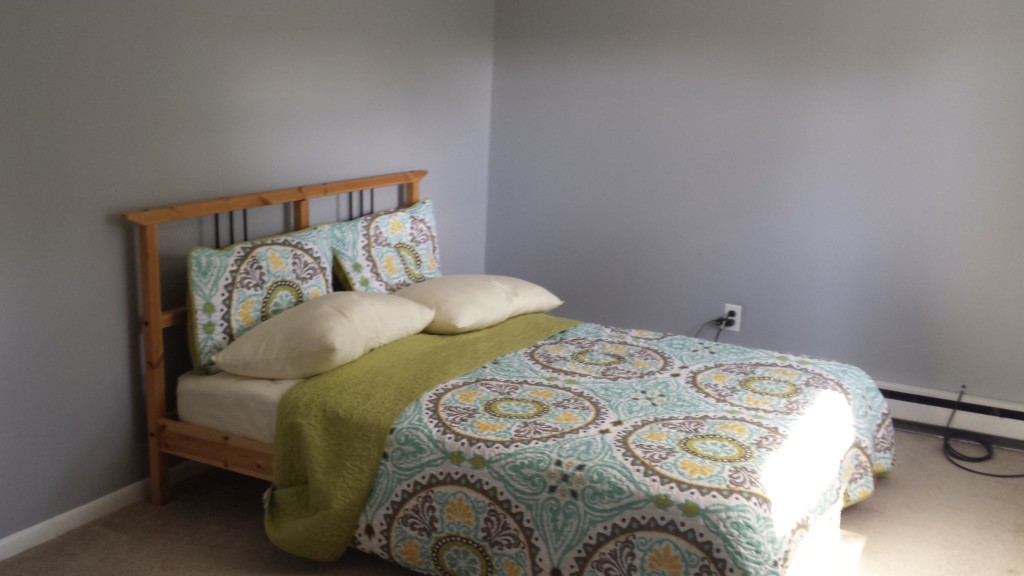
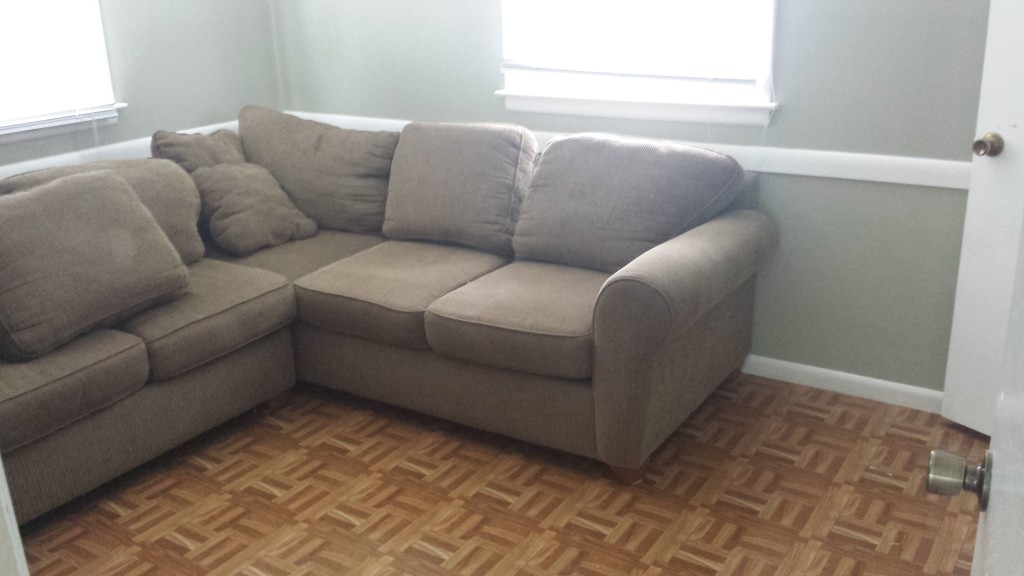
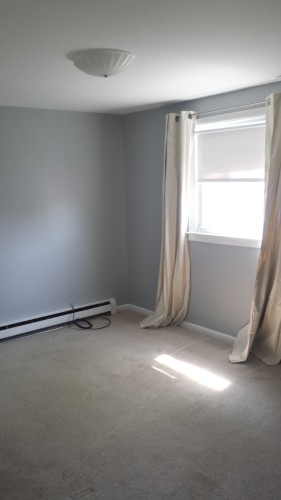
The upstairs is edging very close to being finished! Over the past few weeks the following happened:
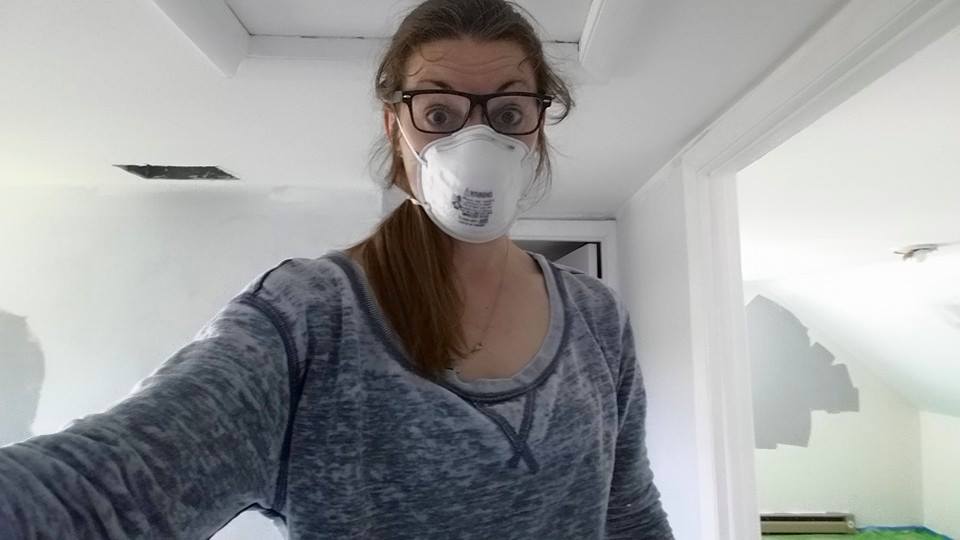
- I repaired an 8 inch by 1 foot hole in the wall of one of the bedrooms. I didn’t do a very good job so don’t look very closely.
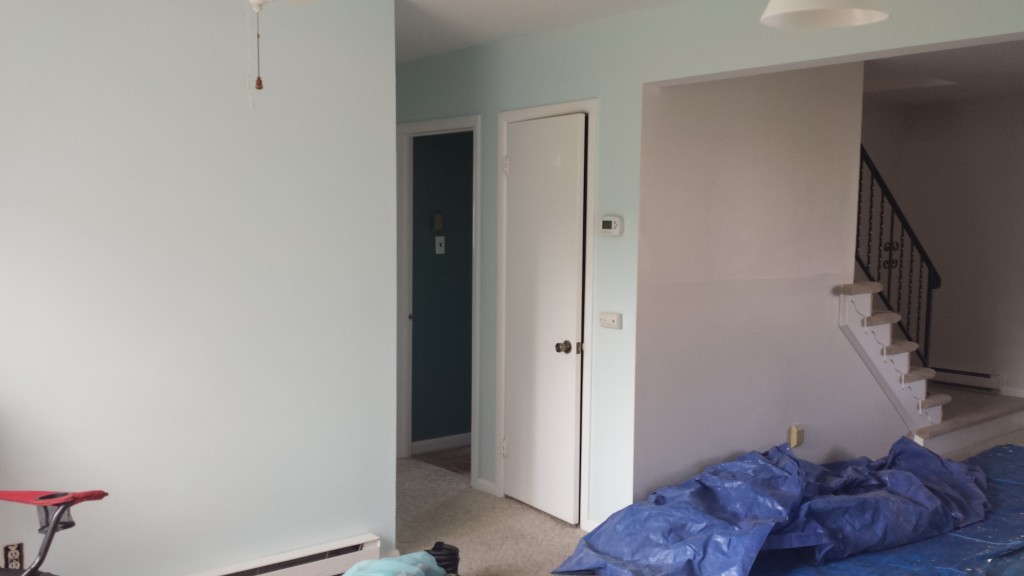
- Two bedrooms and the hallway are totally done with paint
- The third upstairs bedroom was primed and the ceiling was painting (thanks to my father in law) and the first coat of wall paint is on
- I replaced 2 of the 4 illegal/dangerous ungrounded 3 prong outlets with GFI outlets. This won’t protect your laptop from getting zapped, but it will keep the house from burning down.
Still remaining are the other two outlets and having a professional carpet cleaner give the carpets some love. Then we can put beds in the other two rooms and start having guests! That is, as long as they don’t mind not having hot water. Oh and I have to put the doors back on, but first I have to chop an inch off the bottom because they drag on the carpets.
HVAC Stuff

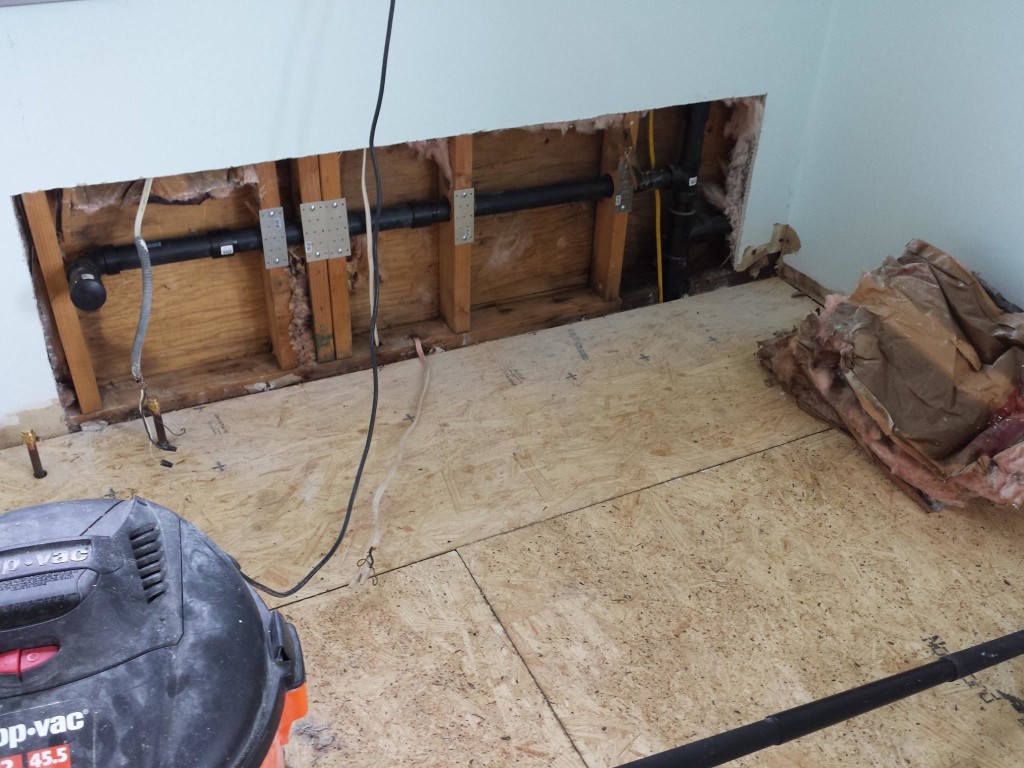
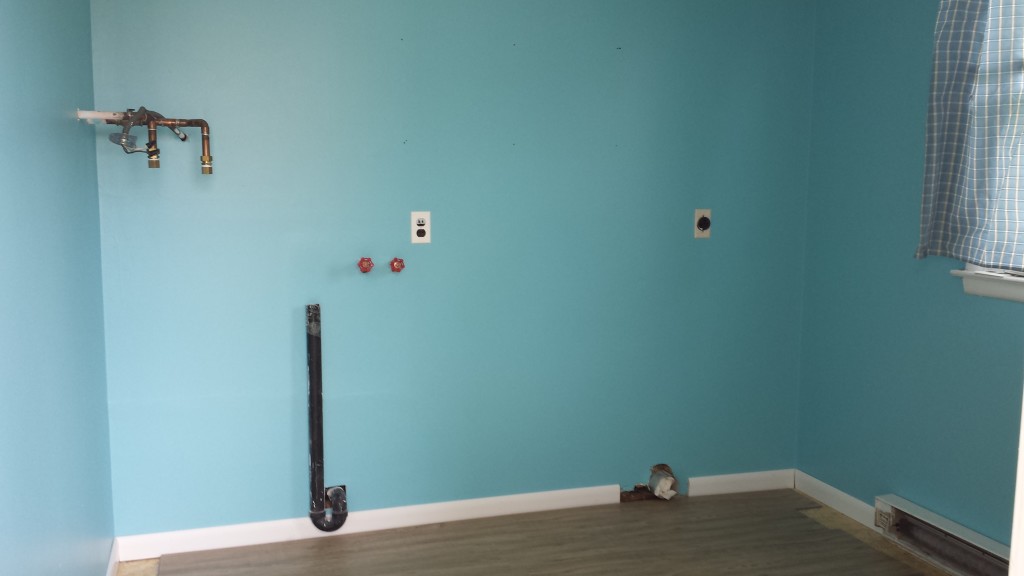
The gas lines were run to the furnace, stove, and hot water heater. Now we’re waiting on a city inspector to come by for the rough inspection (next week if I’m lucky). After the inspector signs off they can connect the appliances. So assuming the city doesn’t drag their heels we could be a mere two weeks from endless hot water! What’s cool is the new hot water heater is tiny and mounted high on the wall, so we’ve gained space in the laundry room where we could put a utility sink or cabinet.
The bad news is the HVAC guys uncovered more shady electrical work in the house. I haven’t yet gotten a quote for fixing it, but since the inspector will be coming I don’t really have a choice. Even though the bad wiring was there before the inspector could pitch a fit about it now if we don’t make it right.
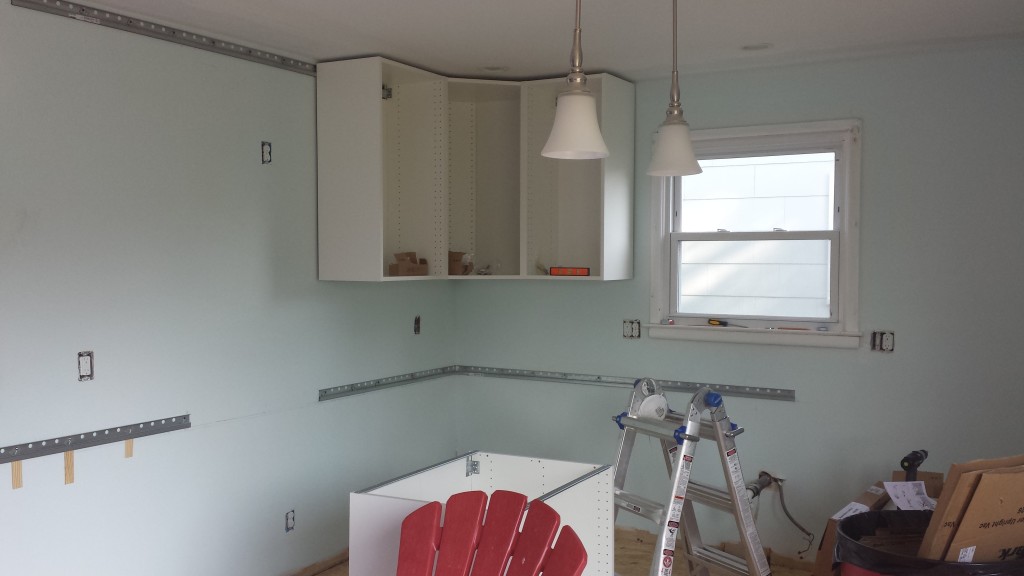
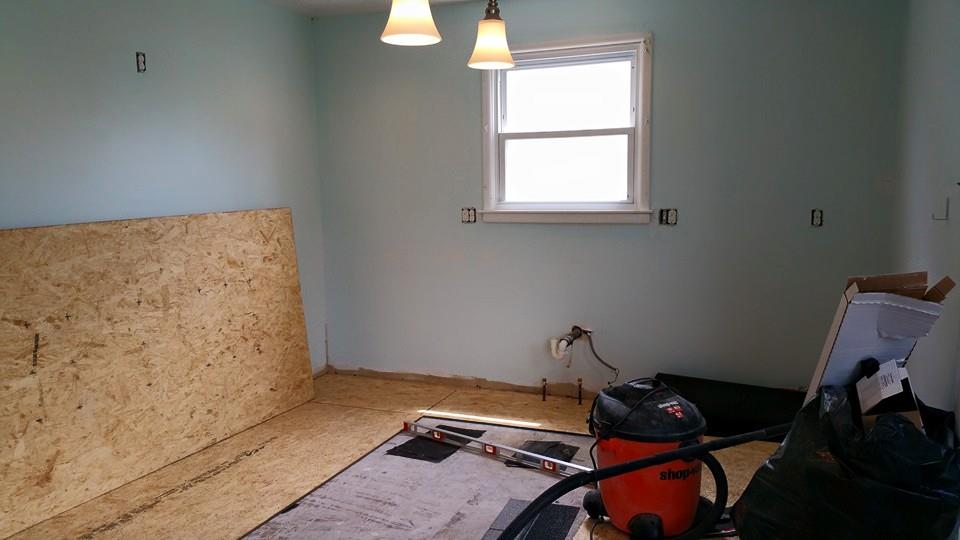
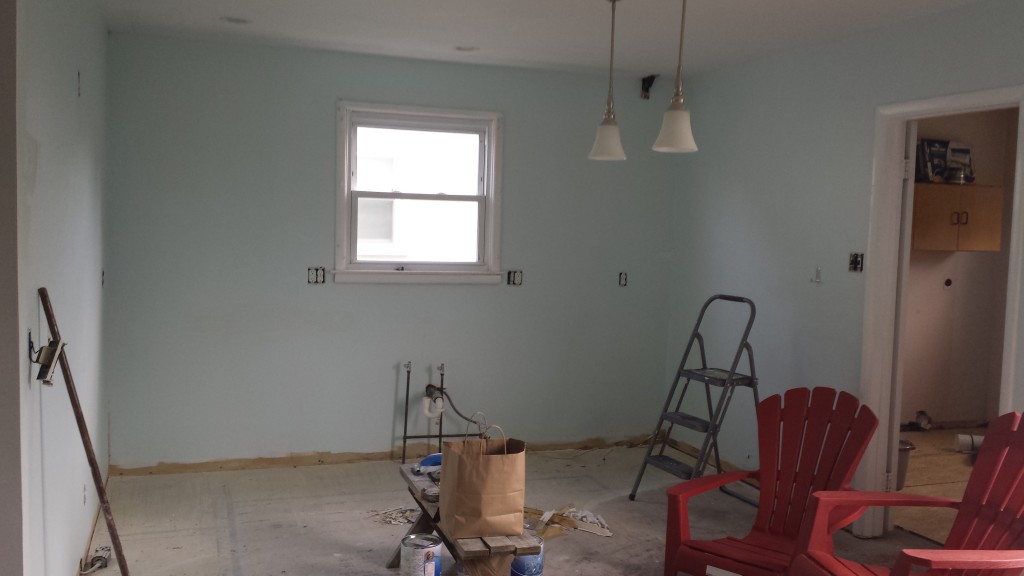
Kitchen Stuff
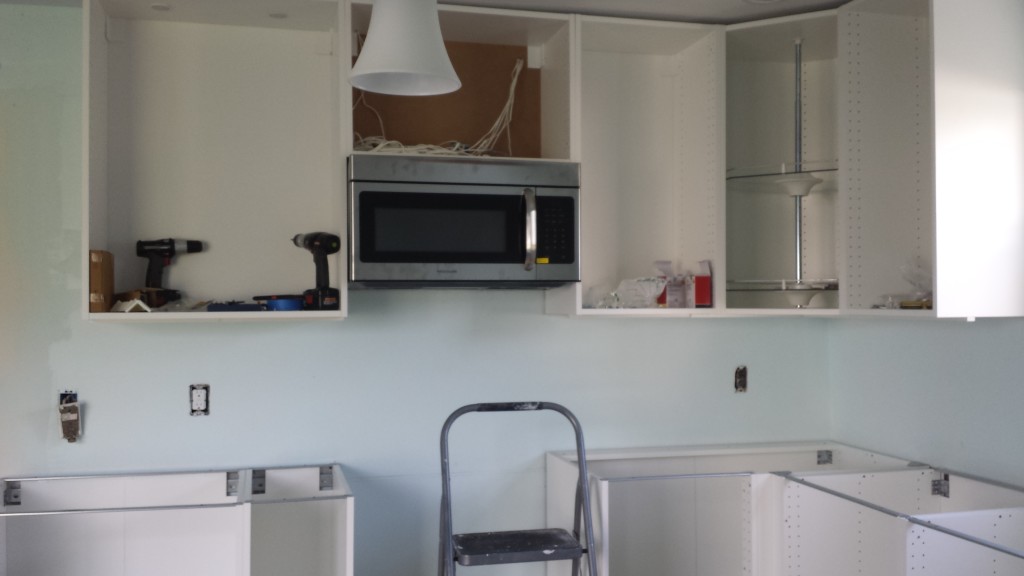
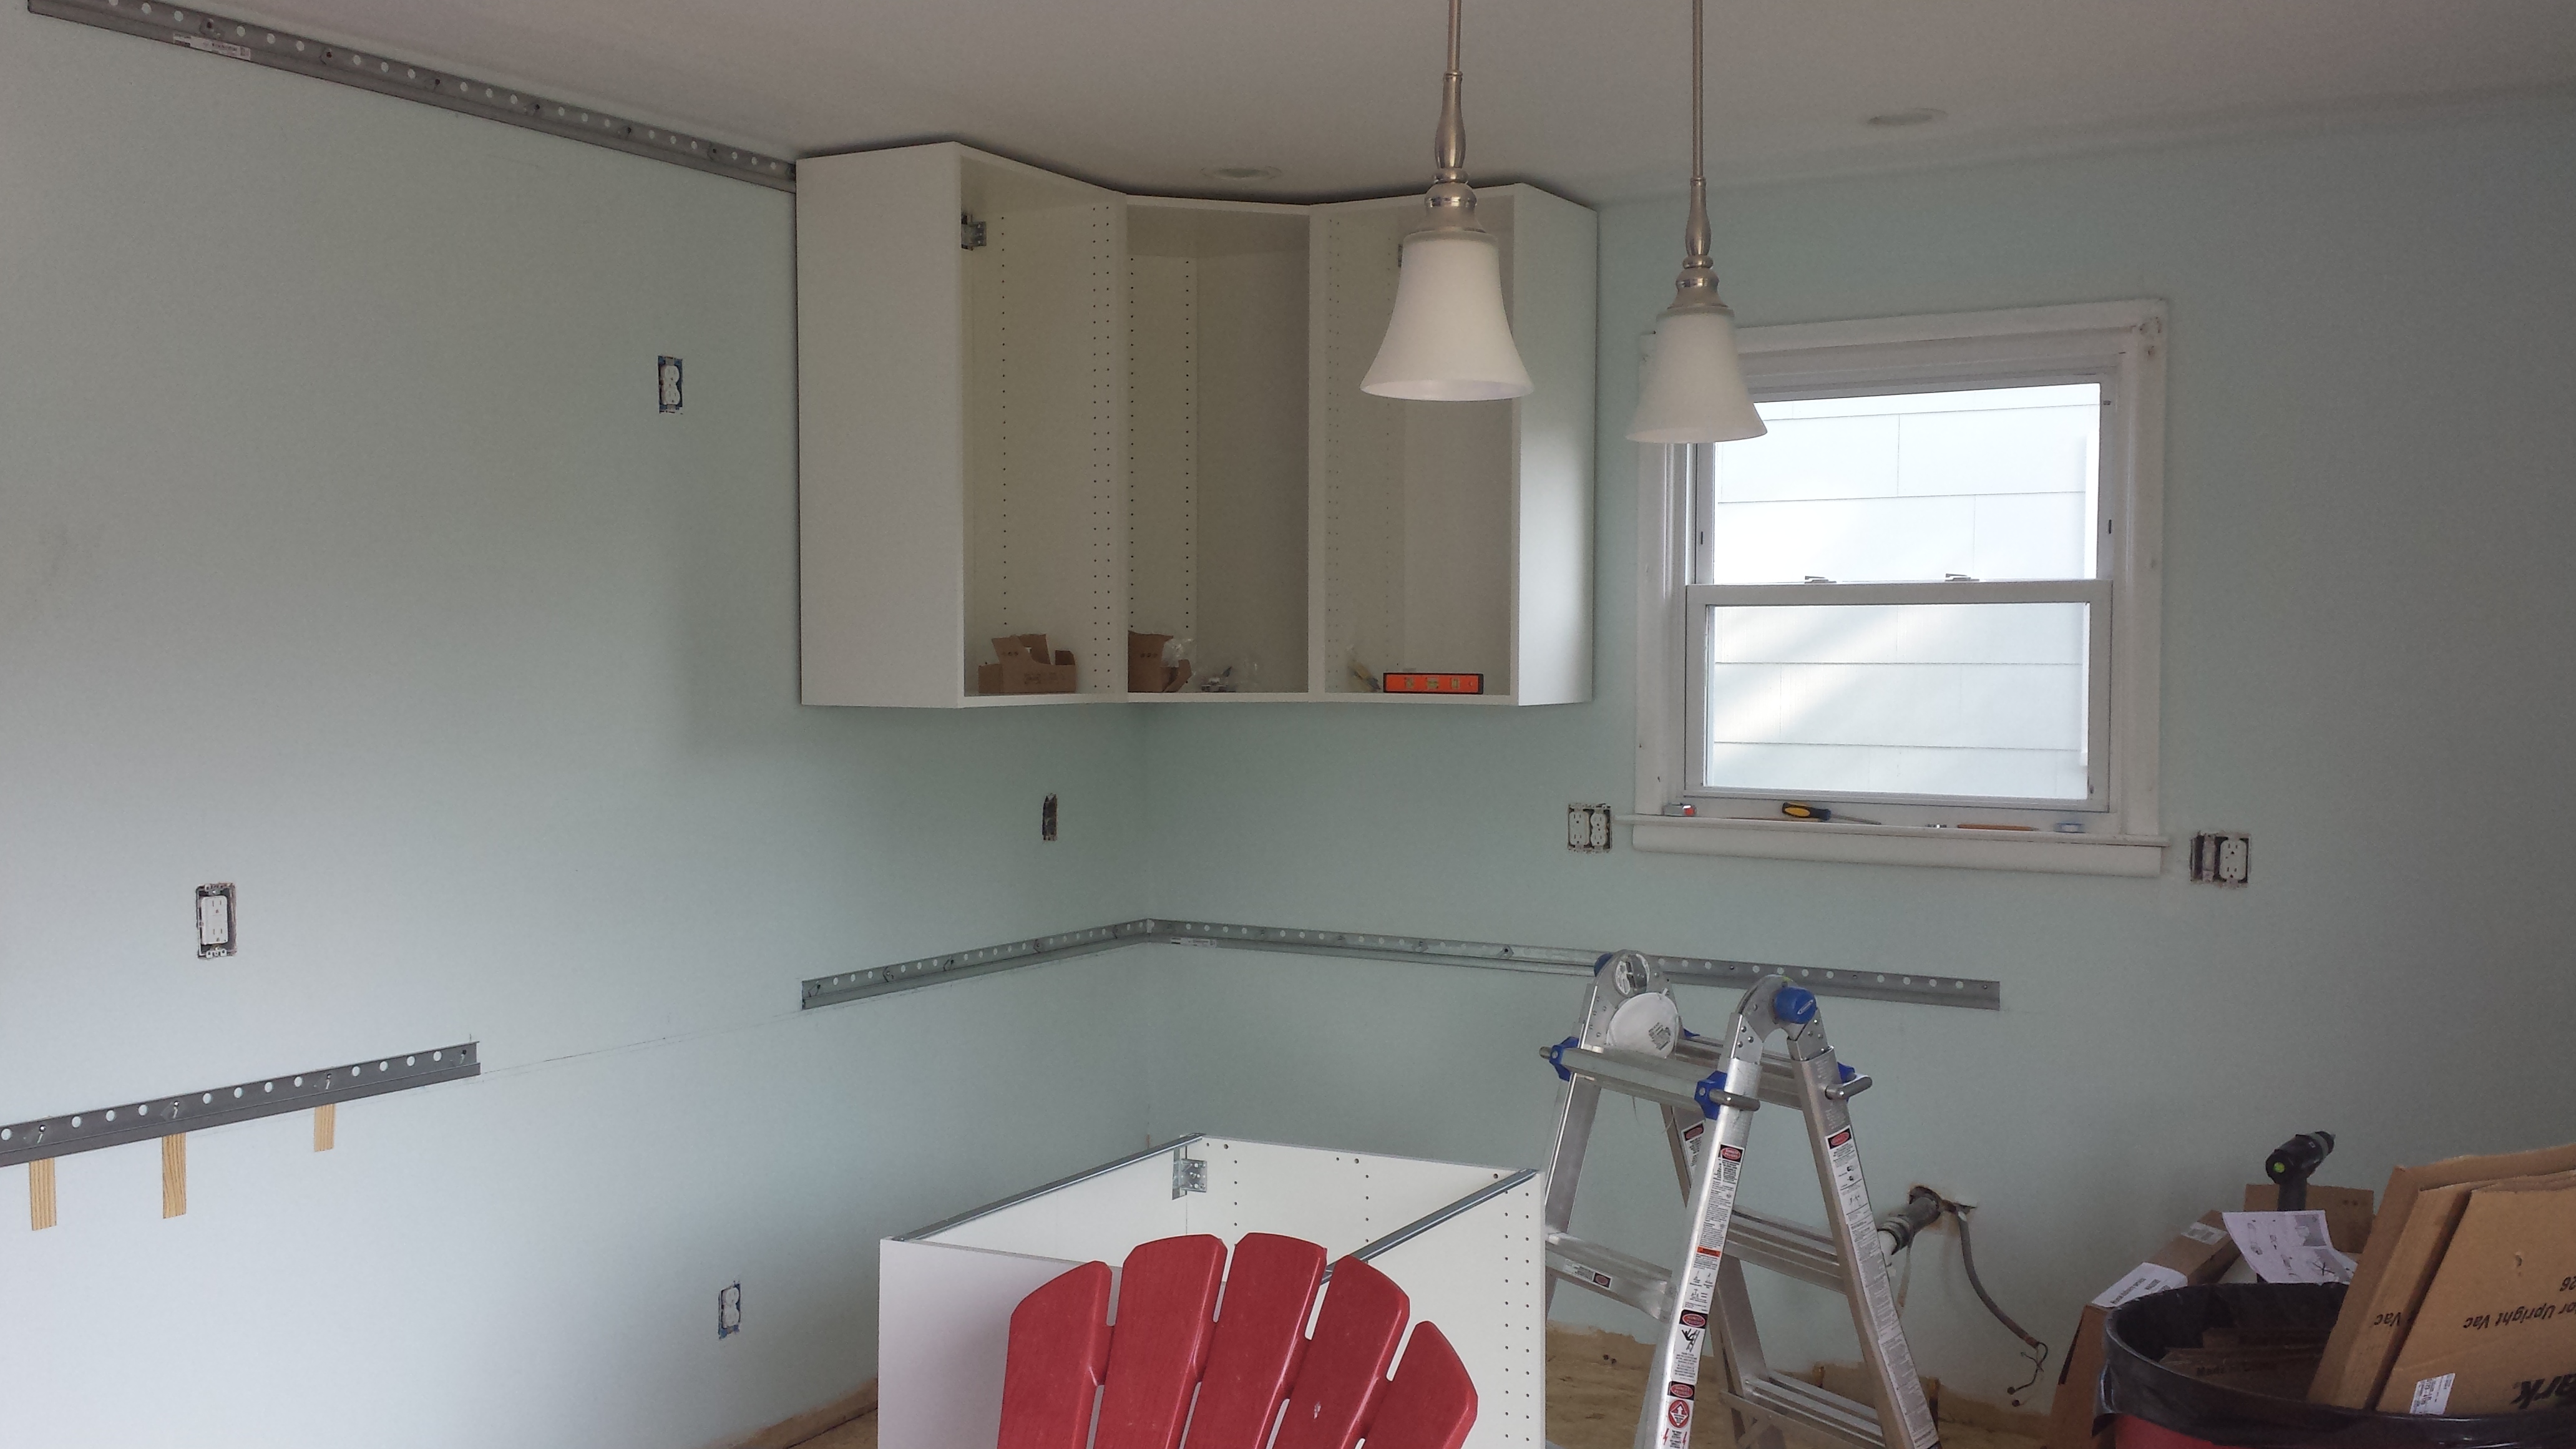
The kitchen has been a lot of back and forth. We got a bunch of stuff done…
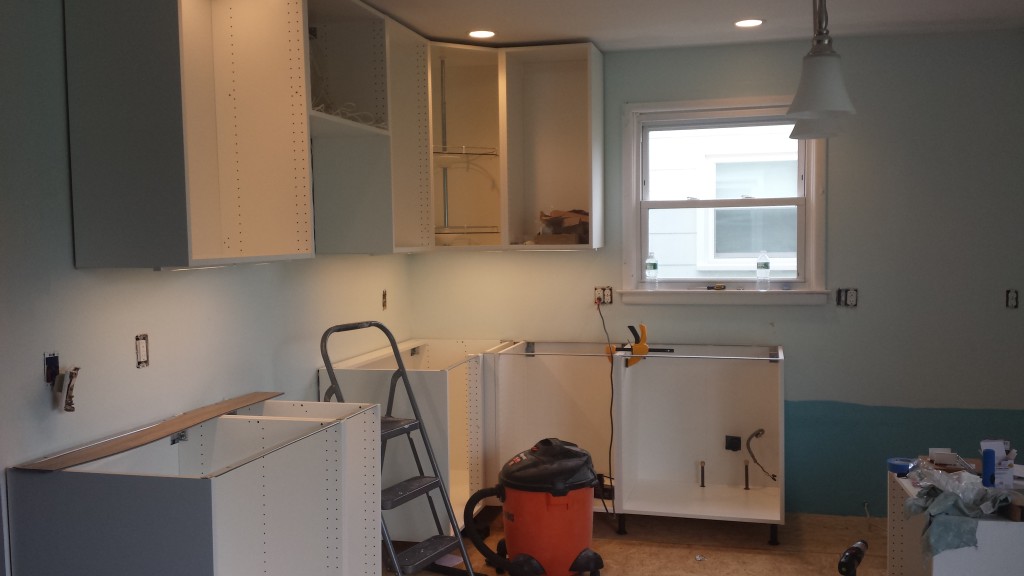
- Installing the Ikea undercabinet lighting
- Repairing the wall that had to be cut open for the drain line
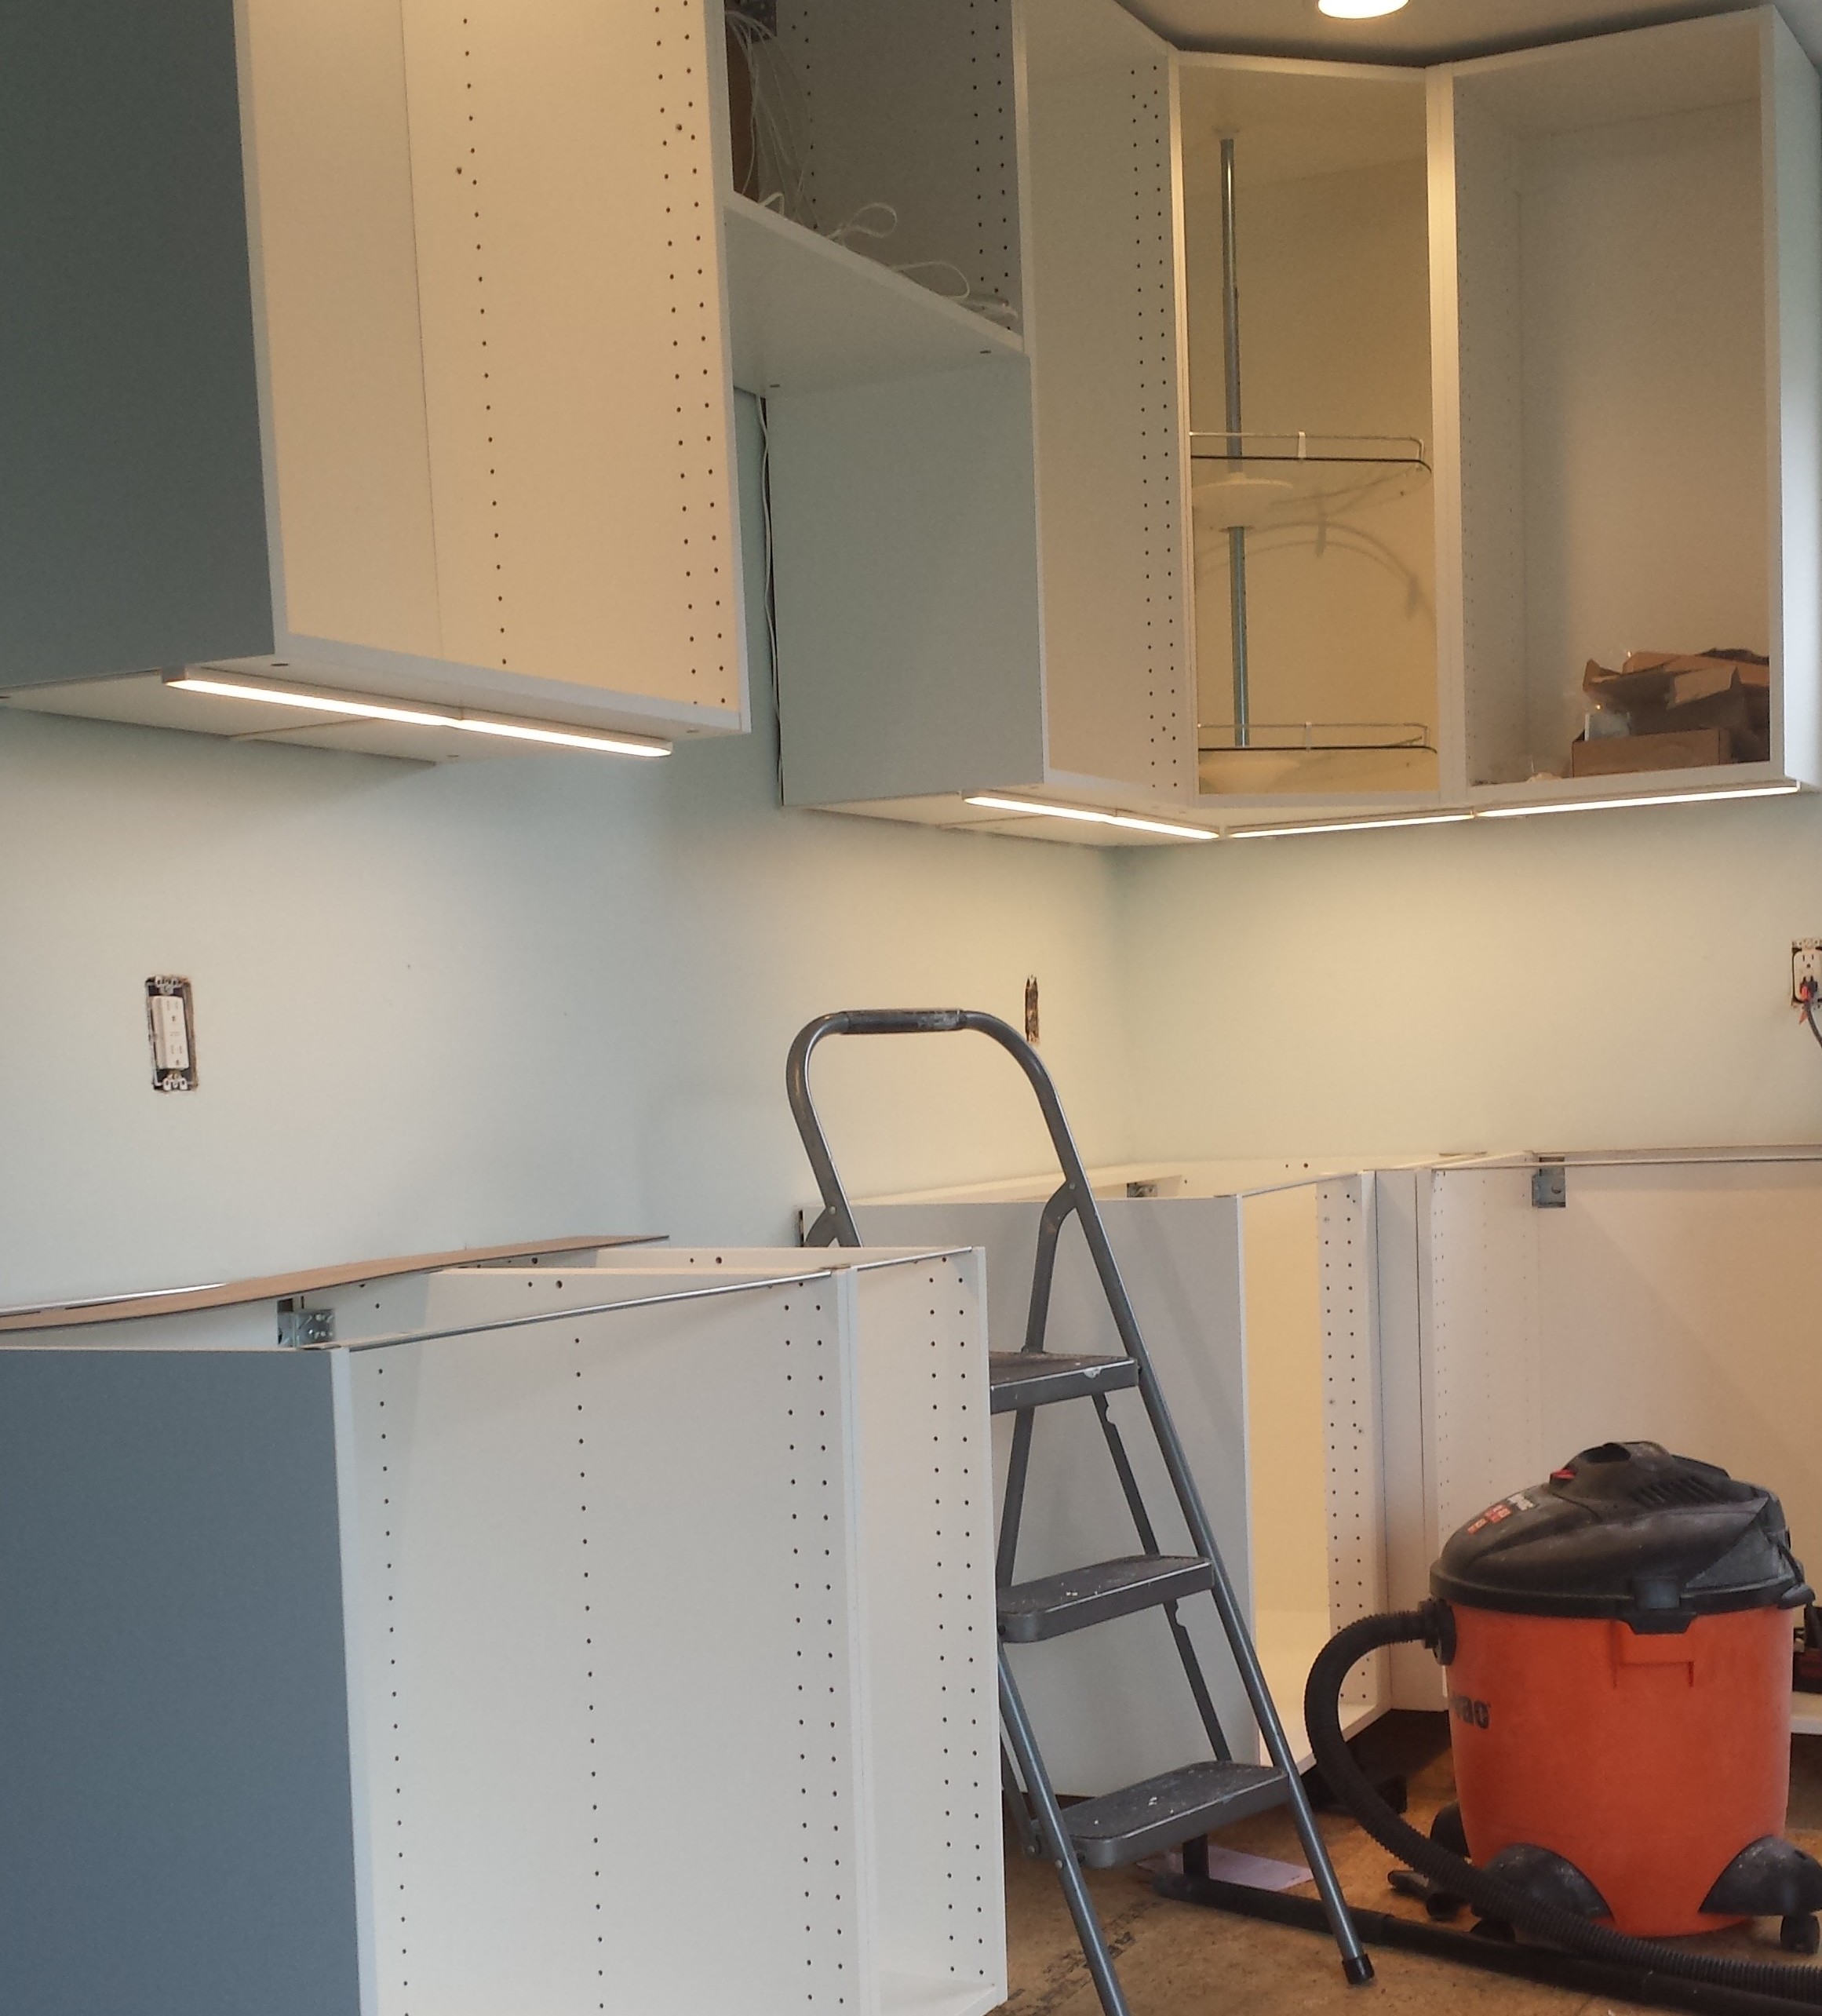
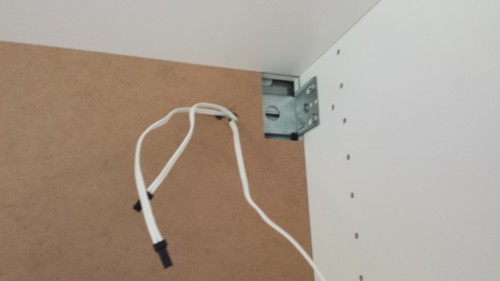
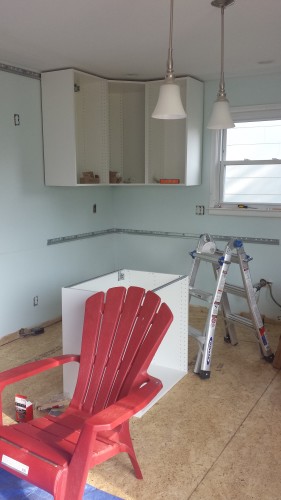
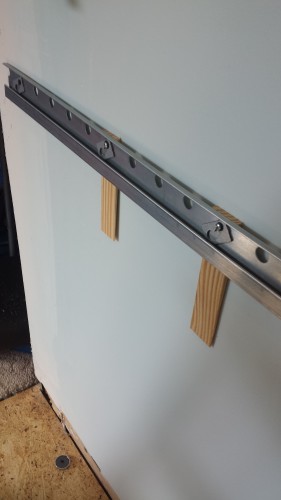
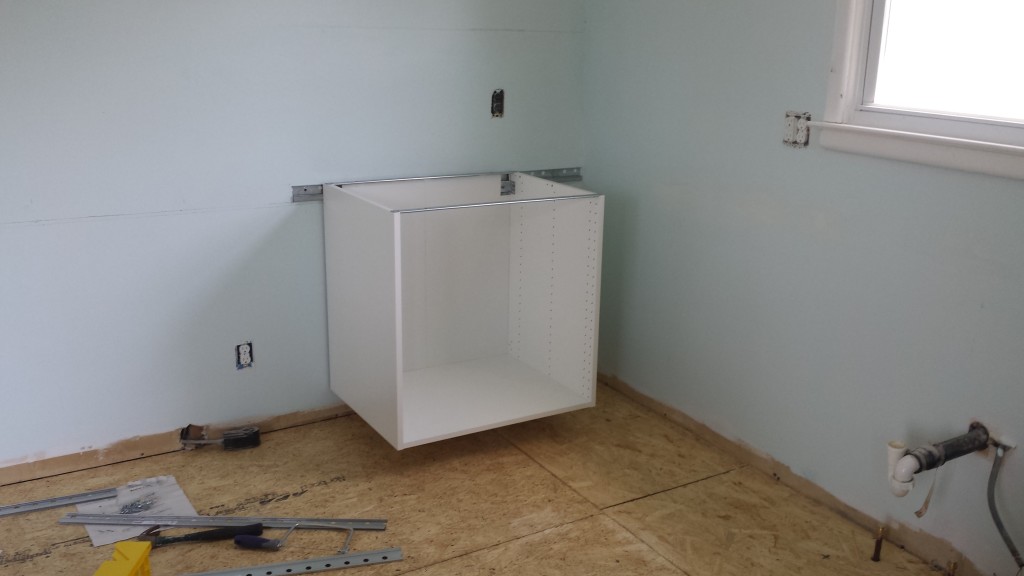
- Getting all the cabinets installed and level
- Installing the microwave
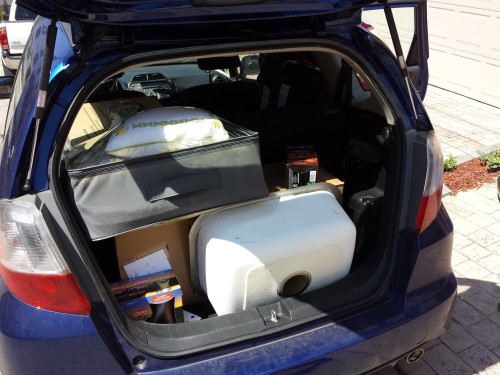
- Picking up extra stuff I was missing from my initial Ikea order
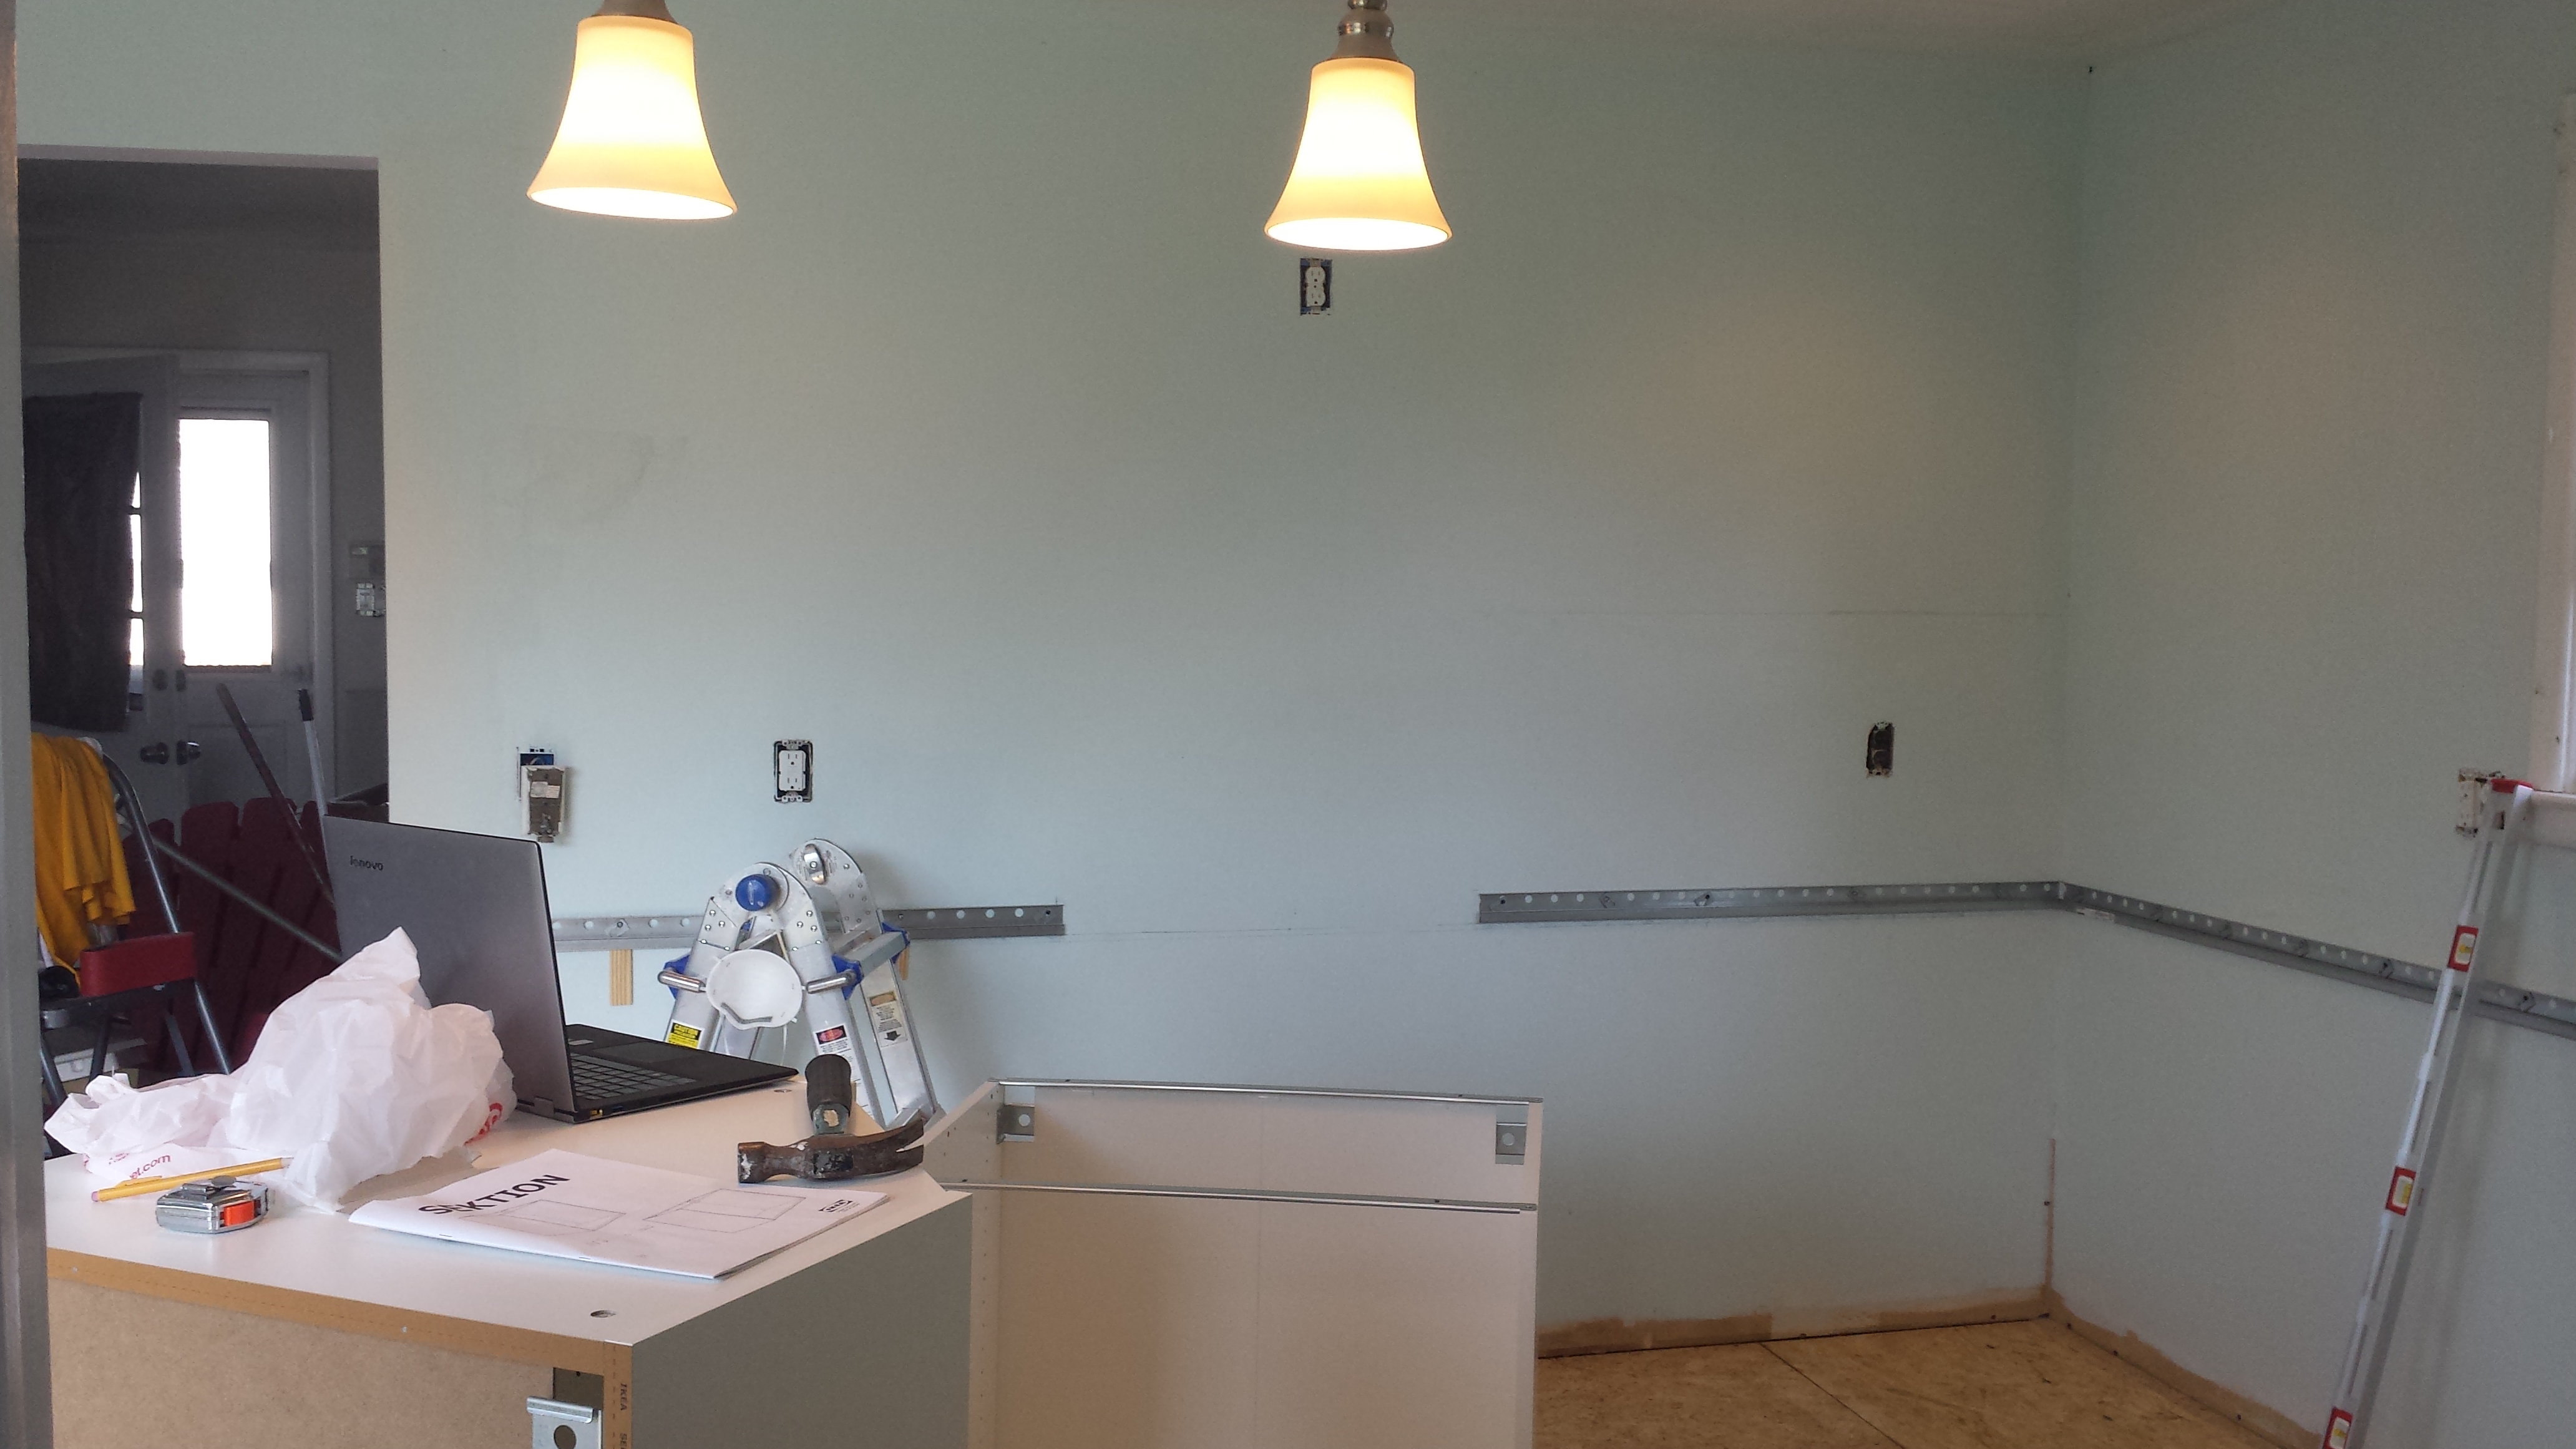
There is still a ton to do. Next week they are coming out to make the template for the counter top, so I have to make sure everything with the cabinets is 100% done and in place by then. I don’t think I can get the cabinet doors painted in time (at least not if I want to enjoy the holiday weekend) so I may just install the doors unpainted and then take them off after the counter top people come.
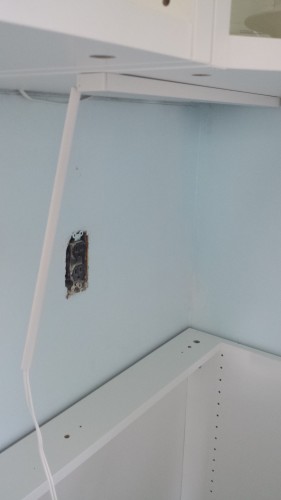
I also have to finish the weird hutch thing I am building to go above the fridge. The short version of the story is that the fridge is 30″ deep and the cabinet that goes above the fridge is only 24″ deep. Because a cabinet set 6 inches back above a 5’8 fridge would be pretty unusable I am building a little hutch thing to space the cabinet from the wall. This also lets me deal with the fact that the vent for the drain line sticks out of the wall near the ceiling (there used to be a soffit there). A cover panel will hide the ugly mess of 2×4 lumber I’m building it out of.
I think we’re actually nearing the home stretch. After this weekend the upstairs will be done and once we get the appliances out of the living room we can start thinking about that space. I’m so sick of painting I think I’m going to hire someone to do the two remaining bedrooms on the first floor. I still have to do the flooring in those rooms as well.