I’m still waiting for some parts to come in for the garden I was working on in my last post. But in my research I found another, much simpler way to set up an aeroponic garden. Since I already had most of the necessary parts, I decided to try it out.
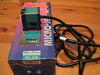
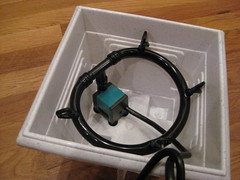
Rather than use a water pump and sprayers to mist water around, this setup uses an air pump (outside the water chamber) and an airstone in shallow water. Airstones and pumps can be found at any aquarium store. I got a $10 pump (anything suitable for 10 gallons will be fine) and I had this airstone lying around. They’re about $5 new.
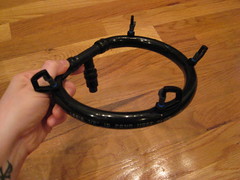
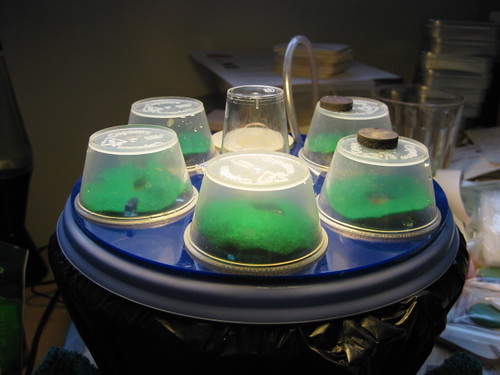
 I’m using a tupperware container for a vessel, with a laser cut top and seed pods. I wish I hadn’t been totally sleep deprived and forgotten to photograph them, the seed pods are pretty neat. They’re made from 3 pieces of acrylic plastic, held together by gravity, and hold a plug of rockwool nicely. I’ll need to make some for the water pump version of the garden, and will be sure to get a good shot then. You can sort of see the bottoms of them, hanging from the blue top. Plans for the top and seed pods are both up on Thingiverse.
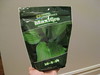
A quick note about working with rockwoool – it’s kind of like fiberglass, so you need to wear a mask when you’re working with it dry. Depending on how sensitive your skin is you may also want to wear latex gloves. It needs to be soaked for 24 hours before use, for pH reasons I only vaguely understand. I did not soak mine, because I did not read that until after I had already painstakingly embedded seeds into the plugs. By the way, oregano seeds are very hard to pick up one at a time with tweezers.
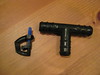
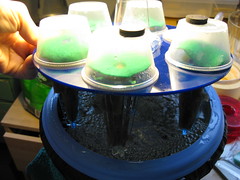
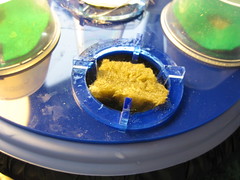 Here’s a shot of a seed pod, it rests in the hole in the top. Each seed pod needs some sort of opaque collar to keep excess light from getting into the root chamber. I used felt because it’s easy to cut and I had some on hand, but I plan on making acrylic plastic collars for them with the name of the herb engraved. The collars stay on even after the plant has sprouted. The plastic domes on the other hand are temporary, and just there to keep all the water from escaping before the seeds germinate. Once things pop up I’ll take them off.
The total cost for this setup, not including lighting, was about $30, although if you don’t have access to a laser cutter it would be a little more to have them cut by a service like Ponoko. You could also just buy the AeroGarden seed kits, which are about $20 and include 6 plastic pods, and use your tupperware container’s original lid by just drilling a bunch of holes in it. But I have a laser cutter, so I wanted to get fancy.
We’ll see in a few things whether this thing actually grows anything. I’m slightly dubious. It’s also hella ugly. Partly because of the little domes (which will hopefully be off in a few days) and partly because of the black plastic bag I’m using to keep light out of my otherwise clear tupperware bin. I’m debating between making a nice fabric enclosure for it and just grabbing a can of rustoleum and spraying the outside. Maybe I’ll do both.