The craft blogs are full of reorganization photographs. I think it’s a universal: we all trash our workspace during the holiday madness. Only when we dig out in January do we look around and say “oh god I have to do something about this.”
Or at least that’s what I did:

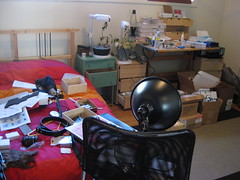
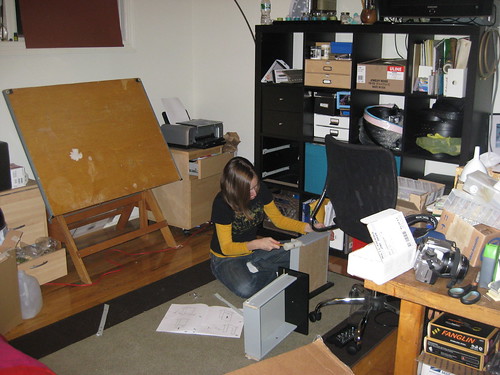
Uh yeah. There’s a workspace somewhere in there. Where, I’m not sure. As such operations had to be moved downstairs, the only place with any remaining horizontal surfaces. Oh any my plants died. The DIY aeroponics project was actually incredibly successful. But even pseudo-aeroponic systems need water added every few weeks.
The first step is admitting you have a problem.
The second step is (wait for it…) throwing out all the trash and putting away everything you can. I know it seems obvious but when faced with a room that looks like the scene of a recent natural disaster it can be overwhelming and hard to know where to start. For me, I accumulated a number of new things over the holiday season, so a lot of stuff never had a “home” to begin with. Which led to it simply floating around the room, helping to hide the rest of the junk.
Suddenly, with the trash in the trash can and everything either put away or sitting in a box / on a table awaiting further instructions, you can see the floor:
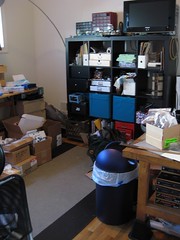
You still can’t sit in the chair or on the bed, and the tables are still covered in crap, but hey! I have a rug!
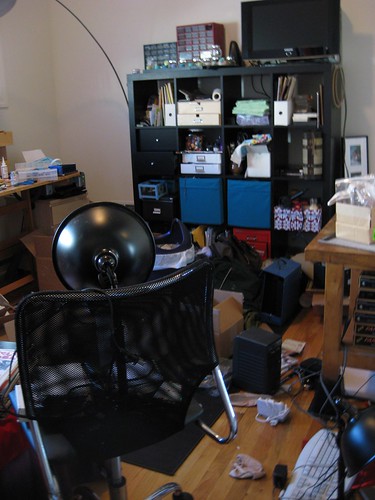
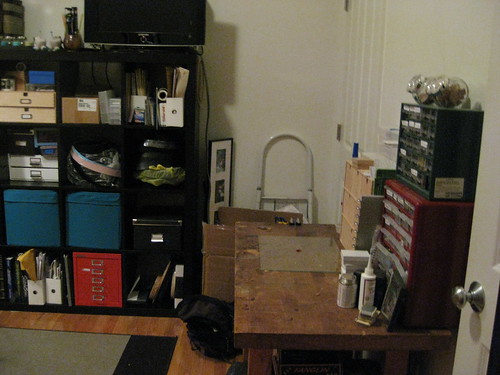
At this point, I was at a bit of a loss. If you look at my shelving unit, all the cubes are full. And yet there’s a ton of stuff lying around I don’t know what to do with. It’s hard to see in the pictures, but there’s a secondary workbench on the right which is also piled high with items in need of a place to be. And this is when you call in the big guns. Have a friend come over and help you, if you know anyone vaguely organized. Your friend will not only keep you motivated and prevent you from simply sitting on the floor staring at the mess (my mother has seen me do this just about every time I move), they’ll also keep you honest. They say things to you like, “Kelly, if you put that box in front of the magazine file and then need a magazine, are you just going to put the box on the floor and leave it there?” And then you (if you’re me) say, “… yes,” and find a better place for said box.
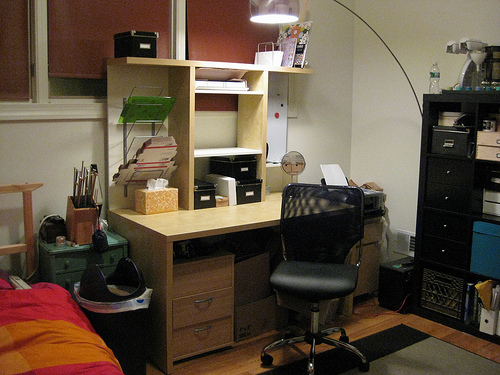
I thought we needed more shelving, but my superstar amazing organizer friend managed to rearrange what was on the existing shelves to fit almost everything. In the above picture we’ve got most of the leftovers condensed to the workbench while my friend assembles some additional drawers for the ubiquitos Ikea EXPEDIT shelving. The workspace still needed some work though, otherwise it would just revert to its natural disaster state as soon as she left. We went to Ikea and got a nice wide desk to replace the drafting table I’d been working on, and separated the workspace into building/making on the right workbench, and shipping/administration/finished products on the left table.
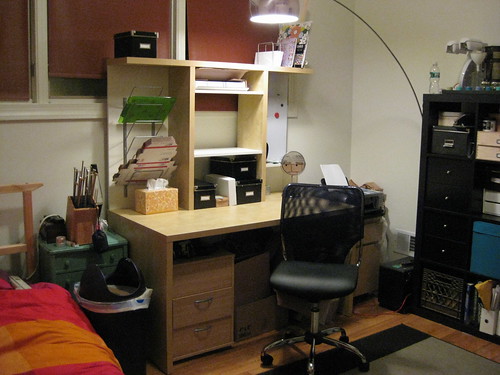
It doesn’t look quite as dramatic in the pictures, but anyone who has been in the room is stunned with the transformation. I’m excited to have a workspace I can actually use. Yay!